
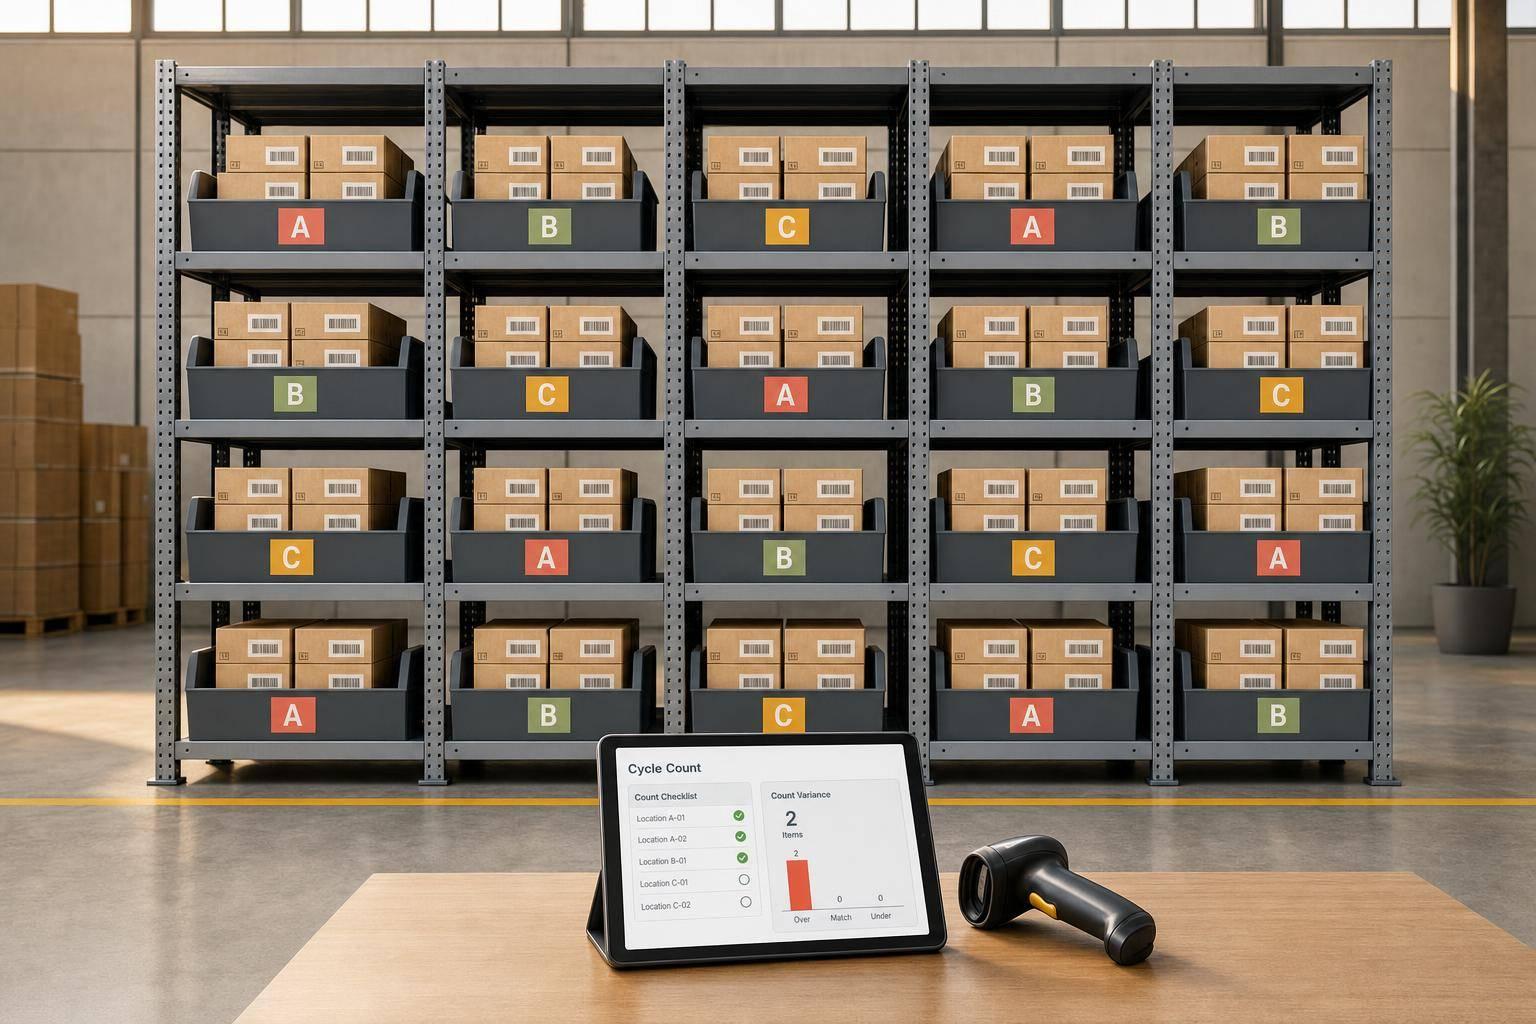
If your QuickBooks Desktop inventory is off, cycle counting is one of the simplest ways to fix it. Instead of shutting down for one big yearly count, I count small sections on a set schedule, compare the floor count to QuickBooks, review any gaps, and post only the lines I approve.
In plain terms, this article shows how I would run the full process in QuickBooks Desktop: set up inventory items and sites, choose what to count, set an ABC schedule, freeze a count window, record quantities with or without barcode scanning, sync results, review variances, post adjustments to inventory shrinkage, and check item history and valuation reports after each count. The goal is simple: keep records near the 95%+ accuracy level many cycle count programs reach, with top A-item programs pushing toward 99%.
Here’s the article in one glance:
- Set up QuickBooks first: item types, units of measure, sites, bins, and opening balances
- Pick what to count: A items more often, slow movers less often
- Keep counts small: one site, zone, aisle, or item group at a time
- Pause stock movement during the count: picks, receipts, and transfers can skew results
- Count on the floor carefully: scan location, scan item, count in base units, log lot/serial details
- Review big variances before posting: a common trigger is over 2%–3% or more than $100
- Post with reason codes: such as Damage, Pick error, or Receiving error
- Check reports after posting: Item History, Inventory Valuation Detail, Custom Transaction Detail, and Audit Trail
If I were starting from scratch, I’d begin with A items, count one area at a time, and follow the same routine every time.
QuickBooks Enterprise Cycle Count Tutorial: A Step-by-Step Guide to Efficient Inventory Management
sbb-itb-19ed50f
Set up QuickBooks Desktop and your counting workflow
Start by setting inventory items as Inventory Parts or Inventory Assemblies. Then standardize units of measure and check beginning quantities, starting costs, and any negative balances before the first count. Those details matter more than they may seem at first glance. They decide which items show up in each count and how the results flow back into QuickBooks Desktop.
Once your items and locations are in place, the next step is simple: decide what to count first and how often.
If your team uses Advanced Inventory, set up Inventory Sites and assign items to each one, along with bins or locations. That gives you a cleaner way to run counts by warehouse, aisle, or bin. It also helps you match results back to QuickBooks Desktop without a lot of guesswork.
Choose which items and locations to count
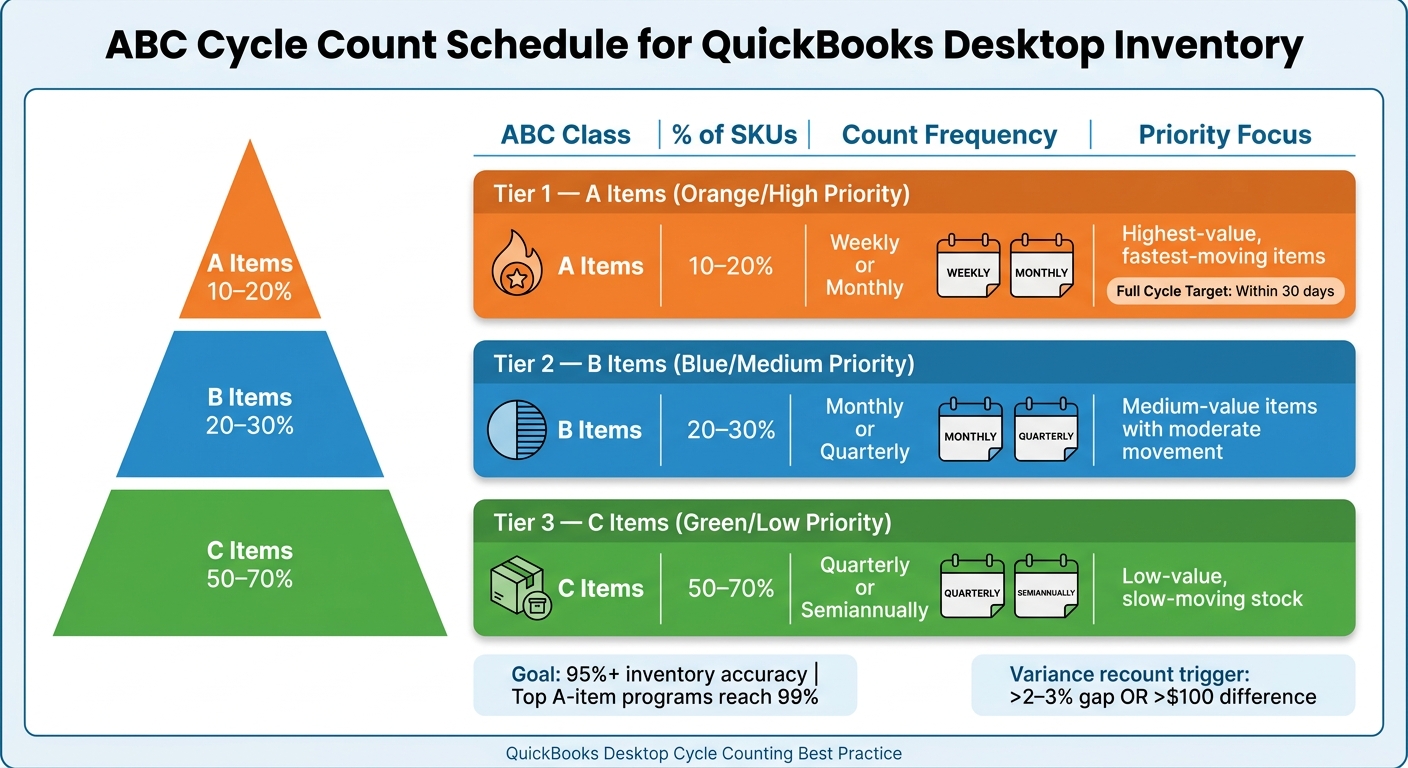
A common starting point is ABC classification. Count A items most often, B items on a moderate schedule, and C items least often.
It also makes sense to move high-risk areas to the front of the line. That usually includes fast-moving SKUs, lot-controlled items, and bins with frequent adjustments. Managers can use QuickBooks Desktop inventory reports and item history to spot trouble areas and place them on a tighter count schedule.
Try to keep each count narrow. One aisle, one site, or one product family is usually enough. If you run more than one location, rotate counts across the week. For example, Warehouse A on Mondays and Warehouse B on Wednesdays. With QuickBooks Desktop's Inventory Sites, you can filter count lists by location. Rapid Inventory also supports count tasks by aisle, bin, or site and syncs the results back to QuickBooks Desktop.
Pick a count method that fits your warehouse
Choose the method that matches the size of your operation and how your team works on the floor.
| Count Method | Best Use Case | Main Tradeoffs |
|---|---|---|
| Manual entry in QuickBooks Desktop | Very small operations, limited SKUs, single location, infrequent counts | Low cost; high risk of data entry errors; slow for large item lists |
| Excel-based workflow | Small to mid-size teams needing basic filtering by category, site, or ABC class | Flexible sorting; still relies on manual typing; version-control issues can cause errors |
| Mobile barcode scanning (via connected software like Rapid Inventory) | Growing or multi-location warehouses; high SKU counts; frequent cycle counts; lot/serial tracking | Faster counts; fewer transcription errors; requires barcode labels, devices, and training |
If your team uses connected software, keep the count workflow tied to QuickBooks Desktop. Rapid Inventory's mobile scanning connects to QuickBooks Desktop through two-way sync. You can also decide how tightly you want to control posting: auto-adjust QuickBooks right away, or review discrepancies first and post them after a manual check.
Create a cycle count and set a counting schedule
ABC Cycle Count Schedule: Frequency, SKU Share & Focus Areas
Once you’ve picked the items and locations to count, the next step is to create the cycle count record and lock the scope. This works best as a controlled process, not a one-off spreadsheet job. Create the count record first, keep it limited to one site, zone, or item group, and assign one person or one device before counting starts. That setup cuts down on missed items, duplicate counts, and confusion over who owns the task.
In QuickBooks Desktop Enterprise with Advanced Inventory, create the cycle count, choose the site, and filter the items you selected. Go to Inventory > Cycle Count and select Create new cycle count. Choose the Site, then use Find & Select Items to filter by category, location, or other attributes and add the right SKUs. Assign the count to a team member and choose whether to send it to a device for mobile scanning or send it to Excel for manual entry. When the count is done, QuickBooks Desktop creates the inventory adjustment. If you try Rapid Inventory for free, create the count task, assign it to a user or device, count one site or zone at a time, and sync the results back to QuickBooks Desktop through two-way sync.
Set count frequency based on item value and movement
A simple ABC schedule helps keep effort focused where it matters most.
| ABC Class | Typical Share of SKUs | Recommended Frequency | Focus |
|---|---|---|---|
| A items | 10–20% | Weekly or monthly | Highest-value, fastest-moving items; aim for a full cycle within 30 days |
| B items | 20–30% | Monthly or quarterly | Medium-value items with moderate movement |
| C items | 50–70% | Quarterly or semiannually | Low-value, slow-moving stock |
Counting A items more often helps reduce stockouts and shrinkage on the SKUs that matter most. It also helps prevent large month-end adjustments caused by errors that have had months to build up.
Define the count window before counting begins
Before the count starts, set a clear time window and keep activity in that area under control. Expected quantity and counted quantity need to reflect the same point in time. So receiving, picking, transfers, and other stock moves should be paused or tightly managed while the count is in progress.
A simple example: label the count as Zone A, Tuesday, 2:00 p.m. to 4:00 p.m. and let the warehouse team know not to move stock in or out of that area during that window. That way, everyone is working from the same snapshot instead of chasing moving numbers.
If you already have items tied up in open picks, receipts, or transfers, filter them out before the count starts unless your system supports holds on live picks, receipts, and transfers. That keeps in-process quantities from throwing off the count.
Next, record the counts on the floor and sync them back to QuickBooks Desktop.
Count inventory and sync results back to QuickBooks Desktop
Once the count window is set, it’s time to do the physical count and send the results back for sync. At this stage, the job is pretty simple: count the right stock in the right place, note anything that looks off, and get the data back into QuickBooks Desktop without typing it all in again.
Record counted quantities accurately on the floor
Start by scanning the location barcode, then the item barcode to pull up the item record. Count cases and loose units separately, then enter the total in the item’s base unit.
If you track inventory by lot or serial number, don’t stop at the total quantity. Record each lot or serial number and make sure it matches the right item, site, and bin. If an identifier doesn’t match an existing record, flag it for review instead of posting it. For lot-controlled items with expiration dates, like food or chemicals, remove expired or short-dated units from the count and log them on their own with a reason such as "expired – discard" so management can decide whether those units should be written off or moved to another status.
Damaged or misplaced items should also be logged separately with a reason code. Say a counter finds a pallet in the wrong aisle. The better move is to record the actual location, not change the quantity. That way, the system can fix the bin assignment and sync the correct location data back to QuickBooks.
After the floor count is done, sync the results back to QuickBooks Desktop.
Sync count data and confirm it imported correctly
When counting wraps up, the system syncs finalized counts back to QuickBooks Desktop. That includes updated on-hand quantities by item, site, and bin, plus timestamps and user IDs tied to each count line. Before posting anything, review every synced line in the dashboard and confirm the item, site, and bin are correct.
Big variances need a second look before posting. A common rule is to recount any item where the gap between book quantity and floor count is more than 2–3% or over a set dollar amount, such as $100. Rapid Inventory syncs item, site, and bin data before the count, then sends finalized counts back after the count is complete. That keeps the warehouse team and accounting team on the same page without duplicate data entry. Mobile barcode workflows also leave an auditable record tied to the item and location, which makes it much easier to trace discrepancies later.
Once the sync is confirmed, review variances and post only approved adjustments.
Review variances, post adjustments, and check item history
In QuickBooks Desktop, open Adjust Quantity/Value on Hand under Vendors ▸ Inventory Activities. Compare Quantity on Hand with your physical count, then enter the New Quantity. QuickBooks will work out the variance for you.
Don’t save right away. Go line by line and flag anything that doesn’t look right. A simple table like this makes the review much easier:
| Item SKU | Expected Quantity (QuickBooks) | Counted Quantity (Physical) | Variance (Counted – Expected) | Adjustment Reason |
|---|---|---|---|---|
| SKU-ABC | 120 | 110 | -10 | Damage |
| SKU-XYZ | 50 | 55 | +5 | Receiving error |
| SKU-123 | 200 | 198 | -2 | Pick error |
If an item is over your recount threshold, count it again before you post. Also check the unit of measure first. A case-vs.-each mistake can make a normal count look wrong. Once the review is done, post ONLY the lines you’ve approved.
Post inventory adjustments with clear audit notes
Use a standard reason code on each line, such as Damage, Receiving error, Pick error, Shrinkage, or Vendor error. Then add a memo that says what happened in plain English, like "Cycle count – shrinkage in Aisle 3, last 30 days." Skip vague notes like "correction."
Post these entries to an Inventory Shrinkage account so the loss shows clearly on the P&L. If you use Rapid Inventory, the reason codes entered during the cycle count flow sync back to QuickBooks with the adjustment, which helps both systems match.
Review item history and inventory reports after each count
After you post, review the reports that show whether the adjustment landed where it should and whether the same problems keep popping up.
- Item History - shows every transaction tied to a SKU, including purchases, sales, transfers, and adjustments.
- Inventory Valuation Detail - confirms the adjustment posted correctly and shows the dollar impact on inventory value.
- Custom Transaction Detail - filter by adjustment account and date range to review all cycle count adjustments, then group by item or location to spot repeat problem areas.
- Audit Trail - shows who posted each adjustment and when.
If you use Rapid Inventory, compare its cycle count variance reports - filtered by SKU, warehouse location, or counter - against QuickBooks’ Custom Transaction Detail to make sure all counts imported correctly and the reason codes match. Looking at both reports side by side makes repeat issues easier to spot by item, location, or process.
Conclusion: Build a repeatable cycle counting routine for better accuracy
Use the same cycle every time: pick the items, lock the count window, count blind, sync to QuickBooks Desktop, review variances, and post only approved adjustments. That kind of consistency is what drives better accuracy.
Consistent cycle counting can push inventory accuracy into the high 90s, with top A-item programs reaching 99%.
When your numbers are tighter, a lot of day-to-day work gets easier. Reorder points are easier to set, shipping commitments are easier to keep, and inventory valuation in QuickBooks Desktop is more dependable.
For larger teams or businesses with more than one location, software helps keep that routine on track. Rapid Inventory supports QuickBooks Desktop cycle counts with mobile scanning, two-way sync, variance calculation, and audit logs.
Start with A items, repeat the routine, and use variance trends to tighten the process.
FAQs
How do I start cycle counting in QuickBooks Desktop?
First, make sure you’re using Advanced Inventory or a connected solution like Rapid Inventory.
Set up a counting schedule with ABC analysis so your high-value or fast-moving items get counted first. Also, pause warehouse transactions before the count starts. That helps keep your numbers clean and cuts down on mistakes.
In QuickBooks Enterprise, go to Inventory and select Cycle Count. From there, filter items by location or by item, complete blind counts, sync the results, and then review and adjust any flagged discrepancies.
What should I do if my count does not match QuickBooks?
If your count doesn’t match QuickBooks, don’t rush to fix it. Start with a recount to rule out scanning mistakes or simple human error.
If the difference still shows up, dig into the cause. Common reasons include receiving mistakes, transfers that weren’t recorded, or theft. If the gap is large, you may need manager approval before making any changes. When an adjustment is needed, use the Adjust Quantity/Value on Hand tool in QuickBooks.
How often should I count A, B, and C inventory items?
Use an ABC analysis to group items by annual dollar usage and overall importance.
- A items: count weekly or every other week
- B items: count monthly or every two to four weeks
- C items: count quarterly, twice a year, or once a year



