

When QuickBooks Desktop sync errors occur, they can disrupt your inventory and financial processes. Here’s how to fix them:
- Update QuickBooks Desktop: Use the latest version to resolve bugs and compatibility issues.
- Verify and Rebuild Your Company File: Fix data corruption and maintain file integrity.
- Check Multi-User Settings: Ensure only the server hosts the company file to avoid conflicts.
- Restart QuickBooks Database Server Manager: Resolve connection issues by restarting this service.
- Repair QuickBooks Installation: Use the QuickBooks Tool Hub to fix installation errors.
- Reset Inventory Preferences: Confirm settings like multiple locations and advanced features are correctly enabled.
- Resolve Sync Conflicts: Address duplicate records, invalid references, and formatting errors.
- Fix Item Mapping and Duplicates: Ensure SKUs, names, and variants match across systems.
- Adjust Vendor and Tax Settings: Avoid errors by aligning vendor and tax preferences.
- Review Sync Logs: Use logs like QBWin.log to identify recurring issues and optimize syncing.

10-Step QuickBooks Sync Error Troubleshooting Checklist
Troubleshoot QuickBooks Sync Errors
sbb-itb-19ed50f
Step 1: Update QuickBooks Desktop

Using an outdated version of QuickBooks Desktop can lead to sync errors. Each maintenance release includes bug fixes and compatibility updates that address issues like sync failures and database connection problems. As Intuit advises:
Install the latest maintenance release for your QuickBooks Desktop version to access the most current security updates and product improvements.
These updates resolve background process issues (e.g., Dbmlsync.exe, IntuitSyncManager.exe, QBDBMgr.exe) to ensure smooth data syncing.
If you're using QuickBooks 2015 or earlier, be aware that these versions can't correctly convert inventory data during migration to newer platforms, which can corrupt your dataset. For multi-user setups, make sure all workstations are running the same updated version to avoid file access conflicts.
Check Your Current Version
Checking your QuickBooks version is quick and easy. On Windows, open QuickBooks and press F2 (or Ctrl+1) to bring up the Product Information window. Look for the "Product" line to find your version and release number. On Mac, use Command + 1 instead.
Compare your version with the latest releases. For example, QuickBooks 2024 should show R18_60, while QuickBooks 2023 should display R17_35. If your release number is lower, it's time to update.
Install Available Updates
The easiest way to update is directly through QuickBooks. Navigate to Help > Update QuickBooks Desktop, click the Update Now tab, and then select Get Updates. Once the download is complete, restart QuickBooks and choose Install Now when prompted. To avoid future sync problems, enable automatic updates in the Options tab.
If the in-product update doesn't work, you can download updates manually from the Intuit Downloads & Updates page. Here's how:
- Close QuickBooks.
- Select your country, product, and version on the Intuit site.
- Click Get the latest updates, download the file, and run it.
- Restart your computer.
Before updating, double-check your computer's date and time settings - an incorrect system clock can trigger errors like 12045 or 12157. Also, ensure your firewall allows traffic through ports 80 and 443, as these are required for QuickBooks to download updates. If you're managing updates on a server in a multi-user setup, don't forget to update the QuickBooks Database Server Manager as well.
Once you've updated, verify and rebuild your company file to maintain data integrity.
Step 2: Verify and Rebuild Your Company File
Data corruption in QuickBooks can start small but worsen over time, especially as the software continues to build on a compromised file foundation. Issues like power outages, network interruptions during multi-user sessions, or improper shutdowns can cause broken transaction links. These inconsistencies often disrupt QuickBooks' ability to reconcile records, particularly during inventory synchronization.
Files exceeding 200–250 MB that haven't undergone regular maintenance are especially prone to structural problems. Symptoms may include missing transactions, incorrect Profit & Loss balances, or errors like: "We found some problems with your company file that you must solve to use Enhanced Inventory Receiving (EIR)".
Fixing these inconsistencies is essential to restore proper syncing and functionality.
Run the Verify Data Tool
The Verify Data tool is designed to scan your company file for structural issues without altering any data. To use it, first close all open windows in QuickBooks by selecting Window > Close All. Then, navigate to File > Utilities > Verify Data and wait for the scan to finish.
- If the tool displays "QuickBooks detected no problems with your data," your file is in good shape.
- If it shows "Your data has lost integrity," the file is damaged and requires rebuilding.
Rebuild the Company File
Before initiating a rebuild, it’s critical to create a backup of your company file. This is because the rebuild process makes permanent changes to the file's structure. To back up, go to File > Utilities > Rebuild Data and follow the prompts to save a backup. Use a unique name such as "Pre-Rebuild-03-30-2026" to avoid overwriting existing backups.
The rebuild process repairs internal references and indexes without altering transaction data. For smaller files (under 100 MB), this typically takes 5–15 minutes. However, larger files - like Enterprise files over 1 GB - may take several hours.
Once the rebuild is complete, run the Verify Data tool again to ensure all errors have been resolved. If issues persist, repeat the rebuild process two or three times. Progress is often indicated by changing error messages.
For stubborn errors that don’t resolve, check the QBWin.log file for detailed error codes. You can access this log via File > Utilities > Open QBWin.log. These codes might point to issues requiring manual fixes or the use of the QuickBooks File Doctor tool.
Step 3: Check Multi-User Hosting Settings
Once you've verified and rebuilt your company file, the next step is to ensure your multi-user settings are properly configured. Misconfigured settings can lead to sync issues and disrupt access for multiple users.
In a multi-user setup, only the server should host the company file. If multiple workstations attempt to host the file simultaneously, it can create conflicts and prevent smooth file access.
If you encounter H-series errors like H101, H202, H303, or H505, it means the workstations are having trouble communicating with the company file. Another common message you might see is "Hosting Mode is Off" when trying to access the file remotely. These errors often stem from issues with QuickBooks' version-specific Windows services. For example:
- QuickBooksDB34 manages multi-user access for the 2024 version.
- QuickBooksDB33 is used for the 2023 version.
- QuickBooksDB32 handles the 2022 version.
If these services are not running or the hosting settings are misconfigured, the synchronization process will fail.
Fixing Multi-User Hosting Issues
-
Check Hosting Settings on Each Workstation
Open QuickBooks on each workstation, navigate to File > Utilities, and look for the hosting option. If you see "Stop Hosting Multi-User Access," it means hosting is currently enabled. Click it to disable hosting on that workstation.
On the server (the computer where the.QBWfile is stored), ensure hosting is enabled. If the menu shows "Host Multi-User Access," click it to turn on hosting. -
Verify Windows Services
Use the following steps to ensure the required services are running:- Press Windows + R, type
services.msc, and press Enter. - Find the QuickBooksDBXX service (replace "XX" with your version number) and QBCFMonitorService.
- Set both services to Automatic startup, confirm they are Running, and adjust the Recovery settings to Restart the Service in case of failure.
- Press Windows + R, type
-
Use QuickBooks Database Server Manager
On the server, open QuickBooks Database Server Manager and go to the Scan Folders tab. Add the folder containing your company file, then click Start Scan. This step registers the folder for network sharing, ensuring all workstations can access the file.
Properly configuring hosting settings and ensuring required services are active will help you maintain smooth multi-user access and avoid frustrating sync errors.
Step 4: Restart QuickBooks Database Server Manager
Once you've verified your hosting settings, the next step is to restart the QuickBooks Database Server Manager (QBDBMS). This tool is essential for creating the .nd files that allow multi-user access to your QuickBooks files. Restarting it ensures that any network configuration changes from Step 3 are fully applied.
When the service becomes unresponsive, it can lead to sync errors and block workstation connections. A restart can resolve these issues, including common errors like H202, H505, and various 6000-series problems. It can also address situations where QuickBooks crashes or slows down when switching between single-user and multi-user modes.
Here’s how to restart the service using Windows Services:
- Press Windows+R, type
services.msc, and hit Enter. - Find the service corresponding to your QuickBooks version. For instance, look for QuickBooksDB31 for QuickBooks 2021 or QuickBooksDB30 for QuickBooks 2020.
- Right-click the service, then select Restart.
If QuickBooks Desktop is installed on your server, you can also restart the connection by opening your company file in multi-user mode. Navigate to File > Close Company/Log off to close the file before restarting the service.
To avoid similar issues in the future, adjust the service properties:
- Set the Startup Type to Automatic so the service starts on its own.
- Under the Recovery tab, configure the settings for "First failure", "Second failure", and "Subsequent failures" to Restart the Service. This ensures the service automatically recovers from crashes.
After completing the restart, perform a folder scan to confirm proper indexing and ensure everything is running smoothly.
Step 5: Repair QuickBooks Installation
If you've tried the earlier steps and the sync issues persist, the problem might lie with the QuickBooks installation itself. Corrupted or missing program files can lead to issues like missing menu options, errors such as QBWC1085 (related to Web Connector log files), or licensing sync errors when opening QuickBooks Desktop.
The QuickBooks Tool Hub is your go-to utility for addressing installation errors, program crashes, and background process issues. Before you begin, ensure QuickBooks Desktop is completely closed. Update your Tool Hub to version 1.6.0.8 (released March 2026). Also, back up your company file (.QBW) before proceeding.
Start by using the "Quick Fix my Program" option in the Tool Hub's Program Problems tab. This tool is designed to quickly resolve minor sync issues. If the problem persists, head to the Installation Issues tab and run the QuickBooks Install Diagnostic Tool. This tool performs a more thorough scan, fixing damaged installation files and addressing Windows component issues. Keep in mind, this process may take up to 20 minutes.
Once the diagnostic tool finishes, restart your computer to ensure all changes are applied. After restarting, update your QuickBooks Desktop to the latest release to install any necessary security patches and bug fixes. Check your sync again to see if the issue is resolved. If you encounter Error 1628 (Failed to complete script-based install), this signals a problem with the Windows Installer service rather than QuickBooks itself. In such cases, you may need help from an IT professional.
For optimal results, run the Tool Hub on a 64-bit Windows 11 system. If sync-related options like the Web Connector remain unavailable after the repair, review the QBWCLOG.txt file located in C:\ProgramData\Intuit\QBWebConnector\log to verify if the Web Connector can write to its log file. For licensing sync errors, renaming the EntitlementDataStore.ecml file to EntitlementDataStore.ecml.OLD will prompt QuickBooks to re-validate the installation.
Step 6: Review and Reset Inventory Preferences
Getting your inventory settings right is just as important for maintaining sync accuracy as keeping your software updated and verifying files. When inventory preferences are off, it can lead to sync errors, missing data, or even non-functional features. At the heart of all inventory operations is the Inventory and Purchase Orders are Active checkbox found in Company Preferences. If this option isn’t selected, inventory data won’t sync with external tools.
To check your inventory settings, navigate to Edit > Preferences > Items & Inventory > Company Preferences. First, confirm that the master inventory toggle is enabled. Then, click on the Advanced Inventory Settings button to review detailed feature configurations. If this button appears grayed out, it likely means your QuickBooks license data hasn’t been synced online. To fix this, go to Help, select Manage my License, and choose Sync License Data Online. After syncing, restart QuickBooks to apply changes.
Inside the Advanced Inventory Settings, ensure that each feature critical to your sync is properly enabled. For instance, if Multiple Inventory Locations is turned off, QuickBooks will hide site-specific columns and reports, preventing transactions from being assigned to specific warehouses. Similarly, features like Serial/Lot Numbers, FIFO costing, and Barcode Scanning must be activated if your sync tool relies on them.
When re-enabling features like Multiple Inventory Locations, assign a temporary site for any transactions recorded while the feature was disabled. Afterward, you can transfer those transactions to the correct locations. QuickBooks doesn’t delete data when features are turned off - it simply hides it.
If you encounter issues saving or syncing preferences, background processes might be causing conflicts. Use the Quick Fix my Program tool in QuickBooks Tool Hub, located under the Program Problems tab, to resolve these issues. Make sure you’re running the Tool Hub on a 64-bit Windows 11 system for compatibility.
Once your inventory preferences are properly reset, you’re ready to tackle sync conflicts in the next step.
Step 7: Resolve Sync Conflicts
Sync conflicts happen when QuickBooks can't process certain records due to issues like duplicate names, formatting problems, or dependencies between transactions. Many integration tools highlight these problems using a "Sync Conflict" dashboard or red status markers near the sync button. If conflicts for a single table - like Payments or Invoices - hit 50 or more, the sync engine will automatically pause processing that table to avoid corrupting data.
One of the most frequent causes is duplicate records. QuickBooks requires every customer, vendor, and product to have a unique name. For example, if you're syncing a customer named "John Smith" but that name already exists in QuickBooks, the sync will fail. The solution? Rename the duplicate record by adding a unique detail, like a middle initial or identifier (e.g., "John A. Smith").
Field validation errors are another common issue. For instance, invoice and bill numbers can't exceed 21 characters. Similarly, address blocks with more than 4 lines may be rejected by the QuickBooks API. Even though QuickBooks allows certain characters, some integration systems may block names with invalid ones, like colons.
Another challenge involves child records, such as invoices or payments, which depend on their parent records - like customers or sales orders - syncing first. If you encounter an "Invalid Reference Id" error, check the Products and Services list for inactive items and reactivate them as needed.
Syncing can also fail when the company file is in Accountant's Copy mode, a record is being edited by another user, or a transaction date falls within a closed period. For "Object in use" errors, close any open transaction windows in QuickBooks and try syncing again. If the issue involves a closed period, adjust the closing date in your QuickBooks settings.
Continue to Step 8 to address item mapping and duplicate issues.
Step 8: Check Item Mapping and Duplicates
After resolving sync conflicts, it's time to focus on item mapping accuracy. Item mapping connects your sales channels to QuickBooks Desktop, and even small mismatches - like an extra space or a slight difference in the SKU, name, or variant - can cause sync failures. These minor inconsistencies can prevent orders from posting properly.
To address sync issues, gather details like the SKU, barcode, and product name for the problematic items. Then, head to your integration tool's Item Mapping section to investigate. Common problems include missing mappings, duplicate mappings, or mismatched attributes. These errors often show up in sync logs with messages like "Item not found in QuickBooks".
Before tackling duplicates, back up your company file. Use logs or sort your Item List (with inactive items visible) to spot duplicate entries. If both duplicates have transaction histories, merge them by renaming the duplicate to match the preferred item exactly. QuickBooks will prompt you to confirm the merge. If the duplicate has no transactions, you can delete it instead.
Once you've resolved the mapping and duplicate issues, click Sync Now to manually trigger synchronization. Verify that SKUs, names, quantities, and variants are consistent across platforms. Finally, run Verify Data (File > Utilities) to ensure no duplicate errors remain. After this, you’ll be ready to move on to Step 9, which focuses on vendor and tax settings.
Step 9: Address Vendor and Tax Settings
Once you've resolved item mapping issues in Step 8, it's time to tackle vendor and tax settings. Missteps here can easily disrupt your sync process.
For sales tax detail lines, make sure the vendor's "Vendor Type" is set to "Tax Agency." Without this, you'll encounter the error: "Sales tax detail line must have a vendor".
Be mindful of name conflicts. QuickBooks does not allow identical names in the customer and vendor lists. For example, if a customer's name also appears in your vendor list, you'll get a "Duplicate Name Exists" error. A simple fix is to modify one of the names - try adding something like "(Vendor)" or "(Client)" to differentiate them.
Check that every inventory item has an active preferred vendor in the Item List. If a vendor has been deleted or merged, it can cause bills and purchase orders to fail during syncing. Additionally, ensure purchase bill dates are earlier than their corresponding sales invoices - this avoids discrepancies in vendor reports.
Take a moment to review your integration tool's settings. Taxes, discounts, and freight may need to be mapped as separate line items. Confirm that all vendors are active and that your Chart of Accounts includes appropriate entries for "Accounts Payable" and "Accounts Receivable." If you run into a "period has closed" error, you may need to adjust the closing date in QuickBooks Advanced Settings.
Once these settings are squared away, you're ready to move on to Step 10, where you'll dive into reviewing sync logs and best practices.
Step 10: Review Sync Logs and Best Practices
Take some time to review your sync logs. QuickBooks Desktop keeps track of messages, errors, and utility results in log files like QBWin.log for Windows and QuickBooks.log for Mac. These logs are invaluable for identifying recurring issues that may be affecting your sync process.
For Windows users, press F2 (or Ctrl+1) to open the Product Information window. Then, press F3 (or Ctrl+2) to access Tech Help, and navigate to the Open File tab. Once you open the QBWin.log file, use Ctrl+F to search for "Begin Verify" to locate the most recent integrity check. Additionally, check third-party shipment or exception logs for QuickBooks API error messages. This review process not only validates your earlier fixes but can also uncover lingering problems that need attention.
"The verbose sync log can help to troubleshoot advanced sync issues such as sync crashing, unexpected errors, and slowness."
– Acctivate
By diving into these logs, you can address hidden errors before they escalate. Some common issues to watch for include:
- String length errors: These occur when invoice or bill numbers exceed the 21-character limit.
- Duplicate document number errors: These arise when transactions are deleted in QuickBooks but remain in your sync software.
- Account not found messages: These indicate mismatched account names or types between QuickBooks and your sync tool configuration.
To maintain smooth syncing, follow these best practices:
- Always enter purchase transactions - like bills, item receipts, or checks - before recording sales.
- When adding new inventory items, immediately record the quantity on hand and its value. This ensures QuickBooks calculates an accurate average cost. Without this step, QuickBooks may use an assumed cost, which can distort your Cost of Goods Sold.
- If you need to record a sale for an item not yet added to the system, create a Sales Order or mark the Invoice as Pending (via Edit > Mark Invoice as Pending). Finalize it only after the corresponding inventory purchase has been recorded.
For advanced troubleshooting, enable "Verbose sync logging" to help identify crashes or performance issues. Additionally, regularly run the Inventory Valuation Detail report to catch negative quantities and confirm that bills are dated earlier than invoices. These habits will help ensure your syncs remain reliable and efficient.
Optional: Improve Sync with Rapid Inventory
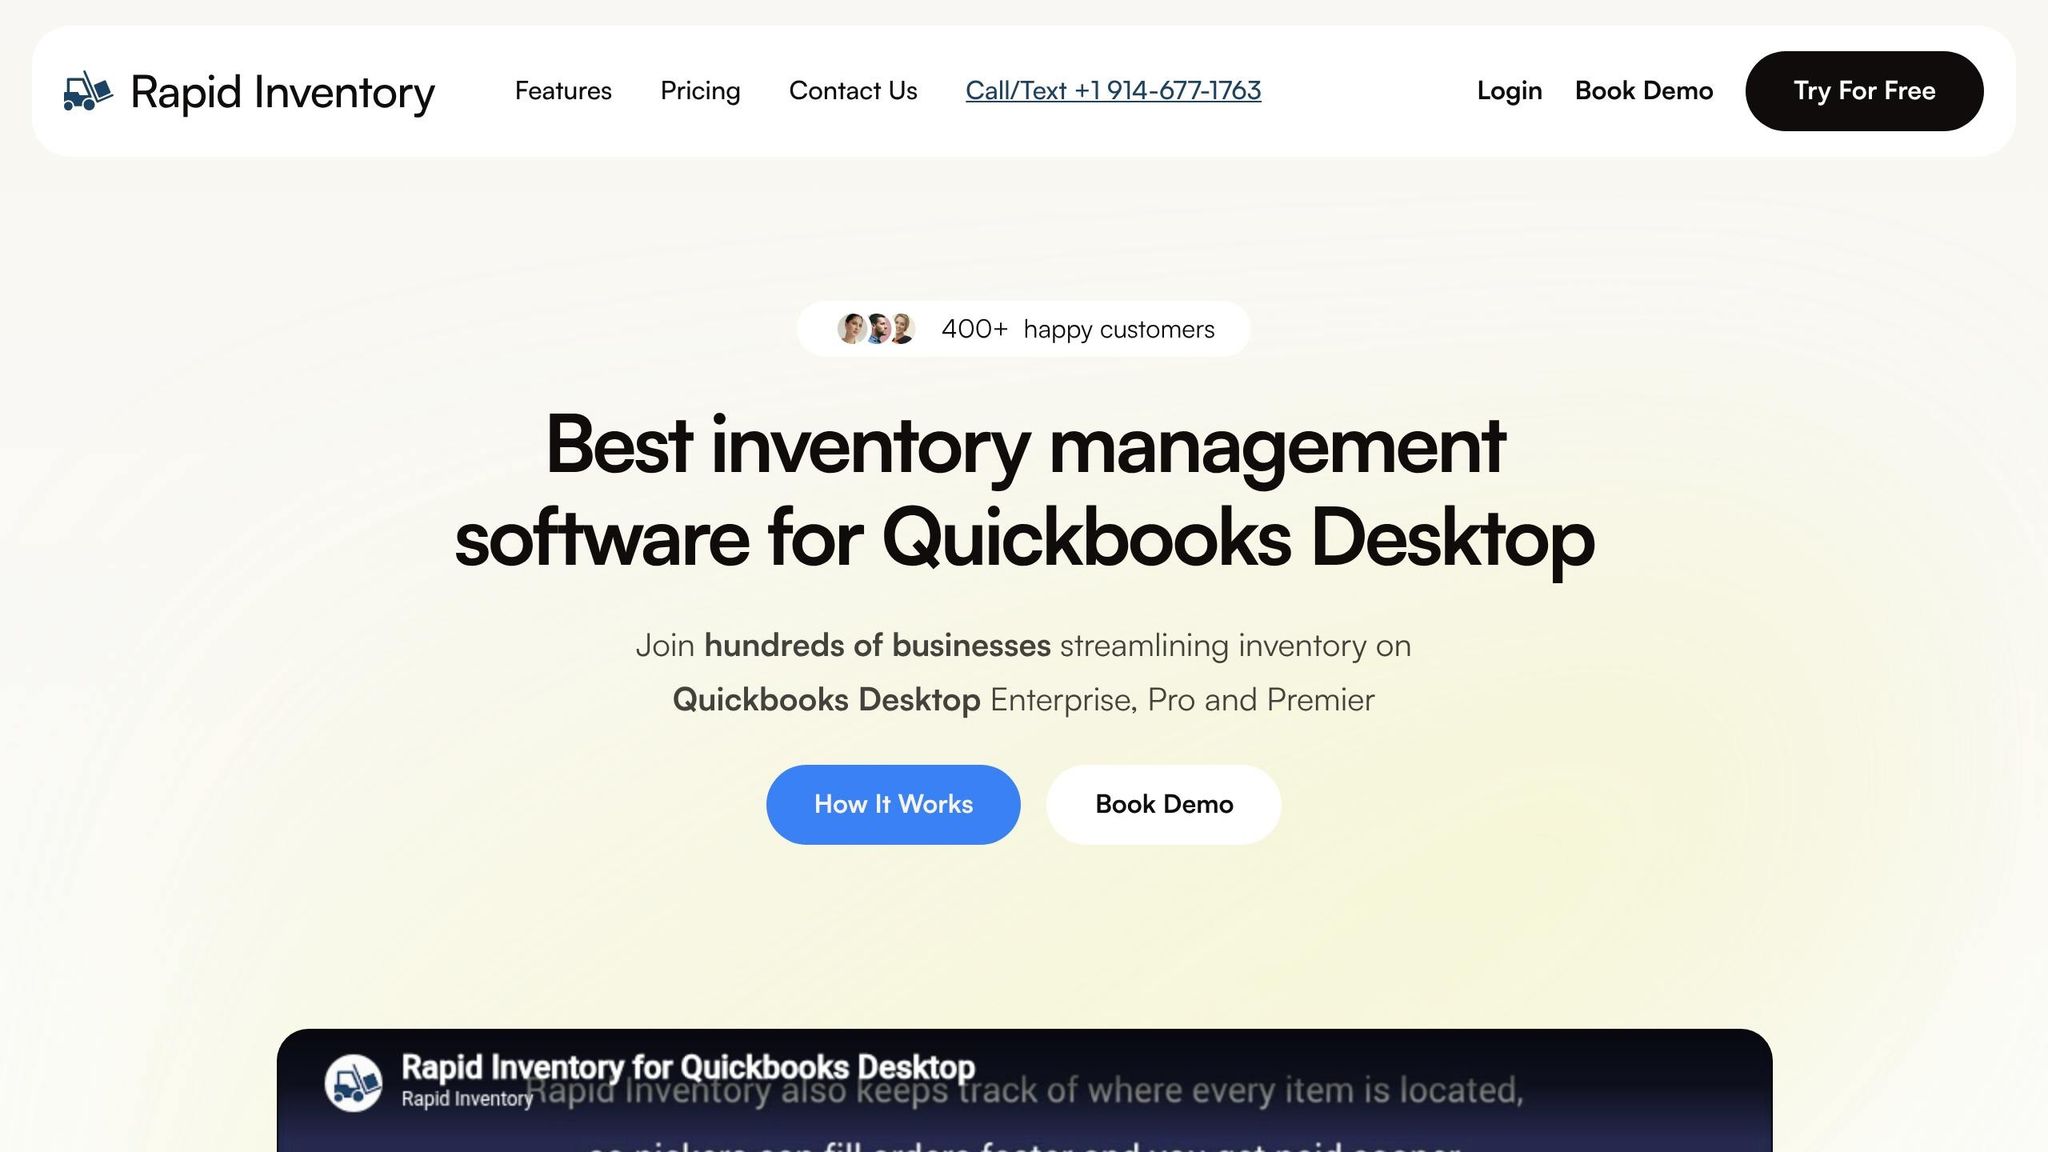
Once you've tackled sync errors through troubleshooting, you might want to streamline your workflow with an inventory management tool like Rapid Inventory.
If sync errors keep cropping up, it could be a sign that your current process needs an upgrade. Rapid Inventory is tailored for QuickBooks Desktop users, offering an automatic two-way sync that eliminates the need for manual data entry or juggling error-prone spreadsheets.
One standout feature is its mobile barcode scanning. This allows your warehouse team to verify locations, items, and quantities in real time. The result? Fewer mistakes and inventory records that stay accurate while syncing seamlessly back to QuickBooks.
Additionally, the platform supports multi-location tracking, helping you keep your inventory organized across various sites. It also includes FIFO/FEFO picking options and tracks lot, serial, and expiration numbers - features that are especially handy for businesses managing regulated or high-value items.
User Nicholas G shared his experience:
Rapid Inventory with Quickbooks Desktop is exactly what we need to run our company... Simple and straightforward, very easy to learn and easy to work with. Onboarding was simple and smooth.
Pricing starts at $90 per user/month for teams of up to 9 users. For larger teams, the Unlimited Plan is available at $900 per month, which includes perks like custom inventory reports and a dedicated account manager. Rapid Inventory has been a go-to solution for QuickBooks Desktop users looking to simplify their inventory sync process.
Conclusion
QuickBooks sync errors can throw a wrench into your inventory management process. Following the checklist outlined earlier - like updating your software and regularly reviewing the Inventory Valuation Detail (IVD) report - can help you keep your data accurate and avoid issues like negative inventory.
The IVD report is particularly important because it’s the only report that provides a complete history of negative quantities. Make it a habit to use this report to catch discrepancies before they impact your financial records.
To minimize sync issues, make sure purchase transactions are entered before sales transactions. Keep invoice and bill numbers under 21 characters, and double-check that customer names match exactly across systems - including spaces. These small details can prevent many common syncing problems.
If errors continue, consider refining your syncing process or using advanced sync tools to minimize mistakes. Regularly back up your company file and review sync logs to catch potential issues early. For more help, Rapid Inventory offers support and training resources that can guide you through advanced solutions.
FAQs
What should I try first when a QuickBooks Desktop sync suddenly fails?
Before diving into fixes, always start by backing up your QuickBooks file. This ensures your data is safe in case anything goes wrong during troubleshooting.
Next, use QuickBooks' built-in tools to check for and fix issues:
- Verify Data: This tool scans your file for errors or inconsistencies.
- Rebuild Data: After identifying errors, this tool helps repair them.
- QuickBooks Tool Hub: A handy utility for diagnosing and resolving various QuickBooks problems.
Once your data is in good shape, ensure the sync application is functioning properly. Look for signs of failure, such as:
- Missing success messages after syncing.
- Apps getting stuck on loading screens.
By following these steps, you can tackle common data issues that often lead to sync failures.
How can I tell if my company file is causing the sync errors?
You might notice your company file is behind sync errors if you encounter specific error codes like "-6000, -80" or "-6176, 0", or if the "Sync Completed" message is missing.
To troubleshoot, make sure the file isn't set to read-only and double-check user permissions. You can also use tools like Verify Data and Rebuild Data to spot and resolve any file corruption that could be triggering the problem. These steps can save you from unnecessary headaches and keep your workflow smooth.
Which QuickBooks logs should I check to pinpoint the exact sync issue?
To spot sync issues in QuickBooks, check the QBWin.log (for Windows) or QuickBooks.log (for Mac). These logs track program errors and messages. For more complex problems like crashes or slowness, enabling the Verbose sync log can offer detailed error information. This log is saved in the "Log" folder on your computer and is also added to the "Exception" log. These tools are key to identifying errors or conflicts that might be disrupting synchronization.


