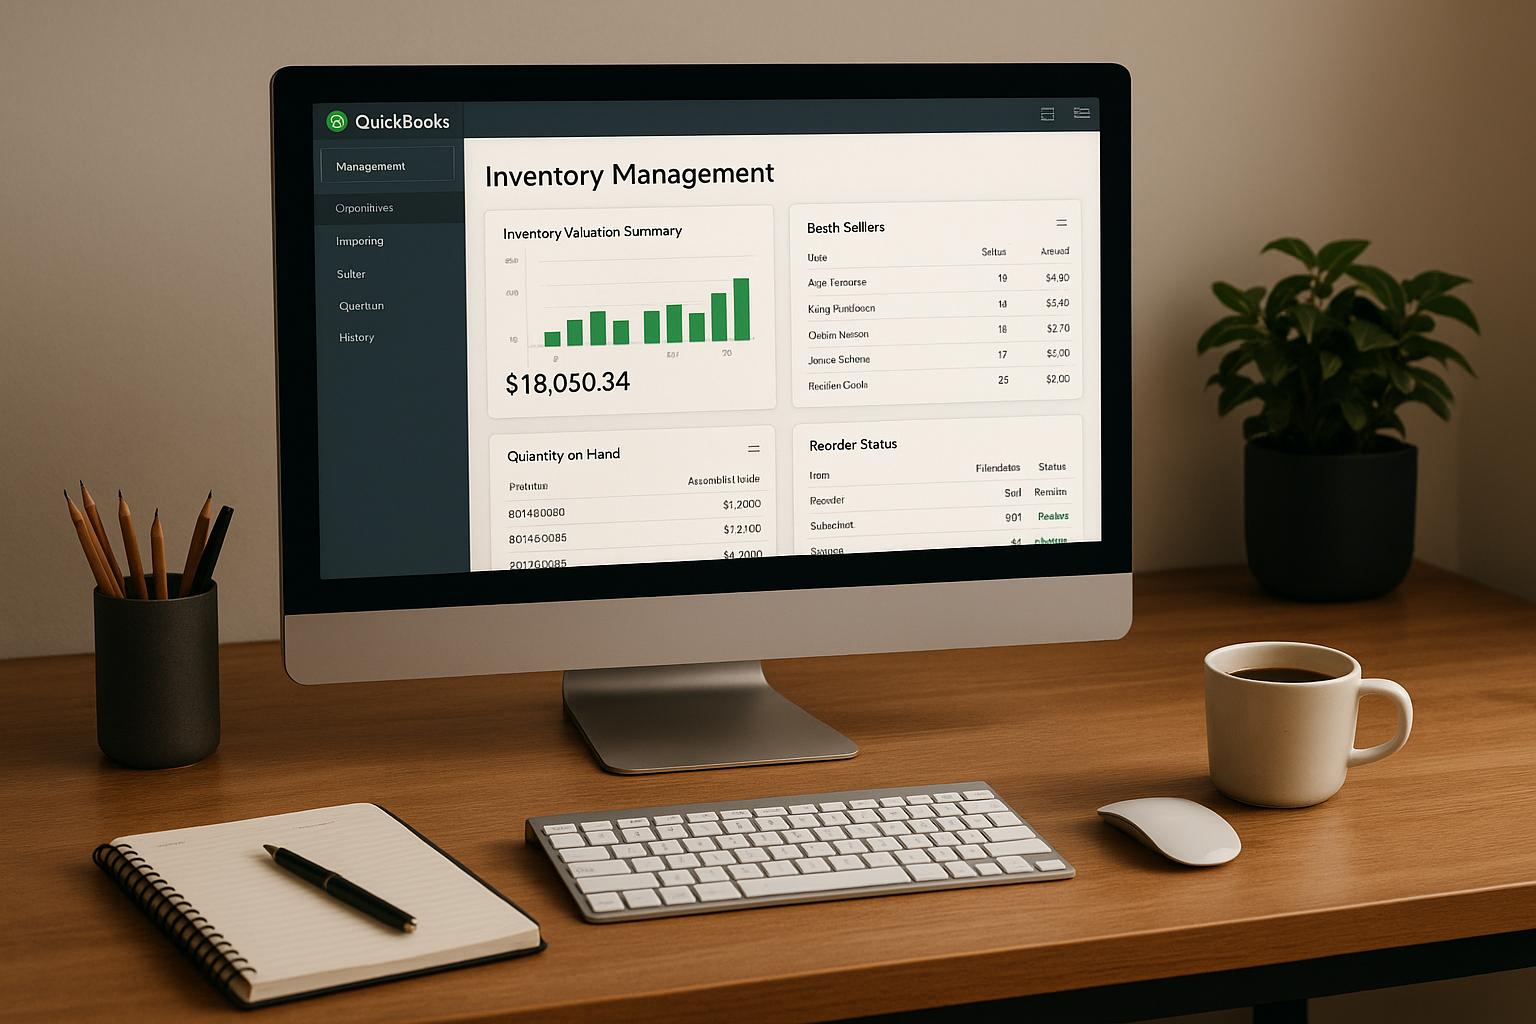
A failed refund sync does not always mean the refund failed. Before retrying, pause automatic retries and check QuickBooks Desktop and the payment processor for an existing refund. Back up the company file before making changes.
Then check the refund in this order:
- Records and links: Confirm the refund workflow, customer, items, accounts, and credit memo link.
- Amounts and payment details: Match returned quantities, taxes, totals, payment method, and funding account.
- Sync logs: Fix the first error that needs action, then retry only the missing step once, from one system.
- Final balances: Confirm the refund, customer balance, tax, and returned inventory are recorded correctly, with no duplicates.
A completed sync is only part of the check. The accounting records and actual payout must match, too. If the retry fails, send support the error details and logs with private data removed.
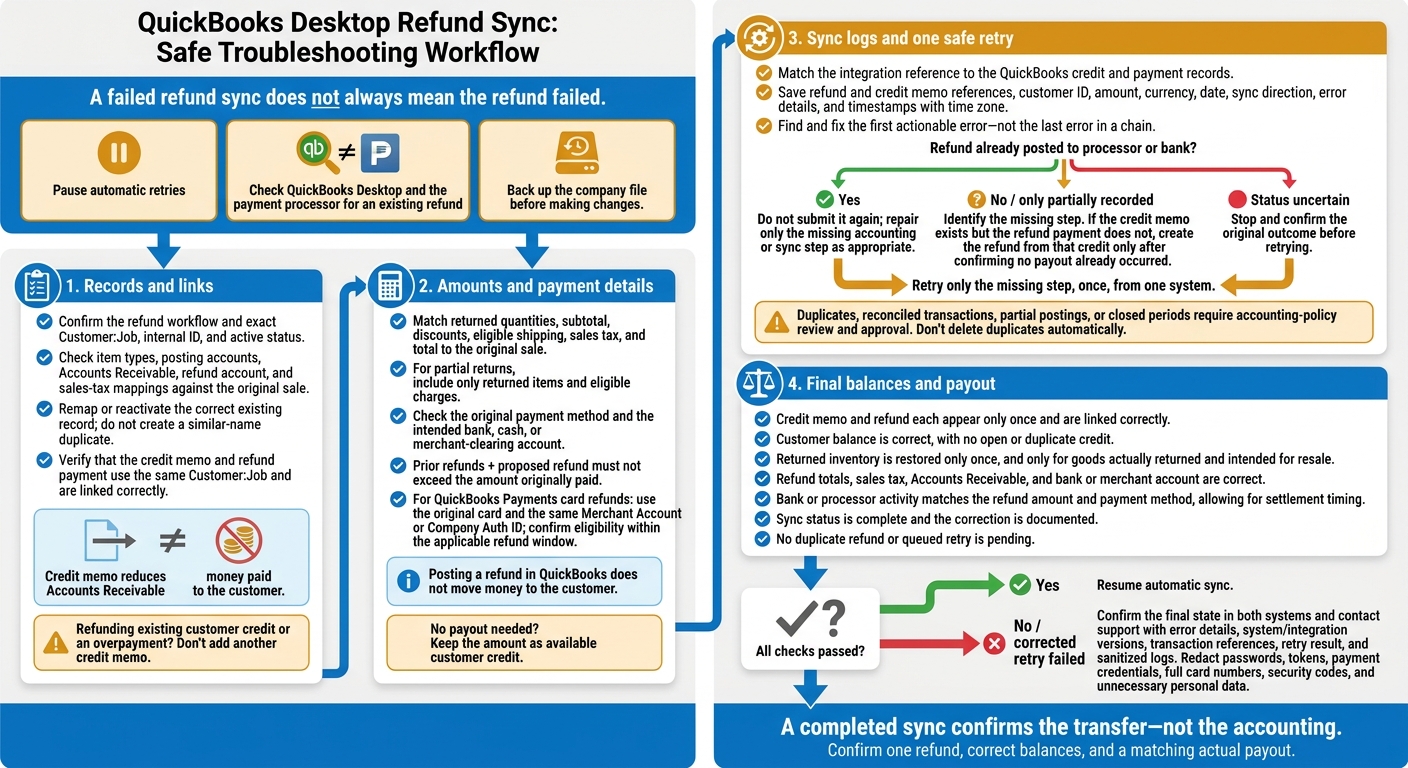
QuickBooks Desktop Refund Sync: Safe Troubleshooting Workflow
Step 1: Check refund mappings and account links
Verify customer, item, and account mappings
Start with the failed refund record. Check its mapped customer, item, and account references. Verify the exact Customer:Job, active status, and internal ID - not just the name. If a record was renamed, the integration may still use an outdated reference.
For each returned item, check the item type and posting accounts, including income or inventory accounts where applicable. Make sure Accounts Receivable and the refund account point to the intended QuickBooks accounts. Compare sales tax items, codes, and agencies against the original sale.
Remap or reactivate the correct existing entry instead of creating one with a similar name. Check only the inventory fields supported by your QuickBooks Desktop edition and sync. Note any fields the integration writes that QuickBooks Desktop doesn't store.
Verify the link between the credit and refund payment
Once the mappings are correct, open the customer's transaction history and compare the credit memo with the refund payment. A credit memo reduces Accounts Receivable, but it isn't a refund until it's applied or paid out.
Check that both records use the same Customer:Job. Then confirm the credit memo was applied to the refund payment - not left as unused customer credit or applied to an invoice.
If QuickBooks created a separate refund check, verify the link in Customers → Receive Payments → Discounts and Credits. If you're refunding existing customer credit or an overpayment, don't add another credit memo. Doing so would reduce the customer's balance twice.
| Symptom | Mapping or link to check | Correction |
|---|---|---|
| Account rejected | Account status, type, and company-file reference | Remap to the intended compatible account. |
| Customer unmatched | Customer:Job, internal ID, and active status | Select the existing customer or job and update the integration reference. |
| Item missing | Item status, type, posting accounts, and supported inventory fields | Restore or remap the intended item before retrying. |
| Existing refund not recognized | Customer, amount, date, transaction number, and external refund ID | Match the existing transaction and repair its sync reference. |
With the mappings and links corrected, move on to tax, totals, and payment details.
sbb-itb-19ed50f
Step 2: Check refund tax, totals, and payment details
Recalculate the refund and verify sales tax
Compare the refund with the original invoice or sales receipt and the quantities returned. Then recalculate the subtotal, discounts, refundable shipping, sales tax, and total. For partial returns, include only returned items and eligible charges.
Check each returned item’s tax status, the active sales-tax item or code, the tax agency, and the tax rate. Confirm whether the original price included tax or tax was added at checkout. Also check whether discounts or shipping affect the taxable base. Keep small rounding differences separate from tax mapping errors.
Check the payment method and funding account
Once the amount and tax match, check where the refund will post. Compare the refund method with the original payment, and confirm that it uses the correct bank, cash, or merchant-clearing account.
Posting a refund in QuickBooks does not move money to the customer. If no payout is needed, keep the amount as available credit instead of creating a refund payment.
For QuickBooks Payments card refunds, use the original card and the same Merchant Account or Company Auth ID. The refund must also fall within the eligible window.
Match refund errors to corrective actions
Run these checks on the refund transaction you mapped in Step 1. Before retrying, review the failed refund record in both QuickBooks Desktop and the processor. Use the error patterns below to find the field that needs correction.
| Error type | Symptom | Check | Fix |
|---|---|---|---|
| Tax mismatch | Refund total differs by the tax amount, or tax is rejected | Tax code, tax item, agency, tax status, and whether the price includes tax | Correct the tax mapping and returned taxable amount; recalculate the credit memo; review sales-tax reports. |
| Payment-method mismatch | Refund cannot be posted or goes to the wrong account | Original tender, refund method, merchant account, Company Auth ID, and mapped bank, cash, or clearing account | Match the original payment method and account; use customer credit when no payment is required. |
| Amount mismatch | Refund exceeds the original sale, includes the wrong quantity, or differs by rounding | Original sale, returned quantities, discounts, shipping, prior refunds, and processor amount | Correct the line items and calculation; prior refunds plus the proposed refund must not exceed the amount originally paid. |
| Duplicate-refund risk | A refund already exists, or its status is uncertain | Refund ID, transaction status, credit memo, check, bank feed entry, and processor history | Stop and confirm whether the original refund succeeded before retrying. |
After the refund fields match, trace the first sync error in the logs before trying again.
Refunds and Credits in QuickBooks Desktop
Step 3: Review sync errors and retry safely
Pause automatic retries before changing anything. Save the refund ID, credit memo number, customer ID, amount, currency, date, sync direction, and an error screenshot or export. Match the integration’s sync reference to the QuickBooks credit and payment records.
Trace the first error to its source
Search the integration logs by refund ID, customer, exact amount, refund date, credit memo number, sync direction, and failed operation. Record timestamps in U.S. format, including the time zone. Look for the first error you can act on, not the last message in a chain of failures. Classify it as a connection, authorization, mapping, validation, duplicate, tax, payment, or company-file issue.
Check QuickBooks transaction history and the Audit Trail to see what changed, when it changed, and who made the change. Use QBWin.log and File > Utilities > Verify Data only if the error points to company-file damage - not a routine mapping or authorization failure. Keep a backup and consult support before rebuilding or modifying the file.
Fix the cause and retry only the missing step
Fix the cause of the first actionable error before retrying. Then retry only the missing step, once. If the credit memo exists but the refund payment doesn’t, create the refund from that credit. If the refund has already posted to the processor or bank, don’t submit it again. Retry from one system only.
For duplicates, partial postings, reconciled transactions, or closed-period entries, follow your accounting policy and get approval before making changes. Don’t delete a duplicate automatically. First, determine whether it’s an actual processor refund, a duplicate QuickBooks entry, or a failed integration record.
Reconcile the refund and gather support details
If the corrected retry still fails, compare the final refund across both systems before preparing support details. Check the refund amount, customer balance, refund date, sales tax, payment account, bank or processor activity, inventory quantity, and item history. Confirm that the customer’s balance reflects the refund exactly once and that returned stock was restored only once. Record the correction and retry result.
If the issue remains, send support the QuickBooks edition/version, OS, integration name/version, company-file mode, refund and credit memo references, customer ID, amount, date, error text, timestamps, sync direction, retry result, and relevant Audit Trail details. Include sanitized log excerpts. Redact passwords, tokens, payment credentials, full card numbers, security codes, and unnecessary personal data.
Conclusion: Confirm one refund and correct balances
After the retry, check that the refund posted correctly in both systems. A completed sync confirms the transfer - not the accounting.
Before turning automatic sync back on, check each item:
- [ ] The credit memo and refund each appear only once and are linked correctly.
- [ ] The customer balance is correct, with no open or duplicate credit.
- [ ] Inventory was restored only for goods actually returned and intended for resale.
- [ ] Refund totals, sales tax, Accounts Receivable, and the bank or merchant account are correct.
- [ ] Bank or processor activity matches the refund amount and payment method, allowing for settlement timing.
- [ ] The refund sync status is complete, and the correction is documented.
- [ ] No duplicate refund or queued retry is pending.
FAQs
What if my refund status differs between systems?
Don’t assume the refund is missing or force a correction. Check Rapid Inventory’s sync logs for the error, record ID, and rejecting system. Then search both systems by reference number or ID - the refund may already be there.
If you find partial or duplicate records, stop and save the logs for support. Don’t delete or replace entries. Otherwise, fix the cause in the source system, such as mapping or tax settings, before making one manual retry.
How do I fix a refund in a closed period?
If a refund won’t sync because the accounting period is closed, get approval from your bookkeeper or accountant before changing restricted records. Once approved, go to Company > Set Closing Date in QuickBooks Desktop and adjust the closing date to allow the transaction.
Retry the sync after opening the period. If it fails again, check for other record conflicts before trying again.
Why is returned inventory still missing after syncing?
Check that the item is set up as an Inventory Part in QuickBooks Desktop. Non-Inventory Parts and Services don’t track stock. The sync may also skip inactive items, customers, or vendors.
Make sure SKUs, names, units of measure, and locations match across both systems. Location mismatches can send stock to the wrong site or stop it from syncing. Check the QuickBooks Audit Trail for manual adjustments or out-of-sequence transactions that could explain stock differences.