
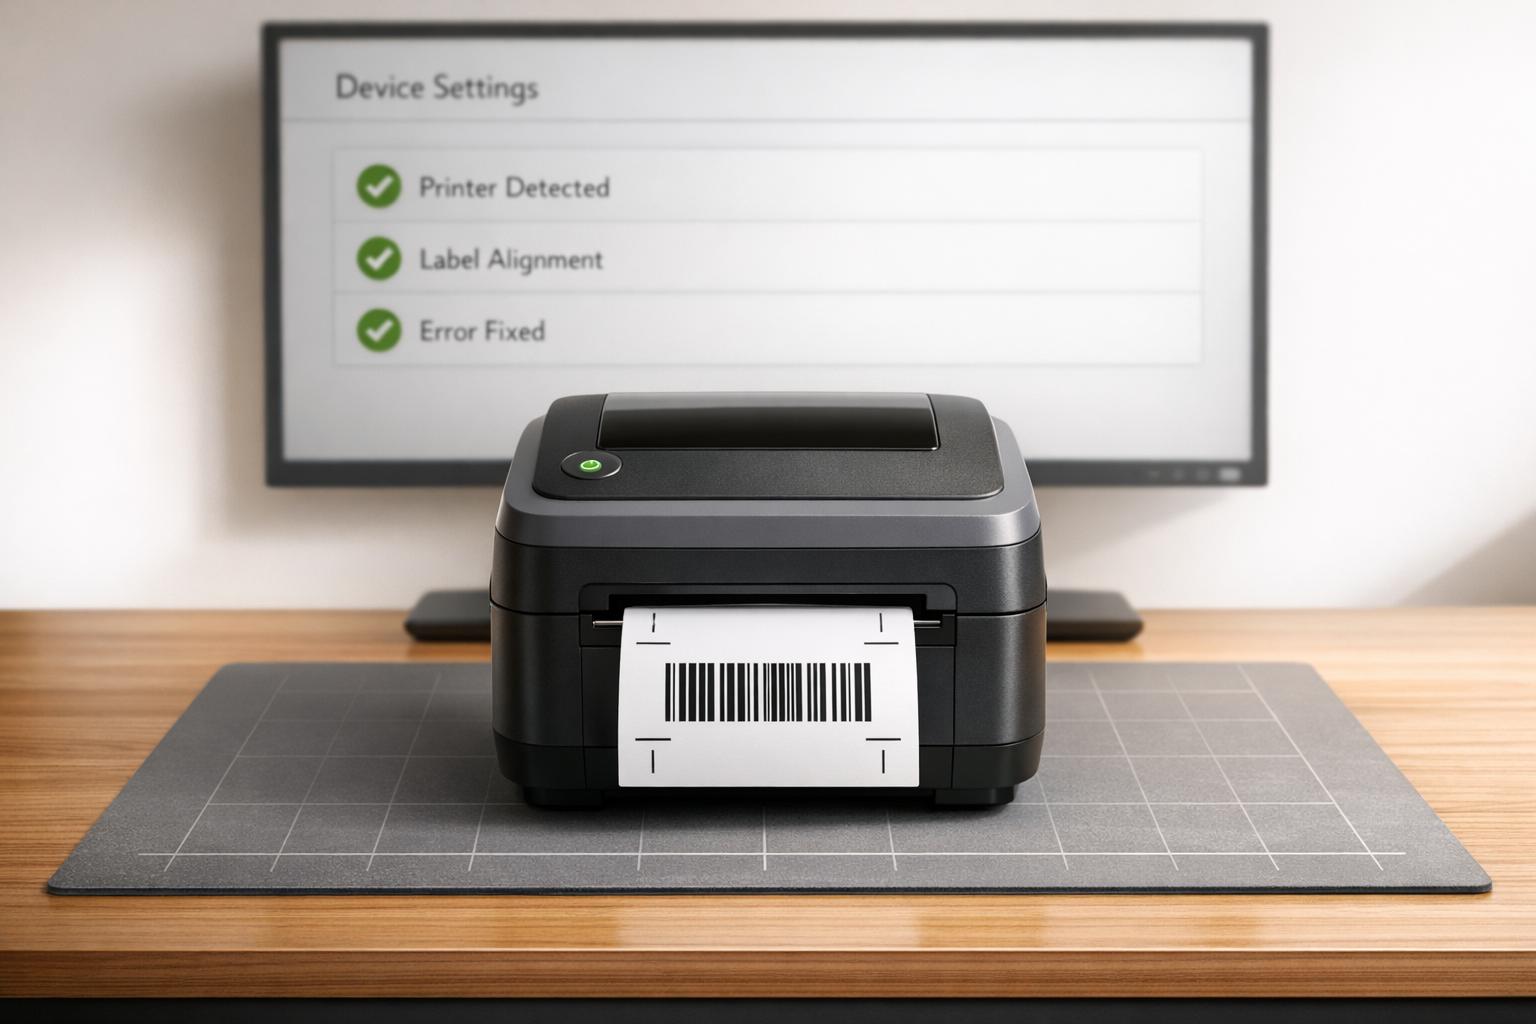
When your label printer isn't working correctly in QuickBooks Desktop, it can disrupt essential tasks like printing invoices or inventory labels. Common issues include:
- Printer not detected: Loose connections or mismatched printer names.
- Failed print jobs: Corrupted configuration files or print spooler issues.
- Alignment problems: Incorrect margins or font sizes.
- Connectivity errors: Network or USB communication failures.
- Driver conflicts: Outdated or incompatible printer drivers.
Quick Fixes:
- Check Printer Setup: Ensure connections are secure and the printer is online.
- Update Drivers: Use the latest printer drivers from the manufacturer.
- Reset Config Files: Rename
QBPrint.qbpto refresh QuickBooks settings. - Use QuickBooks Tool Hub: Run the Print & PDF Repair Tool for software issues.
- Adjust System Settings: Verify permissions for the Temp folder and ensure the Print Spooler service is active.
For persistent problems, reinstalling QuickBooks or using tools like Rapid Inventory can streamline label printing and reduce downtime. Regular updates and system maintenance can help prevent future issues.
Fix QuickBooks Printing Issue Step by Step
If you're looking for a more robust way to handle your stock, you can also try Rapid Inventory for free, which is designed specifically for QuickBooks Desktop users.
sbb-itb-19ed50f
Common Label Printer Errors in QuickBooks Desktop


QuickBooks Label Printer Error Troubleshooting Guide
Label printer problems in QuickBooks Desktop typically fall into five main categories. Understanding these common triggers can help you troubleshoot and resolve issues more efficiently. Here's a closer look at each category and its primary causes.
Printer Not Detected
If QuickBooks can't detect your printer, the problem might be as simple as a loose USB connection, network issues, or a mismatch between the printer's name in QuickBooks and the one installed on your system. As Intuit Support suggests, “If the printer shows Offline, right-click the printer and select Use Printer Online.”
Failed Print Jobs
Print jobs that fail to process can be frustrating. These failures are often linked to a corrupted QBPrint.qbp file or a stopped Windows Print Spooler service. Dancing Numbers points out that users might encounter an error message like, “Could not print to printer. Check your printer selection,” when these issues occur.
Incorrect Label Alignment
Misaligned labels are usually caused by incorrect margin settings, font sizes exceeding 10pt, or a mismatch between the printer's orientation (Portrait/Letter) and the settings in QuickBooks Printer Setup. According to Intuit Support, “When the dates are clipped off, it’s because the report font is too large. To fix this... Change your font size to 10 or smaller.”
Connectivity Failures
Connectivity issues can arise when network printers become unresponsive or USB connections drop. Sometimes, security software or restricted permissions for the Windows Temp folder can block communication, leading to errors like, “The device is not ready.”
Driver Conflicts
Outdated or incompatible printer drivers can lead to errors such as, “Print Driver Host for 32-bit Applications has Stopped Working” during label printing. Ensuring your printer driver is updated and compatible with QuickBooks can prevent these issues.
| Error Symptom | Likely Cause | Recommended Tool/Action |
|---|---|---|
| "Could not print to printer" | Corrupted QBPrint.qbp or Spooler issue | QuickBooks PDF & Print Repair Tool |
| Printer shows "Offline" | Connection or status setting | Windows Control Panel > Use Printer Online |
| Clipped text/Missing fields | Font size or Margin settings | Layout Designer / Printer Setup |
| "Print Driver Host for 32-bit Applications has Stopped Working" | Incompatible/Outdated Driver | Update Printer Drivers |
| "The device is not ready" | Temp folder permissions | Reset %TEMP% folder to Full Control |
Check Printer Setup and QuickBooks Settings
Start by checking whether your printer is working properly outside of QuickBooks. Open Notepad, type a quick test message, and try printing it. If the test prints successfully, the printer itself is functioning correctly, and the issue likely lies within QuickBooks or your Windows settings.
Next, confirm the printer's status in Windows. Head to Control Panel > Printers and Faxes and check if the printer is listed as "Online." If it shows "Offline", right-click on it and set it to "Online." From there, print a test page through Properties to ensure your computer and printer are communicating as they should.
In QuickBooks, navigate to File > Printer Setup and choose Labels from the Form Name dropdown. It's crucial that the printer name here matches exactly with the name listed in the Windows Control Panel. If you're using a dedicated label printer with continuous rolls, adjust the Printer type to either Label Printer (Single Label) or Continuous (Perforated Edge) based on your setup. Under the Settings tab, select the correct Label Format that corresponds to the size of your physical labels.
If these settings don't resolve the issue, the problem might stem from a corrupted QBPrint.qbp file. To fix this, go to C:\ProgramData\Intuit\QuickBooks 20xx (replace "20xx" with your QuickBooks version year). Locate the QBPrint.qbp file and rename it to QBPrint.qbp.old. When you restart QuickBooks, it will create a new configuration file with default settings.
Lastly, ensure the Print Spooler service is active. Press Windows + R, type Services.msc, and hit Enter. Find Print Spooler in the list, right-click it, and select Properties. Set the Startup type to Automatic and click Start if the service isn't already running. If you're using Windows 11, double-check that the Microsoft XPS Document Writer is enabled under "Windows Features", as QuickBooks depends on this for certain printing functions. Complete these steps before moving on to more advanced troubleshooting.
Use QuickBooks Print and PDF Repair Tool
If the basic steps for setting up your printer don't resolve the issue, the QuickBooks Tool Hub can help fix software-related printing problems. This tool is designed to address errors like "Could not print to printer", "The device is not ready", or instances where QuickBooks freezes while printing or fails to save forms as PDFs.
Download and Install QuickBooks Tool Hub
Before you begin, make sure to completely close QuickBooks Desktop. Download the latest version of the QuickBooks Tool Hub (currently version 1.6.0.8). Locate and run the QuickBooksToolHub.exe file to start the installation process. If you see a security warning, click More info and then Run anyway. Once installed, launch the program by double-clicking the QuickBooks Tool Hub icon on your desktop.
The Tool Hub is organized into five tabs, each targeting specific issues:
- Company File Issues: Fixes data-related problems.
- Network Issues: Resolves multi-user errors.
- Program Problems: Addresses printing, PDF, and other performance issues.
- Installation Issues: Helps with setup errors.
- Password Reset: Assists with admin password recovery.
For printer-related errors, you'll focus on the Program Problems tab. This is where the tools for fixing printing and PDF issues are located.
Run the Print and PDF Repair Tool
Within the Tool Hub, go to the Program Problems tab and select the Print & PDF Repair Tool. The repair process will take about one minute and works to fix issues with the QuickBooks PDF Converter and Microsoft XPS Document Writer, which are critical for printing tasks.
After the repair is complete, reopen QuickBooks Desktop and try printing your labels again. To do this, go to File > Printer Setup, choose Labels from the Form Name dropdown, and print a test label. If the issue persists, further troubleshooting may be required, such as adjusting permissions for temporary folders or reconfiguring the print spooler service. These steps will be covered in the next section.
Update Printer Drivers and QuickBooks
Outdated printer drivers or an old version of QuickBooks Desktop can lead to label printing problems. When printer drivers don’t align with your operating system - especially after Windows updates - it can disrupt communication between QuickBooks and your printer. Similarly, using an outdated QuickBooks version can cause compatibility issues and leave unresolved bugs that interfere with printing.
Update Printer Drivers
Keeping your printer drivers up to date ensures smooth communication between QuickBooks and your printer. Brands like Zebra, Dymo, and HP regularly release updates to fix bugs and improve performance. One simple way to update drivers is through Windows Update, which can automatically detect and install the recommended versions.
For manual updates, follow these steps:
- Open Device Manager, find your printer under "Printers" or "Print queues", right-click it, and select Update driver.
- Alternatively, visit the manufacturer’s official website. Navigate to the support section, find your printer model (check the label on your device), select your Windows version, and download the latest driver.
Update QuickBooks Desktop
Updating QuickBooks Desktop ensures compatibility with updated drivers and fixes known bugs. To check your current version, press F2 to open the Product Information window. If you need to update manually:
- Close all company files.
- Right-click the QuickBooks icon and choose Run as administrator.
- Go to Help > Update QuickBooks Desktop.
- Under the Update Now tab, check the Reset Update box and click Get Updates.
- On the Options tab, select Mark All to include all critical updates.
After the update completes, restart QuickBooks to finalize the process. Once both QuickBooks and your drivers are updated, test your printer to see if the issue is resolved.
Test Printing in Other Programs
If the printer setup seems correct, try printing from another program, like Notepad, to pinpoint the issue. If Notepad prints successfully, the problem is specific to QuickBooks and may require additional adjustments or repair tools. If Notepad also fails to print, the issue likely lies with your printer driver or hardware rather than QuickBooks itself.
Fix Persistent Label Printing Errors
When the simpler fixes don't cut it, you may need to dive into these advanced solutions to tackle deeper system conflicts that interfere with label printing.
Reset Temp Folder Permissions
QuickBooks needs Full Control access to the Windows Temp folder to handle printing and PDF-related tasks. If permissions are restricted, errors like "Could not print to printer" or "QuickBooks can't complete the current action due to a missing component" may pop up. This step is especially helpful if the QuickBooks Print & PDF Repair Tool hasn't resolved the issue.
Start by restarting your computer. Then, open the %TEMP% folder, right-click any blank space, select Properties > Security, and make sure every user or group listed has Full Control. Test the setup by printing a simple Notepad document to the Microsoft XPS Document Writer. If it works, you've likely fixed the issue.
Still having trouble? Double-check that the Microsoft XPS Document Writer is enabled in your Windows Features. Also, ensure security software like Norton or McAfee isn't blocking .xps file creation.
Configure Print Spooler Service
The Print Spooler service is a crucial component for managing print jobs. If it’s disabled or stuck, QuickBooks won’t be able to print labels, checks, or reports. To fix this, you need to ensure the service is set to Automatic so it launches properly when your system starts.
Here’s how: Open the Services app (type services.msc in the Start menu). Locate Print Spooler, set its Startup type to Automatic, and start the service. Go to the printer queue in the Control Panel and clear any pending jobs to avoid further delays.
Once the service is configured, restart your computer and label printer to refresh the connection. If the Print Spooler keeps stopping unexpectedly, it might point to an issue with your printer driver. In that case, updating or reinstalling the driver could be the solution.
Reinstall QuickBooks Desktop
If nothing else works, reinstalling QuickBooks Desktop might be your best bet. As Tori B from the QuickBooks Team puts it:
"A clean install renames your QuickBooks folders to fix company file issues... this will not erase any of your data."
This method is particularly effective when the printing error only occurs on a specific workstation, regardless of which user is logged in.
Before starting, save your QuickBooks License and Product numbers. Then, uninstall QuickBooks Desktop via the Control Panel. Download and install the latest version from the official QuickBooks website. Use this step as a last resort for workstation-specific issues.
If the problem persists even after reinstalling, it might be time to consider alternative solutions for label printing.
Use Rapid Inventory for Label Printing
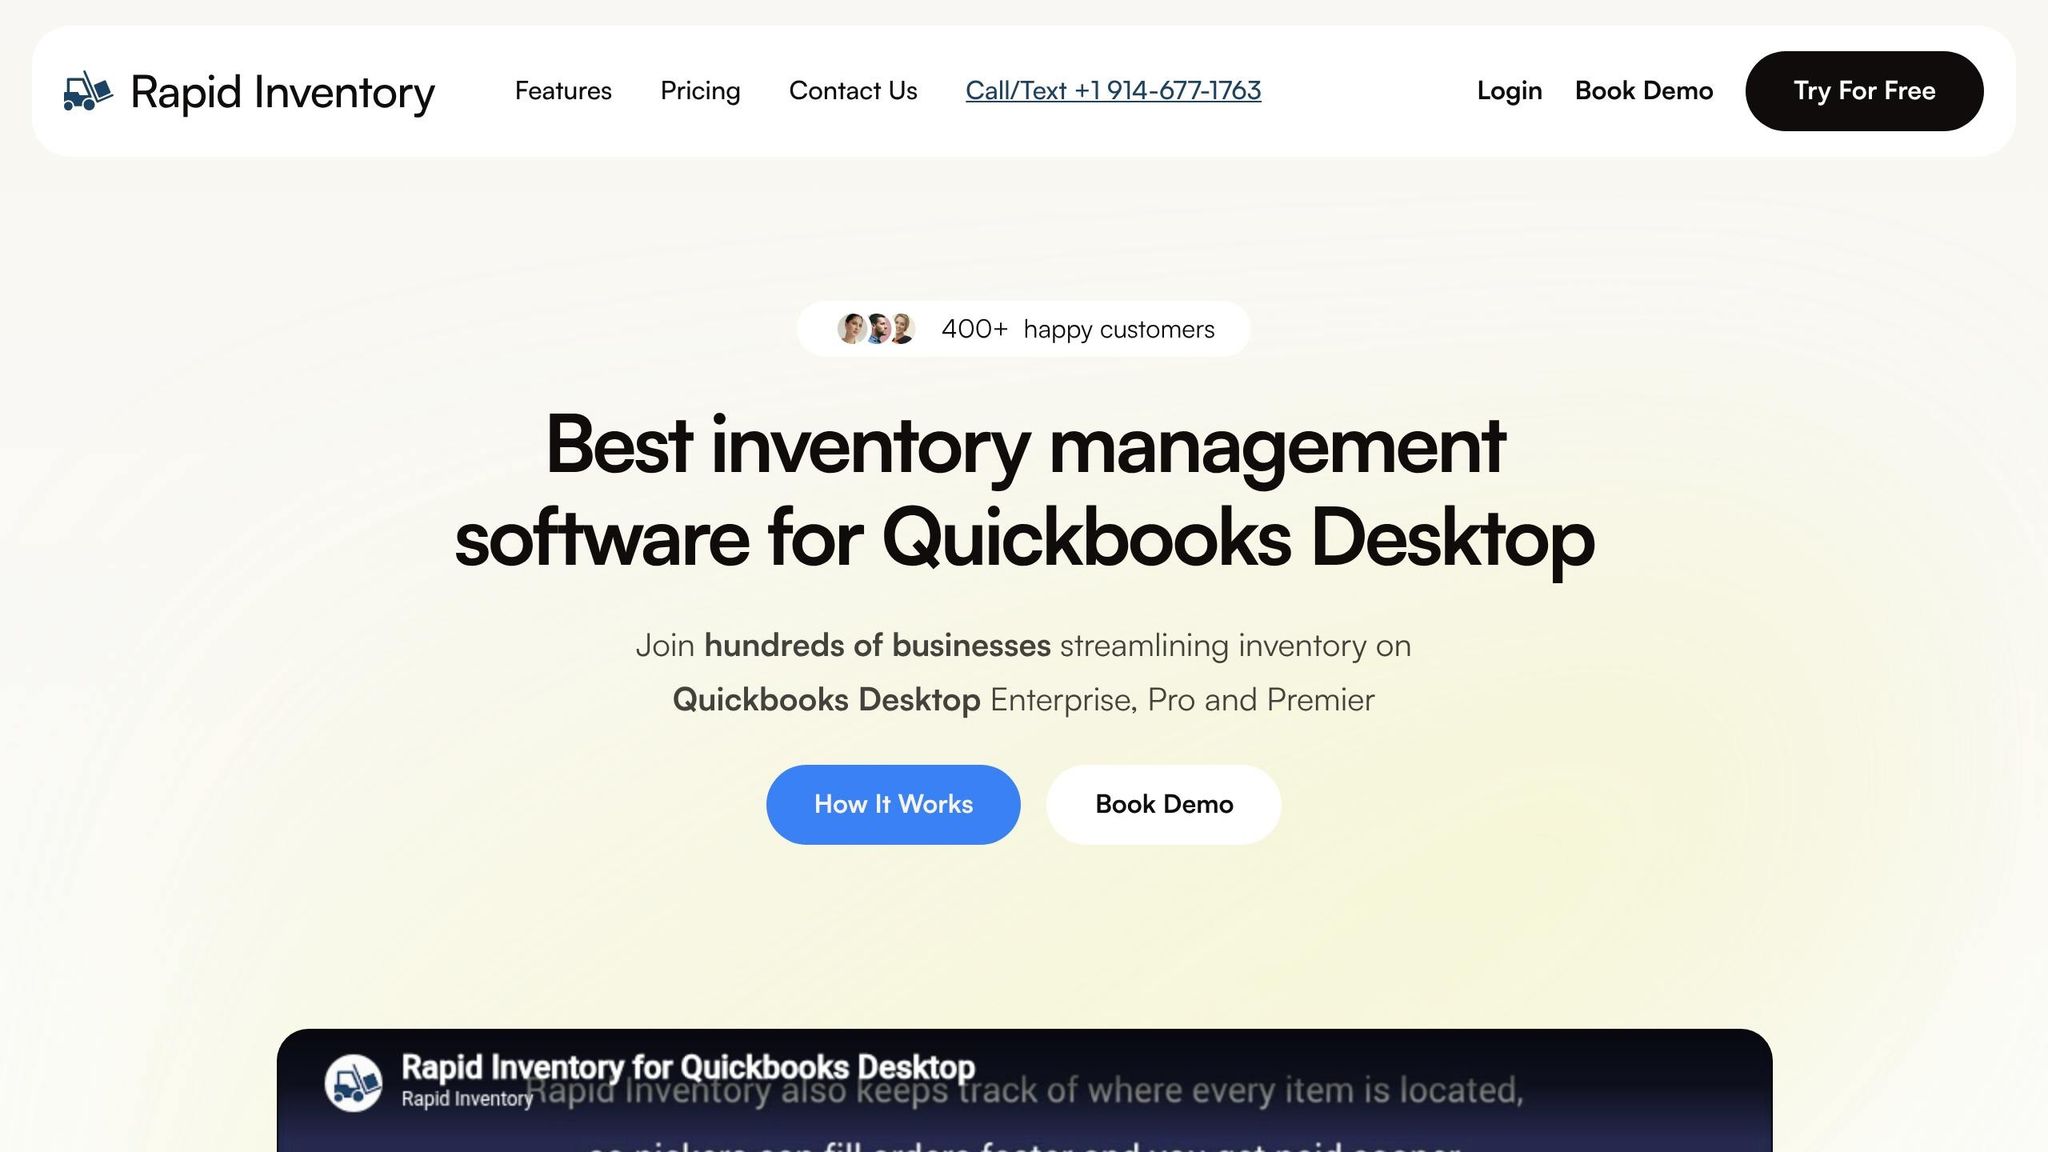
For recurring printing issues, Rapid Inventory can simplify the process. This tool integrates seamlessly with QuickBooks, offering features like two-way syncing, mobile barcode scanning, and multi-location tracking. It eliminates driver conflicts and spooler problems altogether. Plus, they provide free training, onboarding, and support to make the transition smooth and hassle-free.
Test and Prevent Future Printing Problems
After implementing fixes, it's crucial to confirm everything works as expected. Start by printing a test document from a simple program like Notepad, and also try printing a Windows Test Page through the Control Panel.
If you're using QuickBooks, test printing within the software by opening a Sample Company File. Print one test label on plain paper first - this allows you to check alignment by overlaying it on your actual label sheet.
For inventory labels, a more specific test is necessary.
Print Sample Inventory Labels
Before committing to large print runs, print a single test label to identify any lingering issues. If you can successfully save the file as a PDF or print to the Microsoft XPS Document Writer but encounter issues with physical printing, the root of the problem likely lies in your physical printer's driver or hardware - not QuickBooks itself.
Double-check that the printer name in QuickBooks matches exactly with the name in Windows. If problems persist, try renaming the Qbprint.qbp file to Qbprint.qbp.old. When you reopen QuickBooks, it will automatically create a new, uncorrupted version of this file.
Regular Maintenance Tips
Once you're confident everything is functioning properly, take steps to avoid future issues. Regular maintenance can help keep your system running smoothly:
- Use the QuickBooks Tool Hub periodically to address potential software issues.
- Update your printer drivers directly from the manufacturer's website to ensure compatibility.
- Set the Windows Print Spooler service to Automatic to prevent print jobs from getting stuck in the queue.
- Clear the print queue regularly and restart both your computer and printer to refresh connections.
Additionally, ensure the Windows Temp folder has Full Control permissions for all users. Running QuickBooks as an Administrator can also help by granting the software access to printer drivers and necessary system services.
Use Rapid Inventory for Better Efficiency
For a more seamless experience, consider using Rapid Inventory. This platform offers a driver-free label printing solution, which can simplify your workflow and reduce troubleshooting. With features like mobile barcode scanning, two-way QuickBooks synchronization, lot and serial number tracking, and multi-location management, Rapid Inventory helps you keep your inventory data accurate in real time. By eliminating many manual workarounds, it allows you to focus on running your business rather than dealing with printer-related challenges.
Wrapping It Up
Fixing label printer errors in QuickBooks Desktop doesn't have to feel overwhelming. Start with the basics: double-check your physical connections, confirm the printer's online status in Windows, and make sure both QuickBooks and your printer drivers are up to date. If these initial steps don't do the trick, the QuickBooks Tool Hub (version 1.6.0.8) is a lifesaver. Its Print & PDF Repair Tool runs diagnostics in about a minute, making it a quick and efficient option for troubleshooting.
If the simpler fixes fall short, there are more advanced steps you can take. These include renaming the QBPrint.qbp file, adjusting permissions for the Windows Temp folder, and setting the Print Spooler service to Automatic. These deeper system-level tweaks often address the root cause of the problem rather than just masking the symptoms.
To avoid these issues in the future, regular upkeep is key. Keep QuickBooks updated, download the latest printer drivers directly from the manufacturer's website, and occasionally run the QuickBooks Tool Hub to catch potential issues early. Running test prints in basic programs can also help pinpoint problems before they escalate.
For an even smoother experience, consider Rapid Inventory. This solution eliminates the need for printer drivers altogether. With features like two-way QuickBooks syncing, mobile barcode scanning, and multi-location tracking, it simplifies inventory management while cutting down on troubleshooting time.
FAQs
How do I know if the problem is with QuickBooks or my printer?
Start by testing your printer outside of QuickBooks. Try printing a test page from the printer properties or use a simple program like Notepad. If the printer works fine, the issue likely lies within QuickBooks.
If the printer doesn’t work at all, you should:
- Check your printer setup.
- Update the printer drivers.
- Look for any error messages or hardware problems.
However, if the printer works in other programs but not in QuickBooks, focus on troubleshooting QuickBooks-specific issues. You can adjust the software's settings or use the Print & PDF Repair Tool to resolve the problem.
Will renaming QBPrint.qbp delete my QuickBooks data?
Renaming the QBPrint.qbp file in QuickBooks Desktop can help resolve printing issues. When you do this, QuickBooks automatically generates a new file with default printer settings, effectively resetting any previous configurations. Rest assured, this process does not affect your QuickBooks data - all your company information stays intact. However, keep in mind that you'll need to reconfigure any customized printer settings after renaming the file.
Why do my labels print misaligned even with the right label size selected?
Misaligned labels can happen if the print alignment settings are off. To fix this in QuickBooks Desktop, follow these steps:
- Navigate to File > Printer Setup.
- Select the specific form you're working with and click Align.
- Use a test print to adjust the Pointer Line Position for precision.
If you're using a continuous-feed printer, you'll need to make both coarse and fine adjustments. Getting the alignment right is key to ensuring your labels print correctly.


