
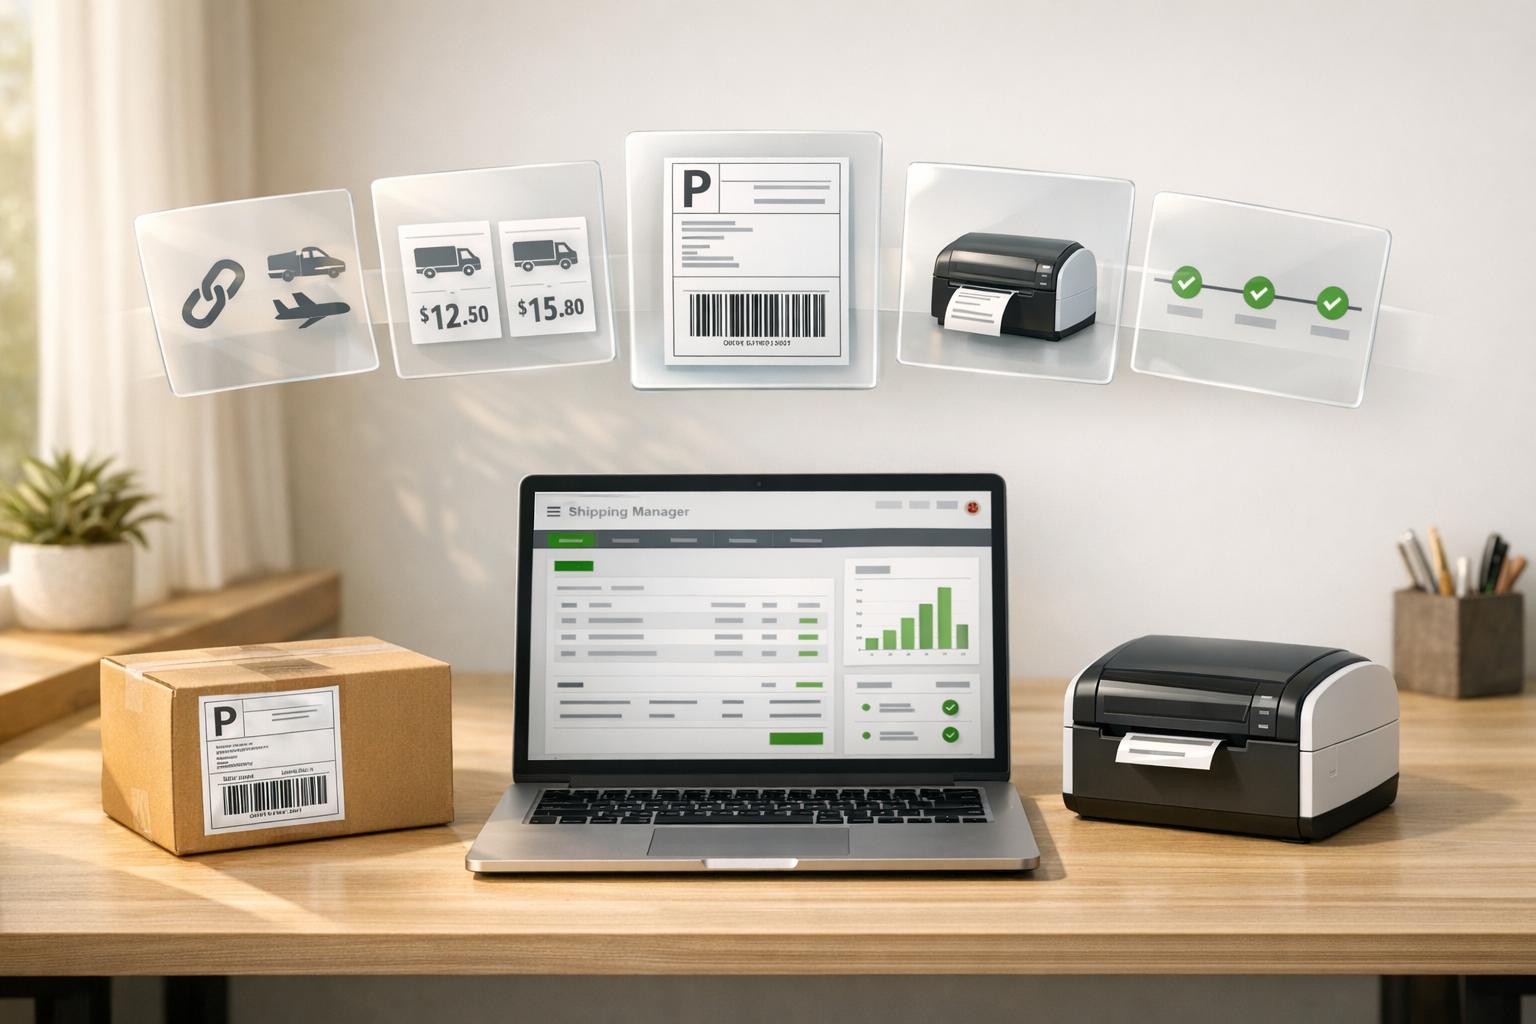
QuickBooks Desktop simplifies shipping by allowing you to create, purchase, and print shipping labels directly within the software. This feature, available in QuickBooks Desktop 2024 and newer versions, pulls customer details from transactions, compares rates from UPS, FedEx, and USPS, and automatically updates tracking information in your records. Key benefits include batch processing for multiple orders, integrated shipping discounts (up to 26% for FedEx and 21% for USPS), and support for thermal and standard printers.
Key Steps:
- Set Up: Ensure you're using a compatible QuickBooks version (2024 or newer). Connect carrier accounts via the Shipping Manager and configure default settings like shipment preferences and printer layouts.
- Create Labels: Generate labels directly from invoices, sales receipts, or sales orders. For non-transaction shipments, manually input details in the Shipping Manager.
- Print & Track: Print labels immediately or later. Tracking info syncs automatically with transactions for easy customer updates.
- Troubleshooting: Address common issues like address errors, rate miscalculations, or printing problems by verifying transaction details and updating software or hardware settings.
QuickBooks Shipping Manager streamlines the shipping process, saving time and reducing errors while managing costs effectively with inventory management software for QuickBooks Desktop.

QuickBooks Shipping Manager Setup and Label Creation Process
Setting Up QuickBooks Desktop for Shipping Labels
QuickBooks Desktop Requirements
First, make sure your QuickBooks Desktop version supports Shipping Manager. This feature is available in QuickBooks Desktop 2024 and newer versions (Pro Plus, Premier Plus, and Enterprise editions). If you're using QuickBooks Desktop 2022 or an older version, you'll need to upgrade to at least the 2024 edition to use the latest shipping tools and security updates.
To check your version, press F2 (or Ctrl+1) to open the Product Information window. If you’re already using QuickBooks 2023 or 2024, download the latest updates by navigating to Help > Update QuickBooks Desktop. Keep in mind that only the QuickBooks Admin or Master Admin can set up Shipping Manager and add funds to the shipping wallet. Non-admin users will need specific permissions, which can be assigned through File > Shipping and managed in Intuit Account User Management.
An active internet connection is necessary for calculating rates and processing shipments. Supported hardware includes standard desktop printers for 8.5" x 11" labels and certain thermal printers like the Zebra Models 2844 and ZP450 for 4" x 6" labels. If you plan to use an electronic scale, the Mettler Toledo PS60 (USB connection) is compatible.
Once you’ve confirmed your system meets these requirements, you can move on to adding carrier accounts.
Adding Carrier Accounts
After updating your software, the next step is integrating your shipping carriers. Start by opening File > Shipping Manager and selecting Get Started. Log in with your Intuit Account, accept the ShipEngine Terms of Service, and provide a "Ship From" address along with a credit card for setup. A USPS account will be automatically created through the Intuit-ShipEngine partnership, giving you access to discounted rates right away.
To add FedEx, go to File > Shipping Manager > Manage Carriers > Additional Carrier, then select FedEx. Review the terms, enter your FedEx account details, and click Connect. For UPS, follow the same process: choose UPS, input your account username and password, and select Authenticate Account. If you use Stamps.com, choose it from the carrier list, enter your Account ID, username, and password, and click Authenticate Account. Shipping Manager uses OAuth technology to securely connect your carrier accounts without exposing sensitive login credentials.
For USPS shipments, you’ll need to pre-fund a Shipping Wallet managed by ShipEngine. You can set auto-funding rules to ensure your balance stays above a minimum threshold by specifying a refill amount. Charges for UPS and FedEx shipments, however, are billed directly to your carrier accounts, so no pre-funding is needed for those services.
Configuring Default Shipping Settings
Once your carrier accounts are connected, it’s time to set up default shipping preferences to make future label creation faster and more efficient. Open File > Shipping Manager, then click the Settings (gear icon). Set your Units of Measure to pounds and inches, which align with U.S. shipping standards.
Next, configure your Ship From Locations by going to Settings > Ship From Locations. Add your warehouse or office address and set one as the default. If you ship from multiple locations, you can add additional addresses and switch between them as needed. Under Settings > Shipment Defaults, you can set preferences for frequently used shipping details like weight and dimensions, saving time on repetitive tasks.
If you’re using a Mettler Toledo PS60 electronic scale, enable it under Settings > Scales by checking the option to "Use Electronic Scale." This allows the scale to automatically input weight data, reducing manual entry errors. Finally, choose your Shipping Label Layout in the Settings menu to match your printer type - whether it’s a desktop or thermal printer. Before you start using these features, ensure Shipping Manager is enabled by navigating to Edit > Preferences > Shipping > Company Preferences and checking the box for Enable Shipping Manager.
sbb-itb-19ed50f
Creating and Purchasing Shipping Labels
Generating Labels from Transactions
The quickest way to create shipping labels is directly through your existing QuickBooks transactions. When you generate labels from Invoices, Sales Receipts, or Sales Orders, the Shipping Manager automatically fills in the "Ship To" address using your QuickBooks records. This saves time and helps minimize errors by avoiding duplicate data entry.
To create a label from an invoice or sales receipt, simply open the transaction, click the Ship icon, or select Shipping Manager. For sales orders, go to Customers > Sales Order Fulfillment Worksheet, choose the order you want to ship, and select "Ship with Shipping Manager" from the Action dropdown. If you're using QuickBooks Desktop 2025, you can even handle multiple shipments at once. Just select several orders in the Sales Order Fulfillment Worksheet and click Batch Actions > Create Shipping Labels.
After purchasing a label, check the Paste tracking Information box to automatically add the tracking number and shipping costs to the original transaction. This keeps your records accurate and makes it easy to provide shipment details if your customers ask.
For shipments that aren’t linked to a transaction, you can still create labels by following the steps below.
Creating Labels Without Transactions
When you need to ship a package that isn’t tied to a specific invoice or sales receipt, QuickBooks allows you to purchase shipping labels independently through the Shipping Manager. Go to File > Shipping Manager and select "Purchase Shipping Label". In this case, you’ll need to manually input the "Ship To" address.
Enter the recipient’s information along with the package’s dimensions and weight. If you’re shipping multiple packages to the same address, you can use the "Add Package" or "Copy" options to streamline the process. You can also decide who covers the shipping costs by selecting Sender (prepaid), Receiver (freight collect), or Third Party billing, depending on your arrangement. For USPS shipments, make sure your Shipping Wallet has enough funds, as these labels are charged immediately.
Calculating Rates and Completing Payment
Once you’ve entered the package details, click Calculate rate or Compare rate to view shipping costs across all connected carriers. Choose your preferred service and then click Purchase label to complete the transaction.
Payment methods depend on the carrier. USPS labels are paid for using a pre-funded Shipping Wallet managed by ShipEngine, which can be set to auto-refill when the balance drops below a certain amount. For FedEx and UPS, charges are billed directly to your connected carrier accounts. The Shipping Manager itself is free to use - you’re only charged the carrier fees for the shipments you process.
"You only pay FedEx, UPS, or USPS charges on what you ship. And you can sign up for Shipping Manager through your QuickBooks software and start using it right away." - Intuit
This streamlined process ensures a consistent workflow for managing all your shipping needs, whether tied to a transaction or not.
Printing, Voiding, and Tracking Shipping Labels
Printing Labels
Once you've purchased your shipping label, you can print it immediately or save it for later. To print right away, select Print and close. If you need to print later, go to File > Shipping Manager, locate the shipment, click the three-dot (⋮) icon, and choose Print Label.
During the setup process, QuickBooks will prompt you to select a default printer. Both laser and thermal printers are supported, so make sure your printer matches your label stock. You can adjust the layout by navigating to Shipping Manager > Settings (gear icon) > Shipping Label Layout to ensure it aligns with your label stock.
Double-check that your Units of Measure (like pounds or ounces) in the Shipping Manager settings match your scale. If a label doesn't print correctly, you can reprint it from QuickBooks Desktop Shipping Manager history within 24 hours. After that window, the label may print as a blank document.
If you face any printing issues or need to make corrections, consider voiding and reprinting the label as outlined below.
Voiding and Reprinting Labels
Mistakes happen, and QuickBooks makes it simple to void incorrect labels. In the Shipping Manager history, locate the shipment, click the three-dot (⋮) icon, select Void Label, and confirm after reviewing the carrier's terms. Refunds for USPS labels are credited to your QuickBooks shipping wallet, while FedEx and UPS refunds typically go back to your original payment method.
Timing is crucial. USPS labels must be voided within 30 days of the print date, and refunds may take up to 30 days to process. Keep in mind that USPS First Class Letter and Large Envelope services are not eligible for voids or refunds. Also, avoid reusing a shipping label - this could lead to account closure by the carrier. If you're disconnecting your shipping service, make sure to void any unused labels first, as they can't be voided after disconnection.
Tracking Shipments
After printing and validating your labels, you can track shipments directly within QuickBooks. The Shipping Manager centralizes all tracking information. To access it, go to File > Shipping Manager, where you’ll find details like creation dates, tracking IDs, and carrier information. Click the three-dot (⋮) icon next to a shipment to check its real-time status, such as "In-transit" or "Delivered."
"Track all your shipments without switching platforms."
– Intuit QuickBooks Help
If you enabled the Paste tracking Information option when purchasing the label, the tracking number and shipping costs are automatically added to the related invoice or sales receipt. This makes it easy to reference and share with customers. To display tracking numbers on invoices, go to Lists > Templates, select your invoice, click Additional Customization, and enable the Other field - renaming it to "Tracking Number".
How To Create Shipping Labels: QuickBooks Enterprise | Tutorial
Troubleshooting Common Shipping Label Errors
Shipping labels not printing or calculating correctly can disrupt operations, but these steps can help resolve the most common issues quickly.
Address Prefilling Errors
QuickBooks Desktop Shipping Manager pulls the "To" address directly from the shipping address field in your transaction - whether it's an Invoice, Sales Receipt, or Sales Order. This means accurate customer address information is essential to avoid delivery mistakes. If the address seems incorrect or missing, it’s often due to incomplete details in the Customer Center or the transaction itself.
To fix this, go to the Customer Center, double-click the customer’s name, and check the Address Info tab. Ensure the "Ship To" section is fully completed, as this data will populate future transactions. For customers with multiple shipping locations, verify all addresses in the Customer Center and use the Ship-To dropdown within the transaction to select the correct one.
For Purchase Orders, if the address prefills incorrectly, navigate to Lists > Templates, double-click your PO template, select Update Information, and confirm that the Ship To Address matches your intended warehouse or company location. For Refunds or Credit Memos, keep in mind that QuickBooks may default to the billing address rather than a specific shipping address.
If address updates don’t take effect after editing, use the Verify Data utility (File > Utilities) to check for file corruption. If needed, run the Rebuild Data tool to restore file integrity. You can also manually override the "From" address in the Shipping Manager setup if you're shipping from a different warehouse.
Rate Calculation Problems
Rate calculation errors typically happen when shipment details are incomplete. QuickBooks and its integrated partners require four key pieces of information: shipping service, package type, weight, and the "Ship From" address. Many carriers also need package dimensions (length, width, and height in inches) and weight (in pounds and ounces) to calculate rates accurately.
Click the "Validate Address" link for the recipient, as unverified addresses can block rate calculations or lead to cost discrepancies. If you see a "Selected service is not compatible" error, consult the carrier’s service guide to ensure the weight and package type meet their requirements.
Authentication errors, such as "Invalid Authentication Information", often point to a damaged account connection.
"This problem can happen when the Shipping Manager account is damaged. To help you get back on track, you'll have to delete the account and create a new one." - Rasa-LilaM, QuickBooks Team
To fix this, delete the affected carrier account and set it up again. Go to Shipping Options, remove the carrier, and reconnect it to refresh the connection.
If you’re using third-party billing, estimated rates may not display, but you can still create the label successfully. Also, ensure QuickBooks Desktop is updated to the latest release to avoid compatibility issues with older shipping manager components.
Once rates are successfully calculated, make sure your label prints correctly by following the print layout steps below.
Print Layout and Connection Issues
If you’re having trouble printing labels, first figure out whether the issue is with QuickBooks or your printer. Test by printing from another program, like Notepad, to narrow down the source. Misaligned labels often result from incorrect orientation settings or outdated printer drivers.
To fix alignment issues, go to File > Print Forms > Labels, select the appropriate label, and use the Align button in the Settings tab to adjust margins. Use the Print Sample option to confirm the settings before printing. In the updated Shipping Manager, adjust your layout by going to Settings (gear icon) > Shipping Label Layout.
For printer-specific problems, follow these steps:
- Check that your printer is set to "Online" in the Windows Control Panel. Right-click the printer and select Use Printer Online if needed.
- Clear any stuck print jobs in the queue.
- Rename the QBPrint.qbp file in your QuickBooks installation folder to QBPrint.qbp.old, then reopen QuickBooks to generate a fresh configuration file.
For persistent software errors, use the QuickBooks PDF & Print Repair Tool from the Tool Hub. You can also reset TEMP folder permissions by pressing Windows + R, typing %TEMP%, right-clicking the folder, and ensuring all user groups have Full Control under the Security tab.
Finally, keep in mind that most thermal printers are designed for 4" x 6" labels, while standard desktop printers typically use 8.5" x 11" sheets. Double-check that your layout settings match your printer type to avoid formatting issues.
Conclusion and Additional Resources
QuickBooks Desktop Shipping Manager simplifies the process of creating, printing, and tracking shipping labels. To get started, an Admin needs to connect carrier accounts by navigating to File > Shipping Manager, set the "Ship From" address, and configure payment details. Once set up, you can generate labels directly from Invoices, Sales Receipts, or the Sales Order Fulfillment Worksheet. Simply input the package dimensions, weight (in pounds and ounces), and choose a service type to compare real-time rates from UPS, FedEx, and USPS.
With setup and troubleshooting covered, you're ready to streamline your shipping workflows.
Key Takeaways
Here are some important tips to keep your shipping operations running smoothly:
- Review and confirm your default shipping settings to avoid repetitive manual entries.
- Validate addresses before purchasing labels to reduce errors.
- For high-volume operations, take advantage of the Batch Actions feature in the Sales Order Fulfillment Worksheet to process multiple orders at once.
- Tracking numbers are automatically updated in QuickBooks transactions, ensuring that customer records stay accurate.
If you encounter issues, the QuickBooks Community forum at http://www.quickbooks.com/support is a great resource for advice from experienced users and the QuickBooks Team. For carrier-specific problems, you can contact:
- FedEx: 1-800-411-5174
- UPS: 1-800-PICK-UPS (742-5877)
- USPS via Stamps.com: 1-800-434-0055.
Additionally, QuickBooks Desktop includes help articles and a feedback option. Access these through the Help menu by selecting Send Feedback Online.
Explore Rapid Inventory for Better Workflow
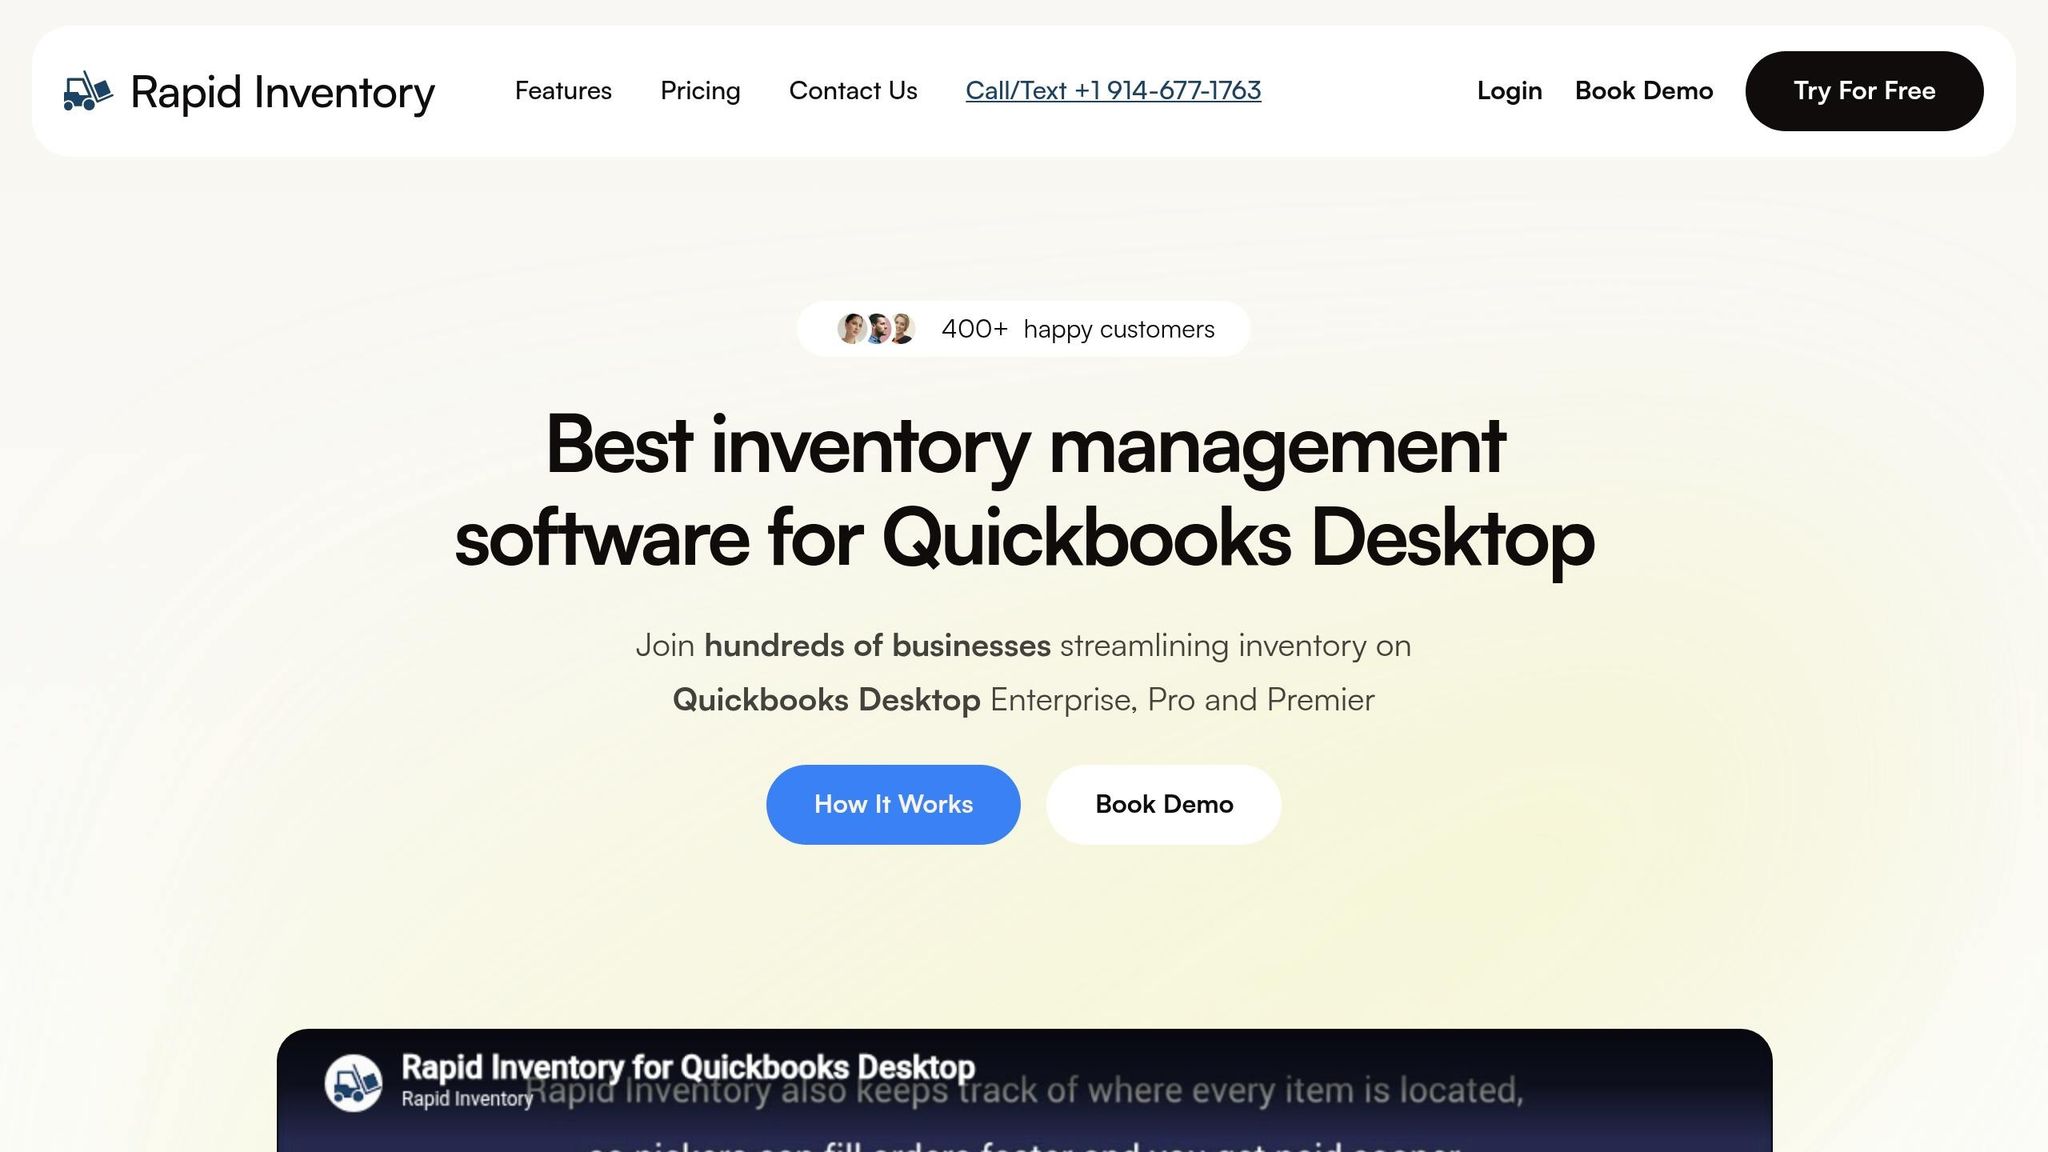
If you’re looking for enhanced inventory management to complement your shipping operations, Rapid Inventory offers a powerful solution. While QuickBooks handles shipping efficiently, managing inventory across multiple locations can require additional tools. Rapid Inventory integrates seamlessly with QuickBooks Desktop, providing two-way synchronization to keep inventory levels, shipment data, and transaction details updated in real-time.
Some standout features include mobile barcode scanning for faster order picking and packing, FIFO/FEFO picking strategies for managing product expiration dates, and multi-location tracking to monitor stock across warehouses. It also supports cycle counting and backorder tracking, helping to reduce manual data entry and potential fulfillment errors.
With a web-based interface, you can access real-time inventory reports and manage shipments from anywhere. Rapid Inventory also offers free training and support to help you get started quickly. Pricing begins at $90 per user per month for the Pro plan (1–9 users) or $900 per month for the Unlimited plan (10+ users), with both plans supporting unlimited warehouses and locations.
FAQs
Can I use Shipping Manager in QuickBooks Desktop 2023 or older?
Yes, Shipping Manager is included in QuickBooks Desktop 2023 and later versions. This feature is part of the updated shipping tools introduced in recent releases. You'll find setup and usage instructions directly within the software to help you get started smoothly.
Why won’t QuickBooks calculate shipping rates?
QuickBooks might struggle to calculate shipping rates for several reasons. Issues like incorrect printer or scale settings can disrupt label printing, while incomplete setup or integration of shipping tools - such as Shipping Manager or ShipEngine - can also cause problems. Additionally, configuration errors or permission settings may interfere with the process. To address these issues, double-check that the shipping feature is fully enabled and correctly configured. These are some of the most frequent culprits behind shipping rate calculation troubles in both QuickBooks Desktop and QuickBooks Online.
How do I reprint or void a shipping label?
To reprint a shipping label in QuickBooks, head over to the Shipments page or the Activity Feed, find the specific shipment, and click Reprint.
If you need to void a USPS label, locate it in the Shipped folder and select the void option. Keep in mind, USPS labels must be voided within 30 days of printing, as required by postal regulations. Always adhere to carrier guidelines to prevent any complications.


