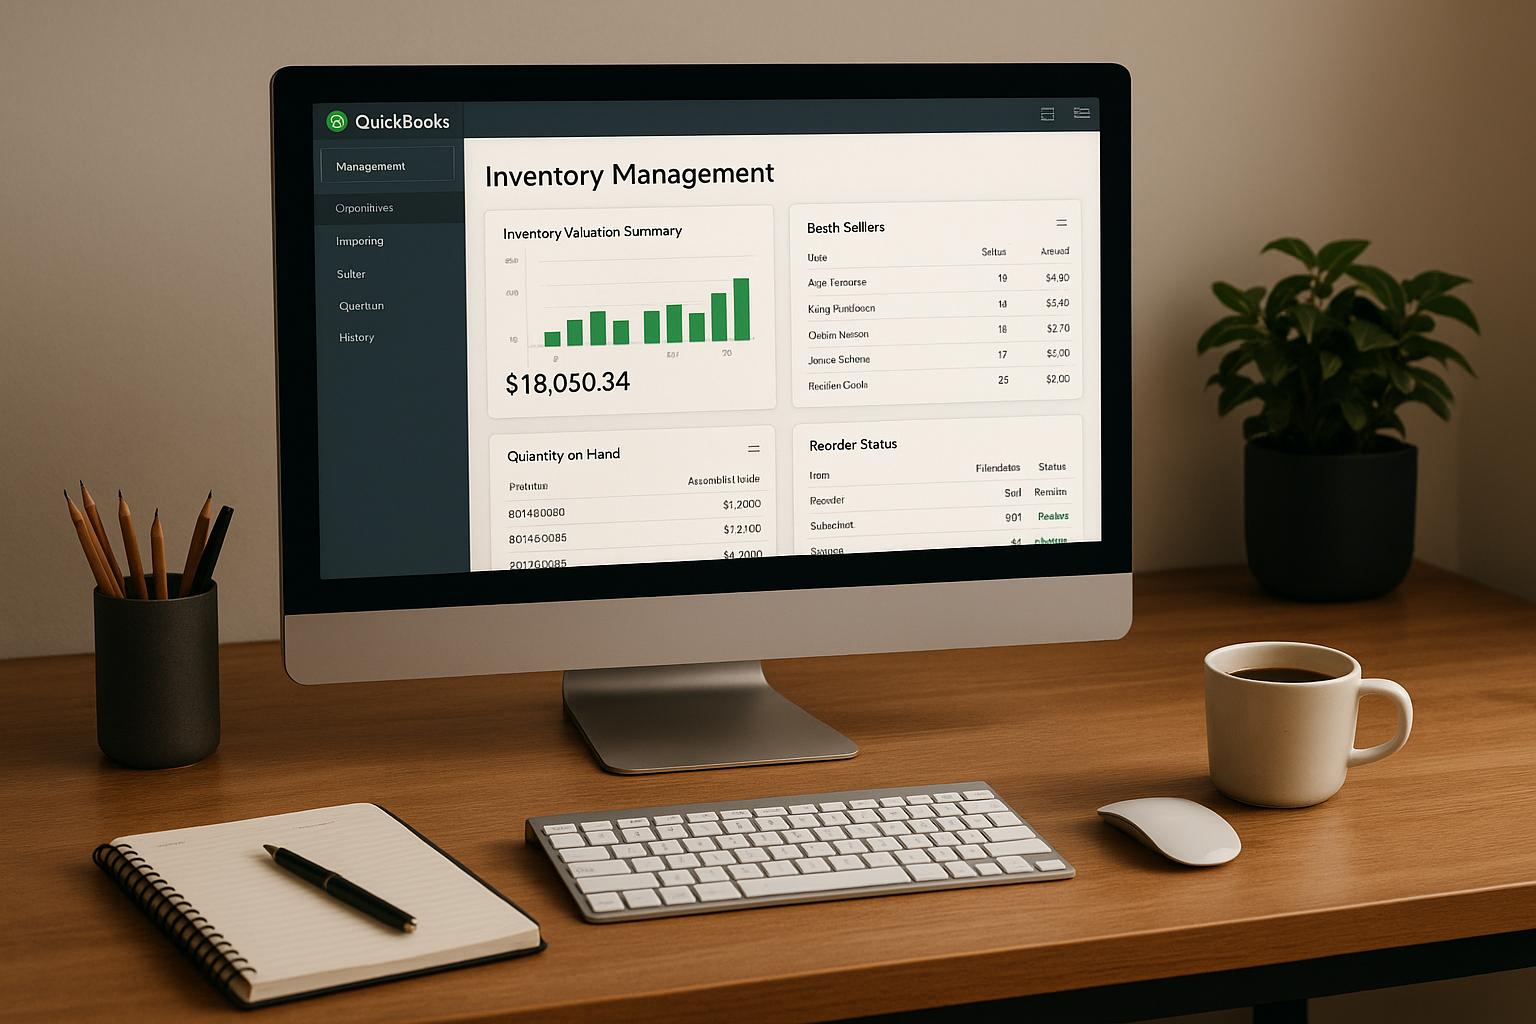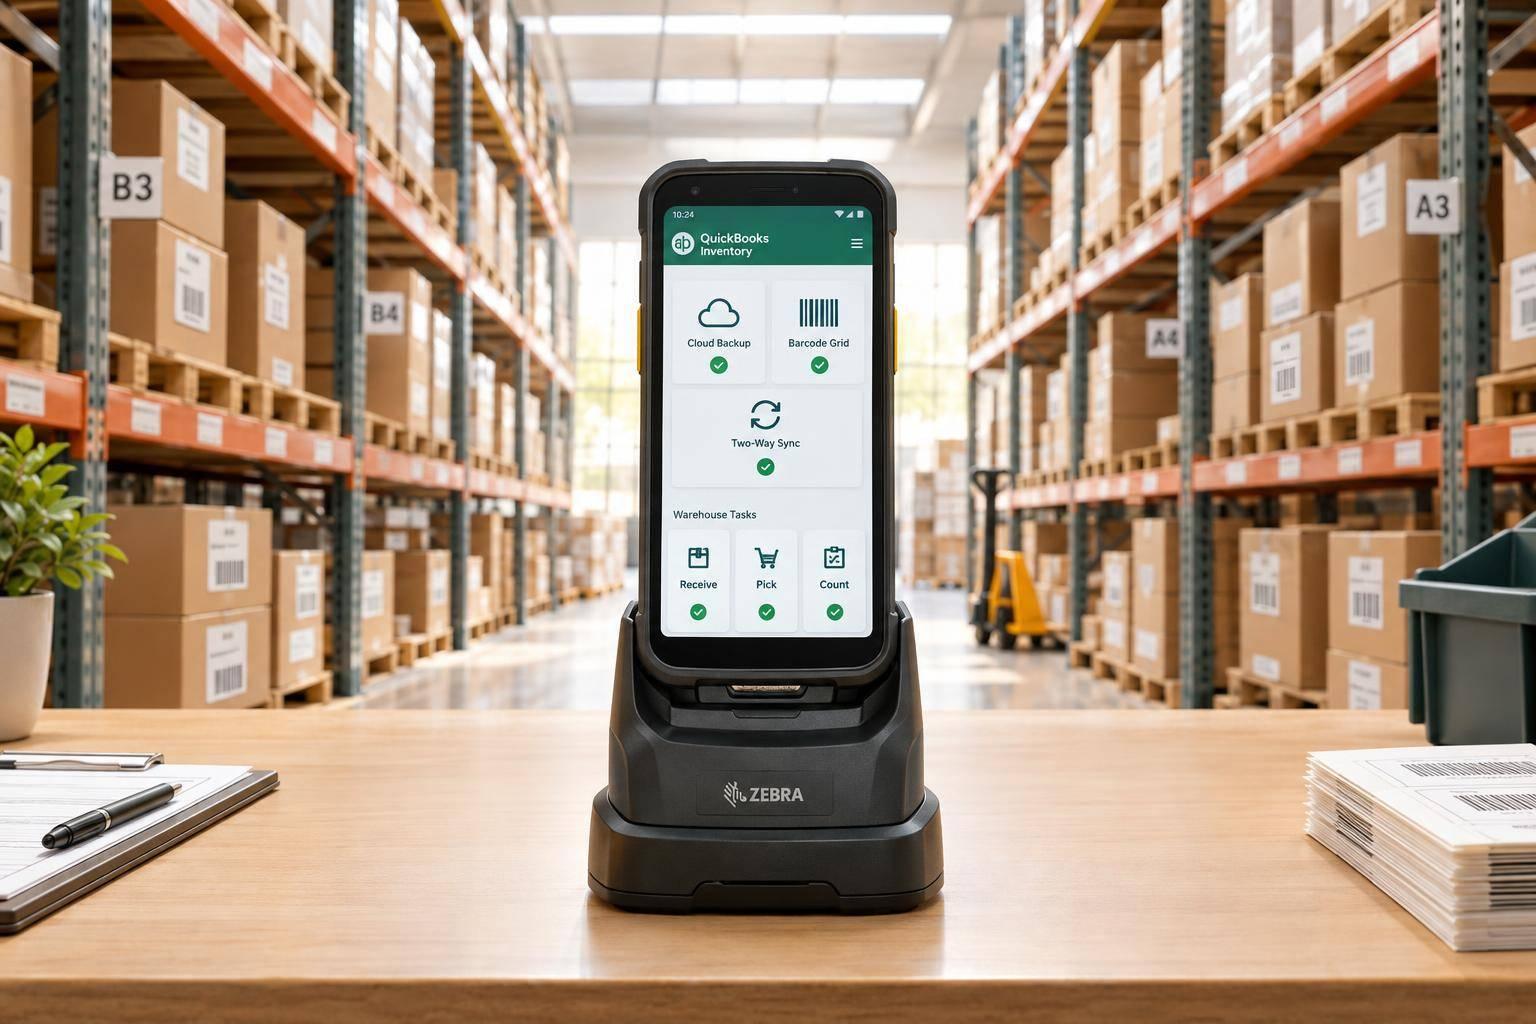
I recommend starting with 1 warehouse: back up QuickBooks Desktop, check compatibility, and clean up items, barcodes, and locations before connecting devices. Keep QuickBooks as your system of record, and confirm what each scan sends back.
This guide covers Rapid Inventory, which has a <u>separate setup from native QuickBooks Warehouse Manager</u>. I’ll walk you through:
- Preparation: Set units, tracking rules, user permissions, and steps for handling errors.
- Connection: Map records and test two-way sync before live work.
- Daily tasks: Receive purchases, pick orders, move stock, and approve count adjustments.
- Launch: Check failed syncs and duplicate entries, train staff, and reconcile results daily.
My rule: expand only when warehouse activity and QuickBooks records agree - and never post the same transaction in both systems.

QuickBooks Mobile Warehouse Setup: 4-Step Launch Checklist
Step 1: Prepare Inventory Records and Locations
Back up the company file before changing settings. Save the .QBB backup on a separate drive or computer, and allow only designated administrators to make setup changes. Then standardize items and barcodes so mobile scans post correctly to QuickBooks Desktop.
Check Item Records and Assign Barcodes
Clean up item records so receiving, picking, and counts link each scanned code to one QuickBooks item. Check every active inventory item for a distinct item name or SKU, part number, description, vendor, purchase and sales units, quantity on hand, reorder point, preferred vendor, and existing barcode.
Resolve duplicate items and inconsistent names before scanning. Each barcode should identify the correct item and unit of measure, with conversion rules documented.
Example: 1 case = 12 each.
For applicable QuickBooks Desktop Enterprise workflows, open Edit > Preferences > Items & Inventory > Company Preferences > Advanced Inventory Settings > Barcodes. Menu availability can vary by installed release.
Test one barcode from each label type you use, including Code 128 or EAN-13 where supported. Confirm that each scan selects the intended item and records the correct unit. Once item scans work correctly, standardize warehouse names and bins so scans also point to the right location.
Name Warehouses and Bins and Set Scan Rules
Use a fixed location naming convention. Keep receiving, quarantine, damaged, returns, and shipping areas separate from available stock. Use sites for warehouse-level locations and bins for storage detail.
Set the minimum required scans before work begins:
- Receiving: Normally scan the purchase order or receipt, item, destination site or bin, and quantity.
- Picking: Scan the order, item, source bin, and picked quantity.
- Transfers: Scan both source and destination locations.
- Counts: Identify the count session, item, location, and counted quantity.
Require an exception scan when the item, bin, or quantity does not match. With location and scan rules set, define how the app handles lots, serials, and shortages.
Set Tracking, Picking, and Exception Rules
Enable lot tracking for batch-managed products, serial tracking for individually identifiable items, and expiration dates where shelf life matters. QuickBooks Desktop Advanced Inventory supports bin or lot tracking and barcode scanning, but the exact options depend on the edition, subscription, and installed release. Decide whether the app or QuickBooks creates and validates tracking values.
Record dates in MM/DD/YYYY format, such as 11/10/2026.
Put exception-handling rules in writing:
- Partial receipts: Receive only the verified quantity and leave the balance open on the purchase order.
- Shortages: Record the quantity physically received and flag the missing quantity for review.
- Damaged stock: Move it to a designated quarantine or damaged location.
- Backorders: Leave the demand open.
- Count variances: Require a recount and supervisor approval before posting an adjustment.
Record the reason, user, date, item, location, expected quantity, counted quantity, and approved adjustment.
sbb-itb-19ed50f
Step 2: Connect Devices and Test Two-Way Sync
With records and locations cleaned up, check device compatibility, individual user accounts, and permissions before connecting devices. During Rapid Inventory onboarding, confirm the connection steps and sync timing. Then pair devices or assign sync duties based on your workflow.
Pair Devices for Native Warehouse Manager Only
Native Warehouse Manager requires QuickBooks Enterprise with Advanced Inventory. Check that your release, supported mobile app or scanner, Site Operations settings, and permissions support the tasks you plan to perform.
Open Edit > Preferences > Items & Inventory > Company Preferences > Advanced Inventory Settings > Site Operations > Add. Enter the generated passcode in the supported mobile app or scanner, select Link, and confirm the connection.
If Site Operations or app support is missing, stop. Do not use this pairing process for Rapid Inventory.
After pairing, check which records and actions sync so users understand what each scan changes.
Map Records and Assign Sync Duties
Keep QuickBooks Desktop as the system of record. Rapid Inventory sends supported warehouse activity back to QuickBooks. During onboarding, confirm which records and activities are mapped, then assign sync responsibilities:
| Stage | Responsible user | Source system | Expected result |
|---|---|---|---|
| Item, customer, and vendor setup | QuickBooks administrator | QuickBooks Desktop | Approved records are available in the warehouse app |
| Warehouse and bin setup | Warehouse lead with administrator approval | QuickBooks Desktop or Rapid Inventory, as configured | Location names, codes, and labels match |
| Purchase receiving | Receiving clerk | Rapid Inventory | Receipt status and supported quantity updates reach QuickBooks |
| Sales-order picking | Picker or warehouse lead | Rapid Inventory | Pick status and supported inventory changes are recorded |
| Transfers and location moves | Warehouse lead | Rapid Inventory | Stock is assigned to the correct warehouse or bin |
| Cycle counts | Authorized counter and approver | Rapid Inventory, then approved adjustment workflow | Variances are reviewed and posted according to policy |
| Accounting review and sync errors | QuickBooks administrator | QuickBooks Desktop and integration logs | Errors are corrected, retried, and reconciled |
Confirm who starts or monitors sync, when it should finish, and who handles failures. A scan does not create an accounting entry. Treat task status, available quantities, stock location, and posted transactions as separate results to check.
Use these mappings for controlled tests of receiving, picking, a location move, and a count adjustment.
Test Receiving, Picking, Moves, and Counts
Before live work, test receiving, picking, one location move, and one approved count adjustment. Start with one item in one location. Verify receiving against a purchase order and picking against a sales order.
After each action, check mappings, permissions, records, and sync completion. Confirm that the warehouse and accounting results match the agreed workflow before expanding the test. If anything differs, pause testing.
Step 3: Run Daily Warehouse Tasks
Apply the scan rules you tested to daily receiving, picking, stock moves, and counts.
| Warehouse task | Task source | Required scans or confirmations | Exception handling | Expected QuickBooks update |
|---|---|---|---|---|
| Receiving | Purchase order or receiving task | Location, item, quantity, tracking details | Hold overages; quarantine damage; preserve open quantities | Posted receipt increases quantity on hand |
| Picking | Sales order, shipment, or picklist | Source location, item, quantity, tracking details | Record shortages or partial picks; approve substitutions | Inventory reduction at the configured posting step |
| Cycle counting | Count assignment | Location, item, counted quantity | Investigate differences; approve adjustments | Approved quantity adjustment, where supported |
Receive Purchases into the Right Location
Start each receipt from the matching purchase order or receiving task. Scan the location and item, enter the received quantity, and record any required lot, serial, or expiration details.
Before posting, check partial deliveries and hold overages for approval. Move damaged goods to quarantine so they stay out of pick stock. Keep the unreceived quantity open for vendor follow-up.
After posting, check the synced receipt and remaining open quantity in QuickBooks Desktop. Do not enter a duplicate receipt in QuickBooks. QuickBooks Desktop lets you receive inventory before the vendor bill arrives: the posted receipt increases inventory, while the vendor bill records accounts payable.
Pick Orders and Move Stock
Assign a picklist, then scan the source location and item. Confirm the description, unit of measure, quantity, and destination tote or staging lane. Record any required lot or serial numbers.
Use FIFO to pick the oldest stock first, or FEFO to pick the earliest-expiring stock first. Record shortages and partial picks right away. Get approval before substituting items.
Post only at the configured step, and check unposted picks daily. For stock moves, confirm both the source and destination, then verify the destination quantity after the move. A bin move changes the storage location; an inventory-site transfer may need a supported transfer transaction. Do not duplicate the transfer in QuickBooks.
Count Stock and Approve Adjustments
Assign cycle counts by location, item group, or inventory risk. Use blind counts where supported, and pause or control stock movement during counting.
Keep counting separate from approval. Recount discrepancies, and require an authorized reviewer and a reason before posting. Record the item, location, quantity difference, date, reference number, and notes. QuickBooks adjustment workflows use adjustment type, date, account, reference number, and item lines.
Post to QuickBooks only through the approved workflow, or queue the adjustment for approval. Repeated variances usually point to a barcode, location, or sync-rule problem.
Step 4: Fix Setup Issues and Launch 1 Warehouse
Fix Barcode, Location, Task, and Sync Errors
When a scan, task, or sync result doesn’t match the expected warehouse transaction, check before retrying. Review connectivity, device linkage, company file access, permissions, mappings, and pending transactions.
| Symptom | Possible causes | Corrective action |
|---|---|---|
| Unrecognized barcode | Missing barcode, damaged label, wrong mapped field, duplicate item | Compare the scanned value with the item’s barcode field. Check for duplicates, replace damaged labels through the approved process, and test again. |
| Wrong site or bin | Wrong site selected, similar labels, incorrect location mapping | Stop movements for the affected item. Check the physical label against the approved location list, correct the mapping or label, and follow the authorized reversal workflow. |
| Missing task | Restricted permissions, incorrect mapping, source order not synced | Confirm that the source order exists. Review its sync status, then check the user’s role and assigned warehouse before recreating anything. |
| Quantity mismatch | Pending transactions, different report filters, duplicate posting | Match the report scope and posting status. |
| Failed or delayed sync | Lost connectivity, denied access, company file issue, mapping error | Check connectivity, company file access, permissions, and mappings. Review pending transactions before retrying. |
Complete Launch Checks and Daily Reviews
Once the core scan paths work, test the full workflow in one warehouse before expanding. Run a controlled pilot under live conditions. After synchronization, confirm that receiving, picking, moves, and counts - including count approval - work as expected.
Test one standard item, one barcode item, one multi-bin item, and one lot- or serial-controlled item, if used. Include a partial receipt, wrong-location scan, and disconnected device.
Record the expected and actual results. Require sign-off from both the warehouse lead and the QuickBooks administrator.
When reconciling reports, use the same locations, dates, items, units of measure, and transaction status. Treat launch as the final control step before broader use.
Assign one named reviewer each operating day and set a review time before close. That person should check completed, pending, and failed transactions, possible duplicates, unexpected quantity changes, and unprocessed tasks. Give every unresolved exception an owner and a due date.
Document how staff replace damaged labels, switch devices, and handle lost connectivity. Don’t assume offline support. Define when work must stop and how staff check whether the last transaction posted before they resume. Restrict adjustment approval and sensitive data access to authorized roles.
Train the initial team before expanding. Each worker must demonstrate their assigned tasks and exception procedures without help. Keep the launch limited to the first warehouse until its tests pass, daily reconciliations agree, and sync failures and other exceptions have documented resolutions.
Conclusion: Keep Records, Scans, and Sync Aligned
First, confirm that QuickBooks Desktop and the app work together. Then clean up item records, standardize units and barcodes, and label locations. Document which system owns each transaction before testing two-way sync.
With the workflow mapped out, train staff on receiving, picking, stock moves, and counts. Each scan should match the physical action, and each sync should match the approved record. Never manually correct the same transaction in both systems.
Start with one warehouse and review exceptions daily. Expand only when staff follow approved workflows and physical stock, count results, and QuickBooks balances agree.
FAQs
How often should I sync warehouse activity with QuickBooks?
Match your sync schedule to your warehouse’s workload. Busy teams should sync every 1–2 hours or after large receiving and picking waves. Smaller warehouses can often sync daily, while high-volume warehouses running multiple shifts usually do better with hourly syncs.
Rapid Inventory syncs automatically with QuickBooks Desktop in both directions, in real time as transactions occur. There’s no need to schedule manual batches, which helps prevent overselling and keeps data current.
Can my small team share scanning devices?
Yes. Rapid Inventory works in a standard web browser on smartphones, tablets, or certified barcode scanners. No dedicated app is needed. Team members can log in and share devices across shifts or tasks.
During setup, assign each team member specific user roles and permissions to help keep access secure and records accurate.
How do I handle orders during a sync outage?
Data usually stays in the queue and processes automatically when the connection returns. After an internet outage or PC restart, reopen the sync tools or reconnect if needed.
Before resubmitting transactions, check the sync log or dashboard for duplicates. Assign one person to review pending, failed, or queued transactions after each sync window.
If errors persist, check the integration logs for inactive items or closed periods. Use Single-User Mode for setup tasks.