
If you're managing manufacturing processes, QuickBooks Desktop's Build Assemblies feature can help you track inventory parts, non-inventory items, and services used to create finished products. Here's a quick overview of how it works:
- Setup: Enable inventory tracking and create assembly items using a Bill of Materials (BOM). This lists all components and their quantities for each product.
- Automation: QuickBooks adjusts inventory levels automatically when you record builds, reducing component stock and increasing finished goods.
- Shortages: Use the Show Shortage button to identify missing items and manage pending builds until components are restocked.
- Reporting: Generate inventory and custom reports to monitor builds, stock levels, and component usage.
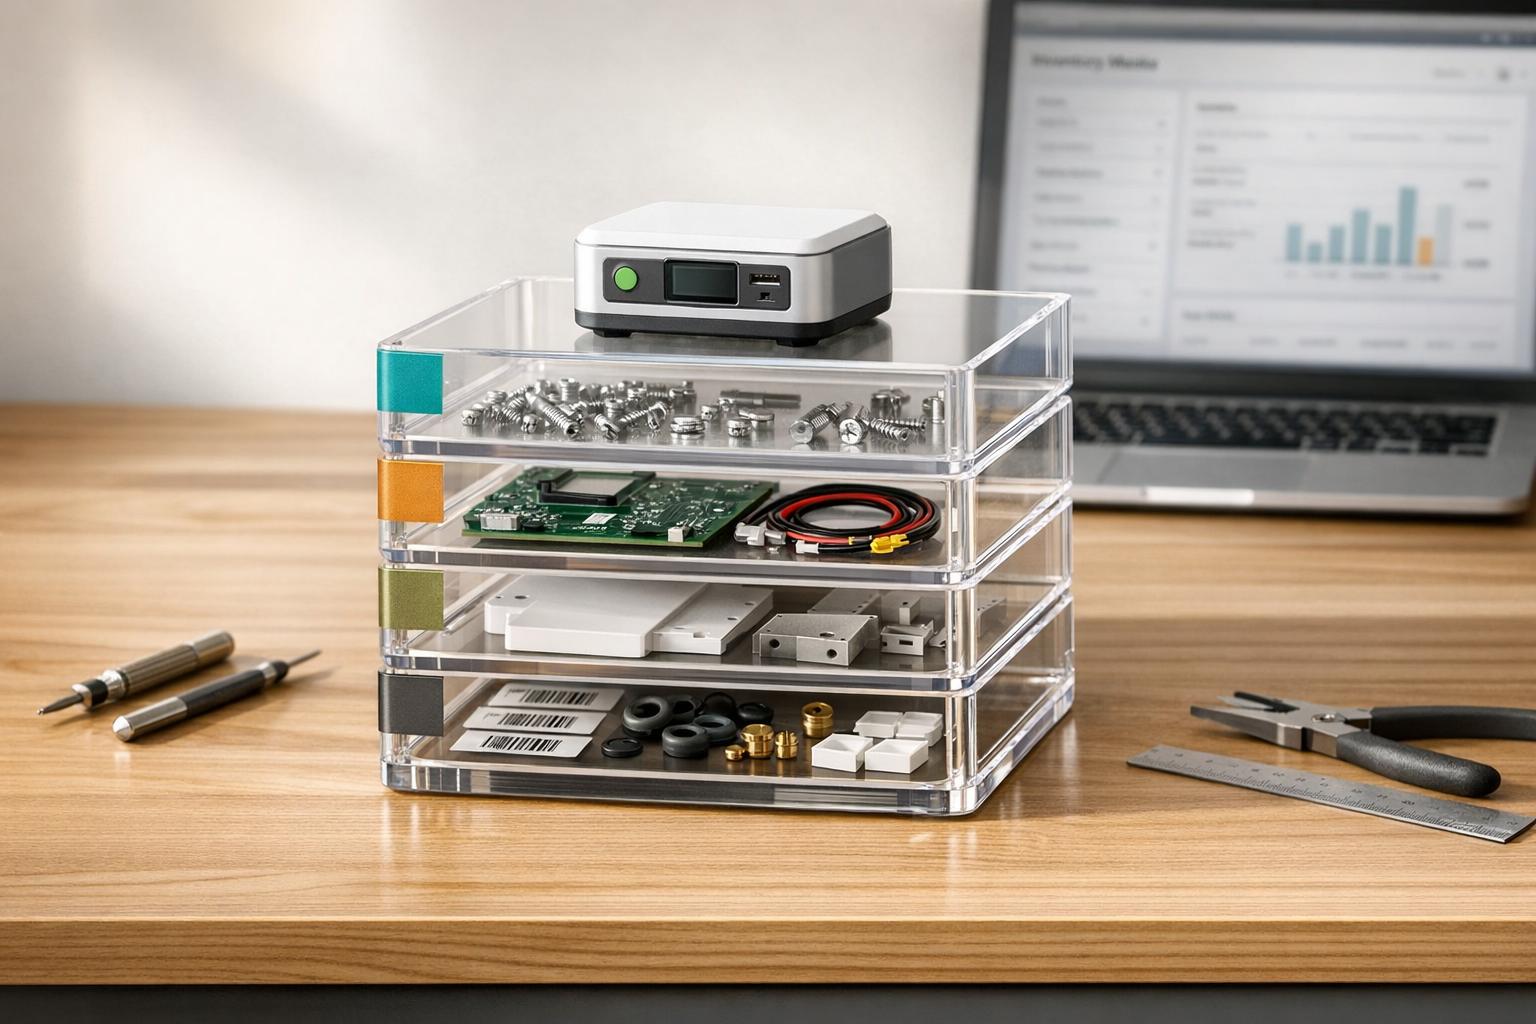
This feature is available in QuickBooks Desktop Premier, Enterprise, and Accountant editions but not in Pro. For complex needs like multi-location tracking or lot numbers, third-party tools like Rapid Inventory can fill the gaps.
Build Assembly Process - Managing Inventory - BOM in QuickBooks - Kit Assembly ✔
sbb-itb-19ed50f
Setting Up Assembly Items in QuickBooks Desktop

To start tracking builds in QuickBooks Desktop, ensure you're using the correct edition, inventory tracking is enabled, and all components are already added to your system.
First, confirm that inventory tracking is active. Navigate to Edit > Preferences > Items & Inventory > Company Preferences and check the box for "Inventory and purchase orders are active". Without this setting, the assembly features won't be available.
How to Create an Inventory Assembly Item
Before building a Bill of Materials (BOM), make sure all the components of your finished product are listed in the Item List. This includes:
- Inventory parts: Tracks quantities of raw materials or products.
- Non-inventory parts: Covers items like glue or fasteners that don't require quantity tracking.
- Service or "Other Charge" items: Accounts for labor or overhead costs.
Once your components are ready, follow these steps to create the assembly item:
- Open Lists > Item List, click Item at the bottom, and select New.
- From the Type drop-down, choose Inventory Assembly.
- Fill in the details: item name, sales description, price, cost, and assign the appropriate COGS Account, Income Account, and Asset Account.
- Use the components table to list each component and its required quantity per unit.
- Click OK to save.
"You cannot start a manufacturing order without a bill of materials." - QuickBooks Help
QuickBooks automatically calculates the total cost of the assembly by summing up the costs of all components in the BOM. If any component costs are incorrect, the error will affect the total cost of your finished product. It's worth double-checking everything before saving.
Checking Component Availability
After setting up your assembly item, the Build Assemblies window provides an overview of the Qty on Hand and Qty Needed for each component. A checkbox in this window calculates the maximum number of units you can build based on the component with the lowest quantity, helping you quickly identify bottlenecks.
Keep in mind that Quantity Available is different from Quantity on Hand. The available quantity factors in commitments to customer orders and reservations for other pending builds. To ensure accuracy, go to Company Preferences and verify that "Quantity Reserved for Pending Builds" is checked under availability deduction settings.
"Quantity available is how many of this product you have on hand, minus what's ordered by customers and reserved for pending builds." - Intuit
If you're short on a component, the Show Shortage button in the Build Assemblies window highlights which items need reordering. This saves time by eliminating the need to manually cross-check inventory.
Next, you'll explore how to efficiently record and process these builds.
How to Track Assembly Builds in QuickBooks Desktop
Using the Build Assemblies Window
Once your assembly items are set up, recording a build is a simple process. Start by heading to the Inventory menu and selecting Build Assemblies. If the Inventory menu isn’t visible, you can find it under Vendors > Inventory Activities > Build Assemblies.
In the Assembly Item drop-down, select the finished product you want to build. The window automatically displays all the components listed in your bill of materials (BOM), along with the Qty on Hand and Qty Needed columns. These figures adjust automatically based on the number you input in the Quantity to Build field. Once you’ve confirmed the availability of components, you’re ready to proceed.
Enter the quantity you want to produce and click Save and Close. QuickBooks will then automatically update both the component and finished product inventories. If your product includes subassemblies, make sure to enable the "Automatically build required subassemblies" option.
Here’s a tip: Use the Memo field in the Build Assemblies window to add production notes or batch references. This can make it easier to trace specific production runs later.
If you run into shortages of components, the next section outlines how to handle partial builds effectively.
Handling Partial Builds
Sometimes, you might not have enough components to complete a full build. In these cases, QuickBooks will display a "Not enough components on hand" warning. When this happens, you have two options:
- Reduce the Quantity to Build until the warning disappears. This allows you to save a smaller build based on available stock, ensuring your inventory records remain accurate and don’t overstate finished goods.
- Select Mark Pending to leave the transaction open without finalizing it. Once the necessary components are restocked, you can reopen the transaction and choose Remove Pending Status to complete the build. This approach keeps your inventory data accurate while waiting for materials.
For users of QuickBooks Enterprise, there’s an additional safeguard. You can enable the "Don't allow negative inventory quantities" option under Preferences. This setting prevents you from saving a build if it would reduce any component quantities below zero, helping to maintain accurate data in high-activity production environments.
Managing Pending Builds and Build Status
What Are Pending Builds
A pending build refers to a saved, unfinished build transaction caused by a shortage of components. This process works similarly to how partial builds are managed, as described earlier.
When you create a pending build, inventory is reserved but not physically adjusted. This means the available quantity is affected - components tied to pending builds are set aside and can't be used for other purposes.
Keep in mind, this feature is only available in QuickBooks Desktop Premier, Enterprise, and Accountant editions. If you're using a different version, pending builds won't be an option.
Once the shortages are resolved, you can finalize the build.
How to Finalize a Build
When your inventory is replenished, you can complete the pending build. Start by navigating to Reports > Inventory > Pending Builds. Select the pending build you want to finalize and ensure the shortage warning no longer appears.
Then, click Remove Pending Status at the top of the Build Assemblies window. Double-check the Quantity to Build, and once everything looks correct, select Save and Close. At this point, QuickBooks will deduct the necessary components from inventory and add the finished goods, just like with any completed build.
If the Remove Pending Status button is grayed out, check that the inventory receipt date is earlier than the pending build date. If the pending build was created in error, you can delete it by using Ctrl + D or going to Edit > Delete Build.
As QuickBooks moderator Rea_M explains:
"Since pending builds haven't been posted as assemblies, removing them in closed periods will leave your financial reports unaffected." - Rea_M, Moderator, QuickBooks Team
Reporting on Assembly Builds in QuickBooks Desktop
After completing the assembly build process, reporting plays a crucial role in verifying inventory updates. These reports help ensure that the builds are accurate and provide insights into inventory activity.
Key Build Reports in QuickBooks Desktop
QuickBooks Desktop doesn’t have a dedicated "Build Assembly" report, but several built-in reports can provide the information you need to track and evaluate your assembly builds.
Here are the key reports to consider:
| Report | What It Shows | How to Access |
|---|---|---|
| Inventory Valuation Summary | Displays the quantity on hand and the current value of finished goods. | Navigate to Reports > Inventory |
| Inventory Stock Status by Item | Highlights component availability and reorder requirements. | Navigate to Reports > Inventory |
| Shortage Report | Identifies missing parts for builds currently in progress. | Open the Build Assemblies window and select Show Shortage |
| Sales by Item Summary | Compares sold finished assemblies to remaining stock. | Navigate to Reports > Sales |
For a more tailored view, you can create a Custom Summary Report. Go to Reports > Custom Reports > Summary, choose your date range, and click Customize Report. Under display options, set details by "Item detail", filter by "Build Assembly", and adjust the Detail Level to "All except summary." Include the Amount or Quantity columns as needed. Once configured, memorize the report to save your settings for future use. This custom report is especially helpful for analyzing trends and breaking down build activities over time.
Reviewing Completed Build Transactions
While summary reports provide an overview, verifying individual transactions ensures accuracy at a granular level. Once a build is finalized, you can review the transaction details to confirm that the correct components and quantities were used.
To do this, open the Lists menu, select Item List, right-click the assembly item, and choose QuickReport. Locate the specific build transaction in the report and double-click it to open the original Build Assemblies window.
Inside the Build Assemblies window, double-check the components and their quantities. If you notice any discrepancies - such as incorrect quantities or missing deductions - you can edit the transaction or delete it to return the components to stock. This approach is especially useful if changes to an order require adjustments.
For a more comprehensive accuracy check, run the Inventory Valuation Summary and compare the quantities on hand with your physical inventory counts. If discrepancies arise, use File > Utilities > Verify Data and Rebuild Data to identify and resolve any file-related issues.
Limitations of Assembly Build Tracking in QuickBooks Desktop

QuickBooks Desktop Assembly Tracking: Limitations vs. Workarounds
QuickBooks Desktop does a solid job managing assembly builds, but it struggles when workflows become more complex.
The Build Assemblies feature is only available in QuickBooks Desktop Premier, Enterprise, and Accountant editions - not Pro. Additionally, multi-location inventory tracking can create challenges. QuickBooks Desktop calculates component availability based on the total quantity across all inventory sites, not just the location where the build is happening. This means a negative balance at one warehouse can prevent a build at another, even if that site has enough components. To fix this, you'll need to adjust inventory at secondary sites before proceeding with the build. Now, let’s dive into how reporting limitations add to these challenges.
When You Need Custom Reports
QuickBooks Desktop doesn’t include certain reports that can be critical for tracking assemblies. For instance, there’s no built-in report to show how many assemblies were built in a specific month or a complete Bill of Materials (BOM) that includes Manufacturer Part Numbers (MPNs). As noted by the QuickBooks team:
"The option to run a report that will show how many assembly items were created in a specific month is unavailable in QuickBooks Desktop." - LeizylM, QuickBooks Team
To work around this, you can export the Item List to an IIF file and review it in Excel to find assemblies and their associated MPNs.
Another issue involves the Shortage Report, which sometimes shows incorrect or blank data when pending builds are part of the equation. This problem, tracked as Investigation INV-19434, requires manual calculations until a fix is implemented:
"This issue is caused by the handling of pending builds. We are currently working to correct how pending builds are included in the calculations. For now, if you have pending builds the amounts on the report will need to be manually calculated." - AbegailS_, QuickBooks Team
These gaps in reporting often force users to rely on manual adjustments to maintain accuracy.
When Manual Adjustments Are Needed
Beyond reporting issues, inventory discrepancies sometimes demand manual fixes. For example, QuickBooks Desktop doesn’t offer native lot or serial number tracking. To address this, you can either use custom fields or upgrade to the Enterprise edition with Advanced Inventory features.
Other challenges include mismatches between the "For This Build" quantities and the actual BOM. Resolving these may require running File > Utilities > Verify Data and Rebuild Data. Negative inventory - caused by recording sales before receiving purchases - can also trigger shortage warnings that block valid builds.
Here’s a breakdown of common limitations and possible workarounds:
| Limitation | Recommended Workaround |
|---|---|
| Multi-location shortage errors | Adjust negative inventory at each site before building |
| No monthly assembly build report | Use a Custom Summary Report filtered by "Build Assembly" transaction type |
| No BOM report with MPNs | Export Item List to an IIF file and review in Excel |
| Lot/serial tracking gaps | Use custom fields or upgrade to Enterprise with Advanced Inventory |
| Incorrect shortage report data | Manually calculate shortages when pending builds are involved |
These limitations underscore the need for proactive inventory management and occasional manual intervention to keep workflows running smoothly.
Using Rapid Inventory for Better Assembly Tracking
Rapid Inventory steps in to address the limitations of QuickBooks Desktop by offering advanced tracking and reporting tools. Rapid Inventory is a cloud-based inventory management solution designed specifically for QuickBooks Desktop users who need more functionality than the default system provides.
Key Features of Rapid Inventory
Rapid Inventory bridges the gaps in QuickBooks Desktop's inventory capabilities. Its two-way synchronization with QuickBooks Desktop ensures that any changes to assembly builds or inventory levels are automatically updated in both systems. This eliminates the need for manual reconciliation and keeps your data consistent.
The platform also supports multi-location and warehouse tracking, allowing businesses to monitor component availability at individual sites and avoid unexpected shortages. For those requiring traceability, it includes lot and serial number tracking without needing additional custom fields or an upgrade to QuickBooks Enterprise. Plus, its mobile barcode scanning feature captures inventory movements in real-time, cutting down on manual data entry errors. Together, these tools simplify and improve assembly tracking.
How Rapid Inventory Supports Assembly Tracking
Rapid Inventory enhances assembly processes with smarter picking strategies and real-time insights. It supports FIFO (First In, First Out) and FEFO (First Expired, First Out) picking methods, giving businesses precise control over which components are used first. This is especially valuable for items with expiration dates, a feature not available in any QuickBooks Desktop edition.
The platform's real-time reporting capabilities provide an up-to-date view of component stock levels and assembly statuses. There's no need to rely on Excel exports or manual calculations - everything is accessible online, making it ideal for teams working across multiple warehouse locations.
Wrapping Up
To manage assembly builds effectively in QuickBooks Desktop, start by enabling inventory tracking, setting up your components and BOMs (Bill of Materials), and using the Build Assemblies window. If you encounter shortages, marking builds as Pending helps maintain accurate inventory counts until stock is replenished.
That said, QuickBooks Desktop does have its shortcomings. As MJoy_D explains, "The option to run a report that will show how many assembly items were created in a specific month is unavailable... You can generate a custom report that will display the items used in Build Assemblies." This means users often need to rely on custom reports or export data to Excel for better production insights. Additionally, challenges like multi-site inventory checks and MPN tracking can complicate the process further.
For businesses that require more advanced capabilities, Rapid Inventory offers a robust solution. With features like two-way QuickBooks sync, real-time reporting, multi-location tracking, and FIFO/FEFO picking, it bridges the gaps while keeping your workflows familiar. This ensures assembly tracking stays efficient as your business grows.
FAQs
What happens to COGS and inventory value when I build an assembly?
When you create an assembly in QuickBooks Desktop, the system automatically reduces the inventory count of the component parts used in the build. At the same time, it increases the inventory count of the finished product. The cost of the assembly is calculated based on the components included, which adjusts your total inventory value. Once the build is recorded, QuickBooks updates inventory levels and adjusts Cost of Goods Sold (COGS) to reflect these changes seamlessly.
How do I fix a build that won’t complete because components show as unavailable?
To fix this issue in QuickBooks Desktop, start by confirming that inventory tracking is configured properly. Double-check that the system is referencing the correct inventory site, as QuickBooks might default to total quantities instead of focusing on specific locations, leading to potential errors.
Make sure inventory parts are set up correctly, verify that quantities are accurate, and review the bill of materials to ensure there are no discrepancies that could cause conflicts with availability.
How can I see how many assemblies were built in a specific month?
To monitor how many assemblies were built in a particular month using QuickBooks Desktop, start by generating the Inventory Assembly Report. Once the report is open, customize it by applying date filters to focus on the specific month you're interested in. This will give you a detailed breakdown of assemblies completed during that period. If you need further insights, you can also check build logs or other related reports for more comprehensive details.


