
Managing inventory efficiently is critical for accurate financials and smooth operations. QuickBooks Desktop offers built-in tools for tracking inventory, calculating costs, and updating financial records in real time. However, the default setup may not fully align with your business needs. This guide explains how to customize QuickBooks to handle multi-location tracking, barcode scanning, FIFO costing, and more.
Here’s what you’ll learn:
- Setting up inventory tracking: Activate features like purchase orders and item categorization.
- Advanced Inventory tools: Use QuickBooks Desktop Enterprise for features like bin tracking, serial numbers, and assembly management.
- Custom workflows: Streamline approvals for transactions and optimize item lists with custom fields.
- Third-party integrations: Enhance QuickBooks with tools like Rapid Inventory for mobile barcode scanning and multi-warehouse tracking.
Setting Up Inventory Management in QuickBooks Desktop

Enabling Inventory Tracking
To get started with inventory management in QuickBooks Desktop, you’ll first need to activate inventory tracking. This feature is available in all versions - Pro, Premier, and Enterprise.
Here’s how to enable it: Go to the Edit menu, select Preferences, and then click on Items & Inventory. Under the Company Preferences tab, check the box labeled Inventory and Purchase Orders are Active. Once activated, you can monitor on-hand stock, purchase orders, and committed sales orders seamlessly.
"Desktop Pro has inventory tracking capability" – john-pero, Community Champion
When you create your first inventory item, QuickBooks automatically links inventory levels to your general ledger. This ensures that your Balance Sheet and Profit & Loss statements update in real-time with every transaction.
For those using QuickBooks Desktop Enterprise, additional features like FIFO costing, barcode scanning, and multi-location tracking are available through Advanced Inventory. If the "Advanced Inventory Settings" button is grayed out, try refreshing your feature access by navigating to Help, selecting Manage my License, and clicking Sync License Data Online. Remember to switch to Single-user Mode before making changes to preferences so your updates save properly.
With inventory tracking enabled, you’re ready to start adding and organizing your inventory items.
Creating and Categorizing Inventory Items
Once tracking is active, you can add products to your system through the Item List. To do this, go to the Lists menu, select Item List, then right-click anywhere and choose New. Select Inventory Part as the item type.
Fill out the required details, including a unique Item Name or Number, cost, selling price, and the related accounts. In the Purchase Information section, input the item cost and link it to the appropriate COGS account. In the Sales Information section, enter the selling price and assign the correct Income Account. Lastly, set up the Inventory Information by specifying the Asset Account and reorder points.
To keep your inventory organized, use the Subitem of option to group items under a parent category. For example, you could create a parent category like "Office Chairs" and list individual models as subitems. This makes navigation and reporting more straightforward.
If your business involves manufacturing products from raw materials, QuickBooks Premier and Enterprise offer the Assembly item type. This feature lets you combine multiple inventory parts into a single finished product using a Bill of Materials. When you build an assembly, QuickBooks automatically deducts the raw materials from your inventory and adds the completed product.
| Item Type | Best Use Case | Version Availability |
|---|---|---|
| Inventory Part | Standard products with tracked quantities | All Desktop versions |
| Non-inventory Part | Consumables or items not tracked by quantity | All Desktop versions |
| Assembly | Manufactured goods made from multiple parts | Premier, Enterprise, Accountant |
| Group | Bundled items sold together | All Desktop versions |
With inventory tracking in place, you can now tailor your item lists to fit your business operations and streamline your workflow.
sbb-itb-19ed50f
Customizing Inventory Workflows for Better Efficiency
Setting Up Approval Workflows for Inventory Transactions
QuickBooks Desktop Enterprise (Platinum and Diamond editions) lets you design custom approval processes for purchase orders and bills. This ensures transactions are reviewed by the right people before being finalized, helping to maintain accuracy and compliance.
To get started, go to the Company menu and select Set Up Approval Processes. Make sure you’re signed in as an Intuit account admin. You'll also need to enable Advanced Inventory and Purchase Order Processing by navigating to Edit > Preferences > Items & Inventory.
Approval triggers can be based on criteria like transaction amount, vendor, or type. For instance, you might set up a rule requiring manager approval for purchase orders over $5,000. The system supports both single-level and multi-level approval setups, so multiple stakeholders can review transactions in a specific order.
"Custom approval workflows in QuickBooks Desktop Enterprise enable you to create tailored approval processes for various transaction types, such as purchase orders, expenses, and invoices." – Annie Williams, QuickBooks Enterprise Expert
It’s worth noting that admin transactions bypass the approval process. Additionally, the system displays only the first 101 transactions in the approval list, so it’s important to regularly approve or reject items to keep things moving. Use the Track and Approve Transactions tool under the Company menu to monitor the status of pending, approved, or rejected transactions.
Once your approval workflows are in place, take the next step by customizing item lists to fully integrate these processes.
Customizing Columns and Item Lists
Beyond approval workflows, tailoring your item lists in QuickBooks Desktop can help streamline operations. The software allows you to add custom fields to capture essential details not included by default, such as color, material, or manufacturer part numbers.
To create a custom field, go to Lists > Item List, double-click an item, and select Custom Fields. Click Define Fields, name your label, and check the Use box to activate it. These custom fields can also be added to sales forms like invoices and receipts. To do this, open a sales form, go to the Formatting tab, select Customize Data Layout, and enable the custom fields.
If you’re using QuickBooks Enterprise with Advanced Inventory, you can also set unique reorder points for each location, whether it’s a warehouse, truck, or staging area. To do this, go to Lists > Inventory Site List, click the Activities dropdown, and select Set Reorder Points. Choose a site and enter its minimum stock level. This helps prevent stockouts at specific locations while giving you a clear view of overall inventory.
For businesses that assemble products, you can customize the Inventory Stock Status by Item report to include the For Assemblies column. This shows which components are needed for pending builds, helping you prioritize orders. Additionally, you can add columns like Item Description to Open Purchase Order reports for a quick overview of what’s currently on order.
How to set up custom approval workflows in QuickBooks Desktop Enterprise

Advanced Inventory Workflows with Rapid Inventory
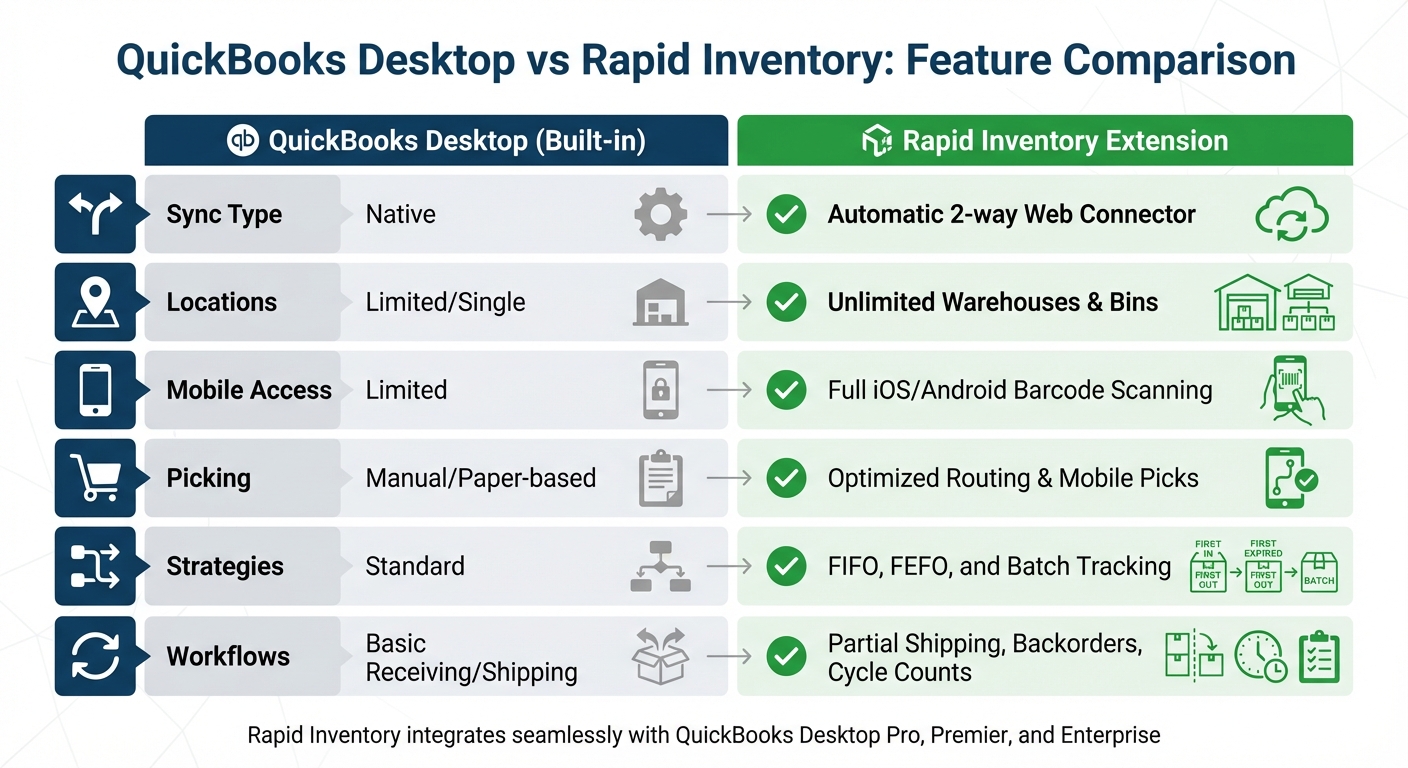
QuickBooks Desktop vs Rapid Inventory: Feature Comparison for Inventory Management
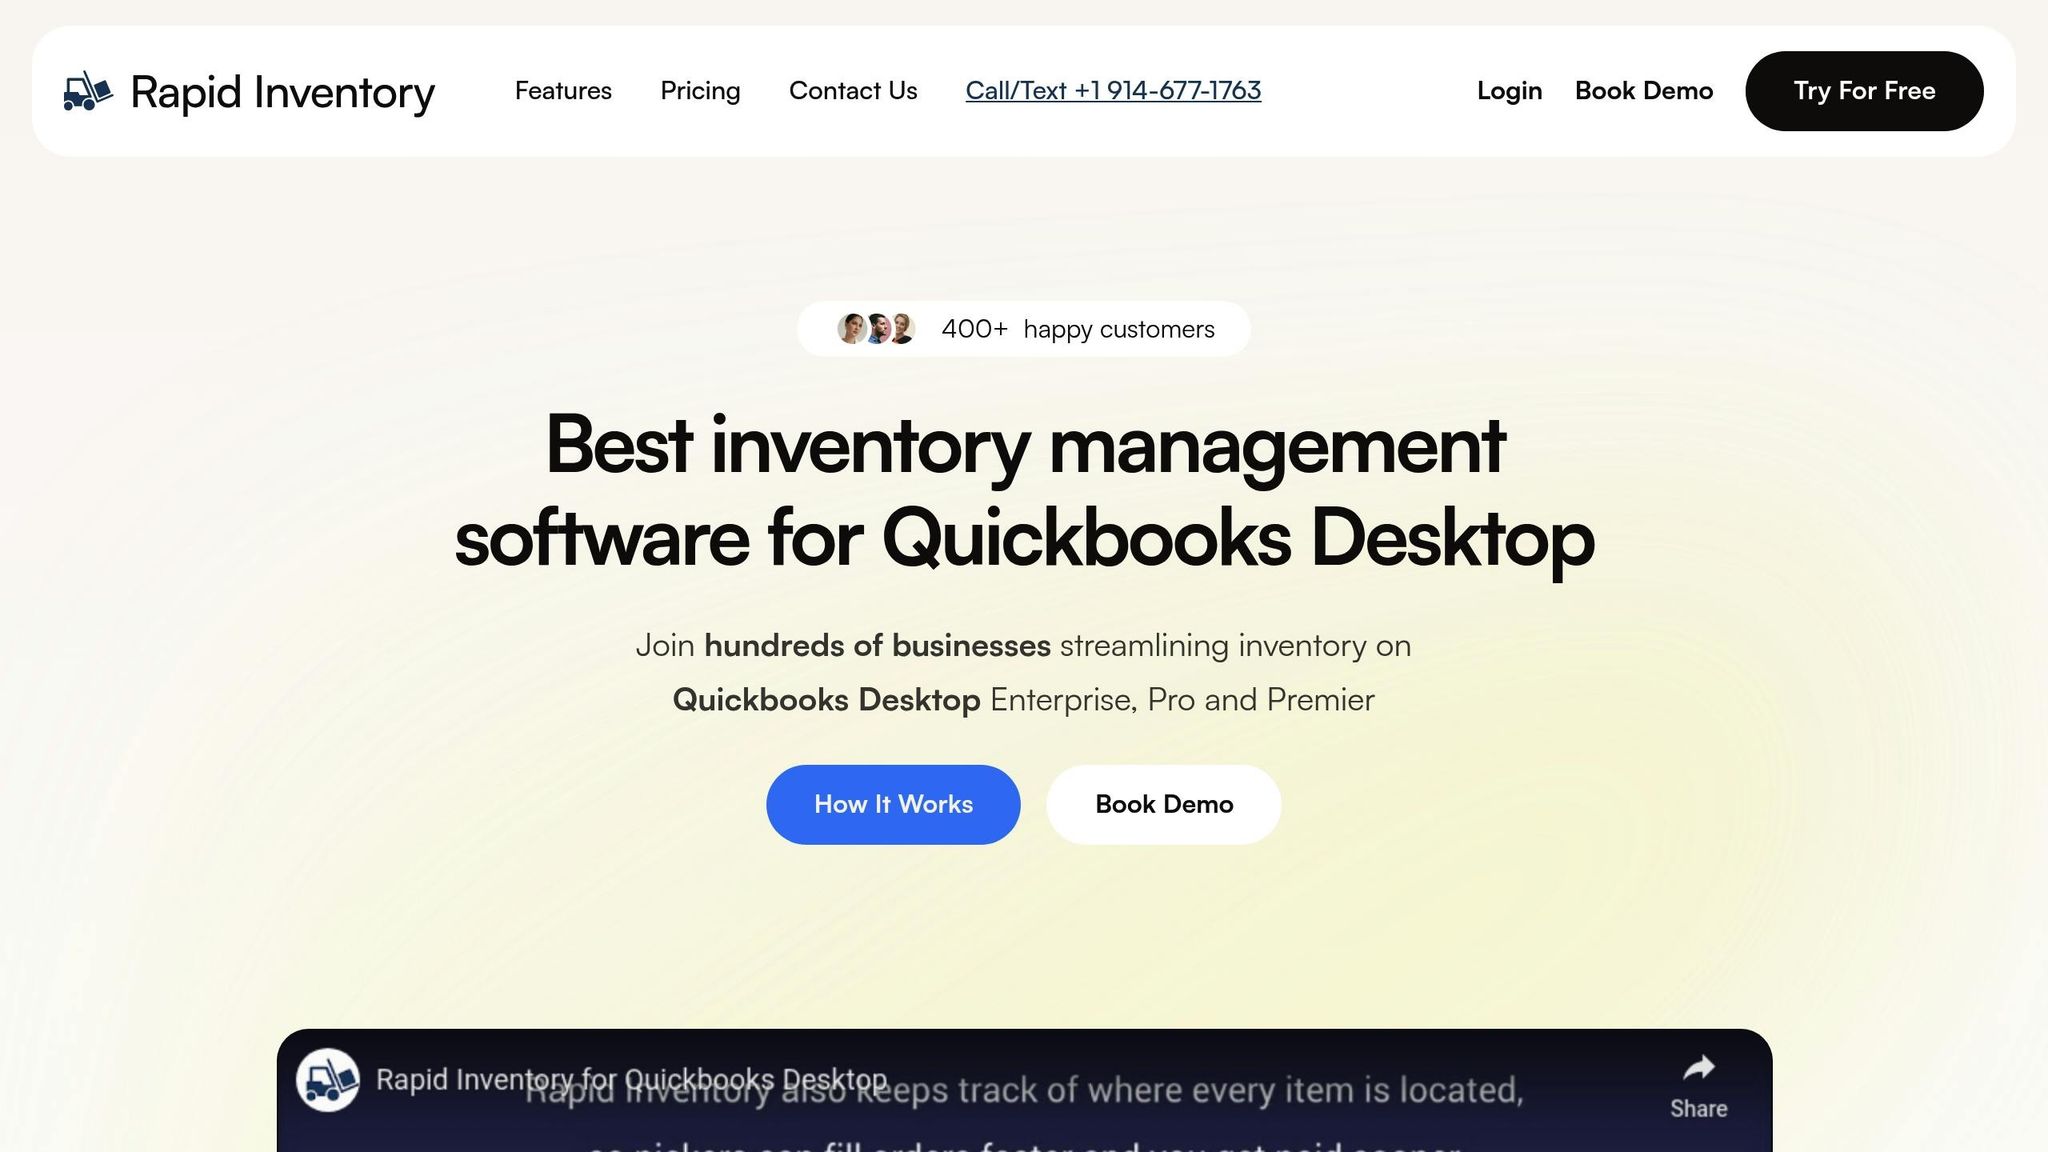
QuickBooks Desktop offers solid inventory tools for businesses, but as operations grow - especially across multiple warehouses - its capabilities can start to feel limited. That’s where Rapid Inventory steps in, building on QuickBooks' basic tools without replacing them.
Rapid Inventory integrates seamlessly as a two-way connection, allowing it to serve as the operational "source of truth" while QuickBooks Desktop remains the financial backbone. This connection is set up through an Accounting Configuration Wizard, which maps essential accounts like COGS, Inventory Assets, Income, and AR/AP between the two systems. This ensures compliance with GAAP standards. Once linked, inventory costs and asset values sync automatically with QuickBooks in real-time, eliminating the need for manual data entry or juggling spreadsheets.
The challenges of inventory management are significant. Only 69% of businesses track inventory accuracy, with an average accuracy rate of just 83%. This contributes to projected global losses of $1.7 trillion in 2024. Rapid Inventory addresses these issues with tools designed specifically for QuickBooks Desktop users who need more advanced inventory control. Let’s take a closer look at what it offers.
Key Features of Rapid Inventory
Rapid Inventory enhances QuickBooks Desktop (Pro, Premier, and Enterprise) by adding features that go far beyond its built-in inventory tools. The two-way synchronization ensures that inventory transactions, costs, and quantities are always up-to-date in both systems, removing the need for duplicate data entry.
Here’s what sets it apart:
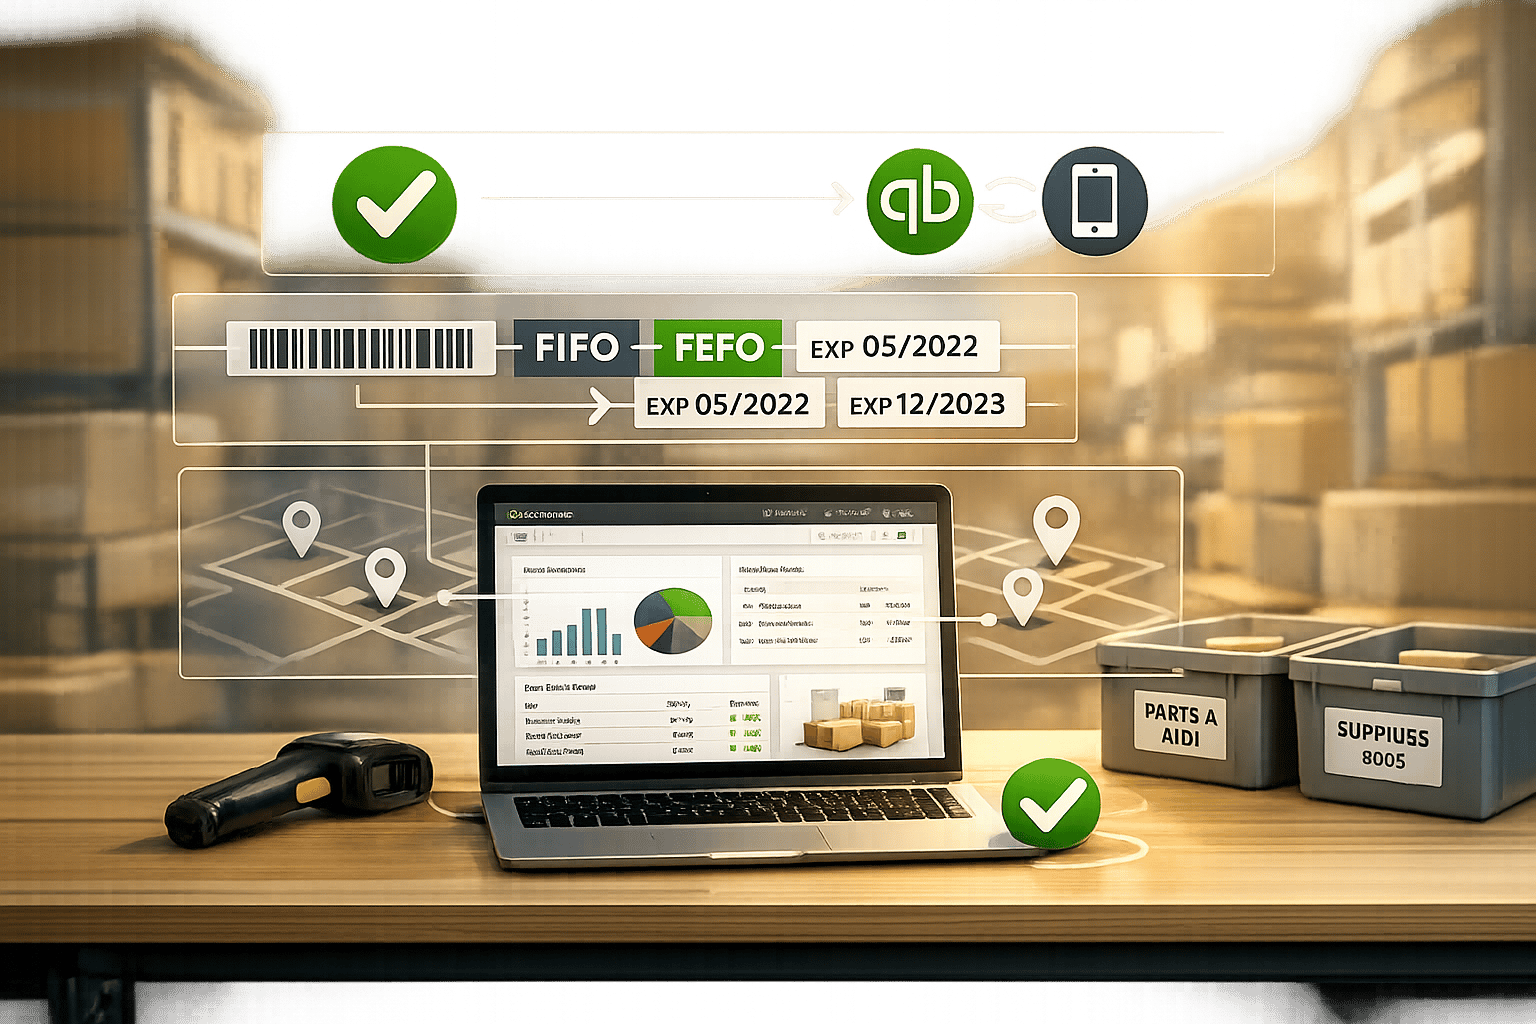
- Multi-location tracking: Manage inventory across unlimited warehouses and even down to specific bin locations. This is ideal for businesses with multiple distribution centers or those requiring detailed shelf-level tracking. It also supports lot, serial, batch, and expiration date tracking.
- Mobile barcode scanning: Turn iOS or Android devices into powerful warehouse tools. Employees can scan items to verify quantities, locations, and details during receiving, picking, counting, or transfers. The system even calculates the most efficient picking route, reducing errors and boosting accuracy.
- Advanced picking strategies: Choose from methods like First In, First Out (FIFO) or First Expiration, First Out (FEFO) - essential for managing perishable goods or items with expiration dates.
- Real-time inventory reports: Get instant visibility into stock levels, reorder points, and order statuses without waiting for QuickBooks to update.
| Feature | QuickBooks Desktop (Built-in) | Rapid Inventory Extension |
|---|---|---|
| Sync Type | Native | Automatic 2-way Web Connector |
| Locations | Limited/Single | Unlimited Warehouses & Bins |
| Mobile Access | Limited | Full iOS/Android Barcode Scanning |
| Picking | Manual/Paper-based | Optimized Routing & Mobile Picks |
| Strategies | Standard | FIFO, FEFO, and Batch Tracking |
| Workflows | Basic Receiving/Shipping | Partial Shipping, Backorders, Cycle Counts |
These tools provide a strong foundation for implementing more advanced workflows.
Implementing Advanced Workflows with Rapid Inventory
Rapid Inventory’s workflows address common warehouse challenges, offering practical solutions for everyday operations.
- Cycle counting: Instead of halting operations for annual physical counts, you can verify inventory accuracy throughout the year without disruption. This helps maintain higher accuracy rates while keeping your warehouse running smoothly.
- Backorder tracking: Easily monitor items that are out of stock but tied to customer orders. The system tracks these automatically and alerts you when stock arrives, ensuring timely order fulfillment.
- Partial shipping and receiving: Handle scenarios where orders arrive or ship in multiple batches. This feature allows you to process available stock immediately while keeping track of what’s still pending.
For businesses handling perishable goods, the FEFO picking strategy is a game-changer. By prioritizing items closest to expiration, you can significantly reduce waste - critical for industries like food distribution, pharmaceuticals, and cosmetics.
Rapid Inventory’s onboarding process is quick, typically taking about seven days from demo to full implementation. The package includes training, data migration (valued at $1,500), and onboarding support (valued at $600) at no extra cost. Most users report seeing a return on investment within 12 months, thanks to reduced labor costs and improved inventory management.
"My team was up and running in a few days. Very straightforward and easy to use." – Jacob, CEO
The platform boasts an average rating of 4.7 from over 500 reviews. Users frequently praise its intuitive interface, custom reporting options, and real-time inventory visibility. With over 17 years in business and more than 400 customers, Rapid Inventory has established itself as a trusted solution.
Creating Custom Inventory Reports and Reorder Workflows
Keeping stock levels balanced requires accurate, up-to-date reporting. By tailoring your QuickBooks workflows, you can ensure both financial accuracy and smooth operations throughout your inventory process. QuickBooks Desktop offers basic reporting tools, but when paired with Rapid Inventory's real-time features, you gain the visibility needed to prevent stockouts and avoid overstocking.
Setting Reorder Points and Recording Adjustments
For QuickBooks Desktop Enterprise users with Advanced Inventory, you can set specific reorder points for each location, whether it's a warehouse, truck, or staging area. To do this, navigate to Lists > Inventory Site List, select the desired site from the Activities dropdown, click Set Reorder Points, and input the threshold for each item. Keep in mind that these reorder points are site-specific and don’t roll up to a global threshold.
To calculate reorder points effectively, use this formula:
(Average daily sales × Lead time) + Safety stock,
where safety stock is calculated as:
(Maximum daily usage × Maximum lead time) – (Average daily sales × Average lead time).
When inventory discrepancies arise, use QuickBooks' Adjust Quantity/Value On Hand feature under the Inventory menu to align system data with physical counts. Rapid Inventory enhances this process by integrating mobile barcode scanning during cycle counts, achieving up to 97% inventory accuracy. For items that fall below reorder points, review the Inventory Stock Status by Vendor report in QuickBooks Desktop.
Once reorder points and adjustments are in place, custom reports can further streamline your inventory management.
Using Custom Reports for Workflow Optimization
Custom reports provide targeted insights tailored to your business needs. For example, Rapid Inventory's Unlimited plan ($900 per month) includes a custom inventory report creation service valued at $2,000, offering solutions to fill gaps left by standard QuickBooks reports.
| Report Type | Source System | Purpose |
|---|---|---|
| Inventory Valuation Summary | QuickBooks | Shows quantity on hand, value, and average cost |
| Physical Inventory Worksheet | QuickBooks | Serves as a template for manual counts |
| Reorder Report | Rapid Inventory | Flags stock reaching reorder points by location |
| Sales Order Status | Rapid Inventory | Tracks order progress in real time |
| Custom Inventory Reports | Rapid Inventory | Tailored to meet specific business needs |
Use reports like Inventory Turnover and Sales Order Status to identify inefficiencies, such as slow-moving items or frequent backorders. Running QuickBooks' Open Purchase Order Detail report alongside Rapid Inventory's Backorder Tracking can help identify items consistently falling below reorder levels. Rapid Inventory also offers specialized tools for calculating Safety Stock and Inventory Turnover, ensuring your custom reports are as precise as possible.
The seamless synchronization between QuickBooks Desktop and Rapid Inventory means that all inventory actions, adjustments, and orders update in real time. This eliminates the need for manual data entry and provides immediate insights into stock levels, active orders, and overall inventory value. With web-based access, you can monitor these reports from anywhere, allowing you to respond quickly to inventory challenges as they arise.
Conclusion
Tailoring your inventory workflows can completely change the way you handle stock, process orders, and ensure financial accuracy. QuickBooks Desktop offers a dependable accounting backbone, and when paired with Rapid Inventory, it extends your capabilities to include features like mobile barcode scanning, multi-location tracking, FIFO/FEFO methods, and real-time reporting.
Moving away from manual processes to an automated two-way sync reduces data entry errors and provides instant visibility across all warehouse locations. This collaboration between QuickBooks Desktop’s accounting strengths and Rapid Inventory’s operational tools delivers a well-rounded solution for modern inventory management. For instance, cycle counting can improve accuracy to about 97%, while guided picking routes can help achieve 100% order fulfillment accuracy.
Additionally, setting site-specific reorder points, generating custom inventory reports, and tracking items by lot, serial number, or expiration date allows you to address potential inventory issues before they arise. These streamlined workflows also speed up month-end closings, ensure audit-ready reporting, and provide accurate Cost of Goods Sold calculations, keeping your general ledger in top shape.
FAQs
Which QuickBooks Desktop version do I need for Advanced Inventory?
To take advantage of Advanced Inventory, you'll need QuickBooks Desktop Enterprise with the Advanced Inventory feature turned on. This gives you access to powerful tools like multi-location tracking and serial number tracking, making inventory management much more efficient.
How do I set reorder points for each warehouse location?
To set up reorder points in QuickBooks Enterprise, start by enabling Advanced Inventory and Multiple Inventory Sites in the Preferences menu. Next, create inventory sites under the Inventory Site List. Once that's done, head to Products and Services, choose the specific item, click Edit, and input the desired Reorder Point for that item. To keep track of stock levels, use filters like Low Stock or Out of Stock to stay on top of your inventory needs.
How does Rapid Inventory sync with QuickBooks Desktop?
Rapid Inventory integrates directly with QuickBooks Desktop, sharing data automatically in real-time. This connection allows inventory management tasks handled in Rapid Inventory to align smoothly with QuickBooks, while still retaining QuickBooks' existing inventory features.


