
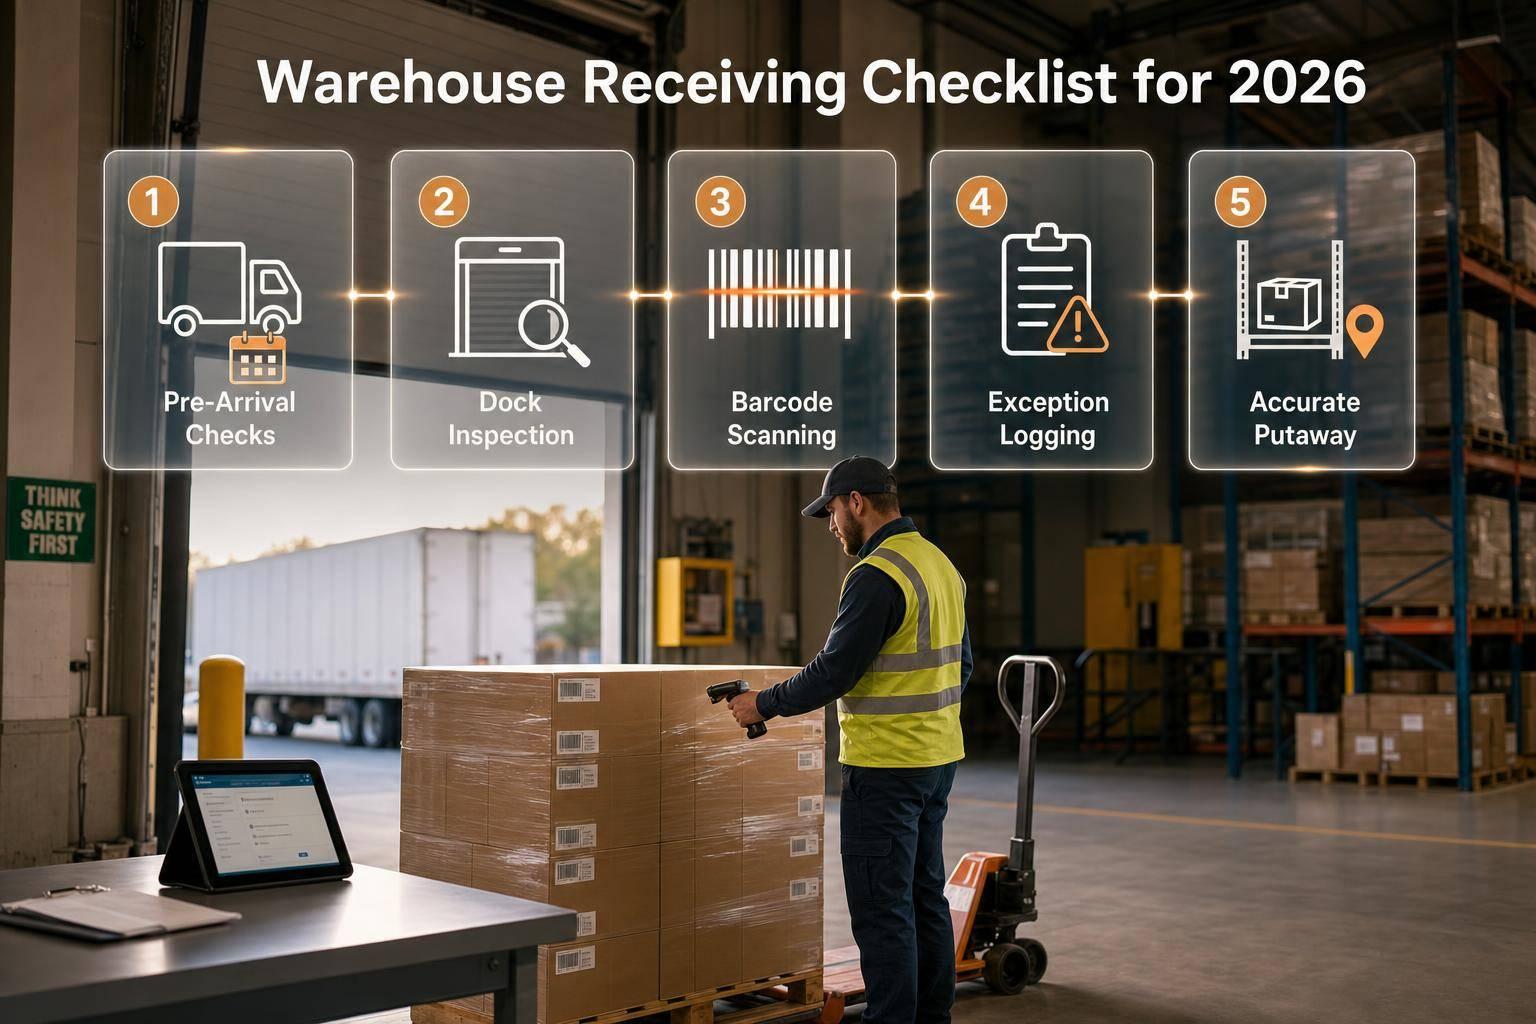
Most receiving errors should be stopped at the dock, not fixed later. If I want fewer stock mistakes, fewer invoice issues, and less time wasted, I need a receipt process that starts before the truck arrives and ends only after inventory is posted and location-checked.
Here’s the article in one plain-English flow:
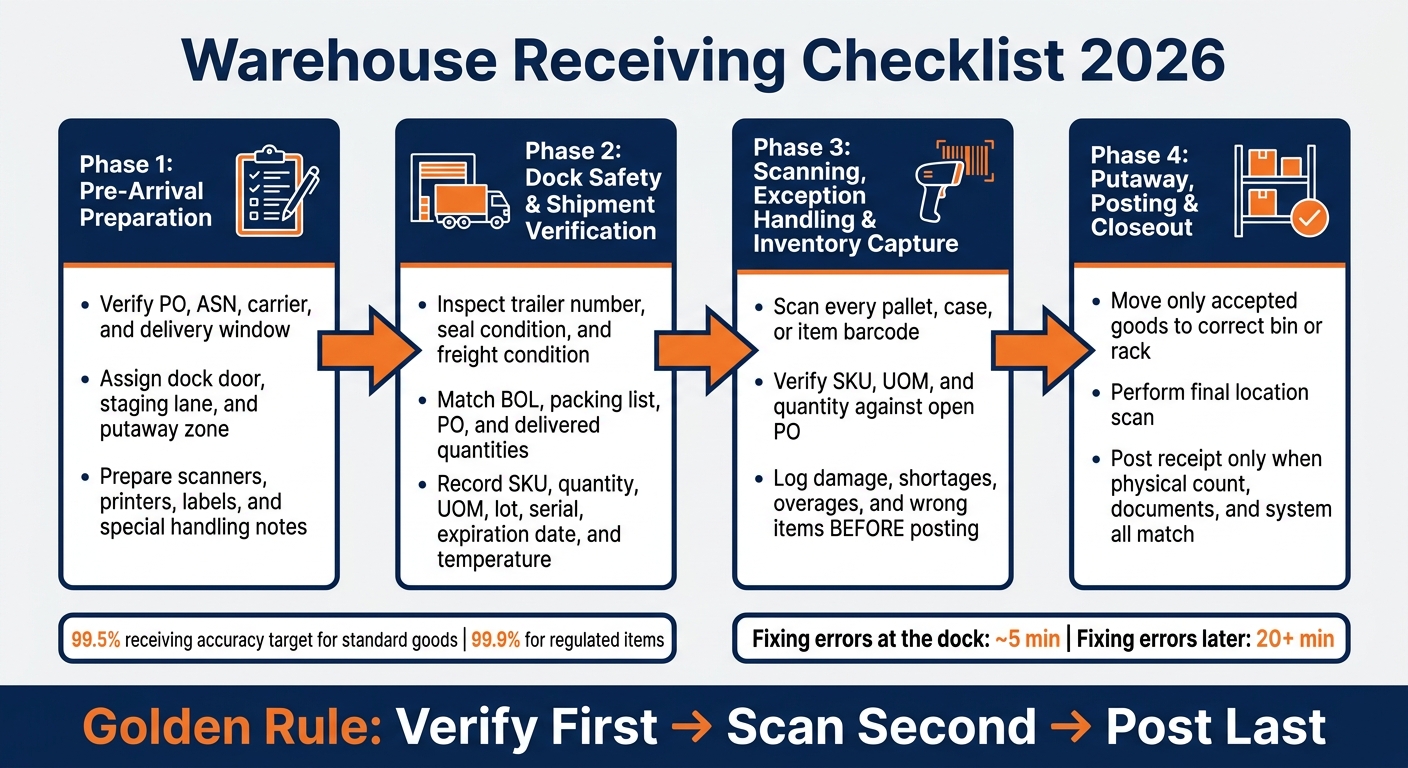
- I check the PO, ASN, carrier, and delivery window before arrival.
- I assign the dock door, staging lane, and putaway location ahead of time.
- I make sure scanners, printers, labels, and handling notes are ready. Using inventory management software for QuickBooks helps automate these checks.
- At the dock, I inspect the trailer, seal, and visible freight condition first.
- I match the BOL, packing list, PO, and delivered counts before posting anything.
- I record item details like SKU, quantity, UOM, lot, serial, expiration date, and temperature when needed.
- I scan each pallet, case, or item and stop any mismatch on the spot.
- I log damage, shortages, overages, and wrong items before receipt posting.
- I move only approved goods to the right bin or rack and do a final location scan.
- I post the receipt only when the physical count, documents, and system record all match.
A few numbers stand out. The article points to 99.5% receiving accuracy as a solid target for standard goods and 99.9% for regulated items. It also notes that fixing a receipt issue at the dock can take about 5 minutes, while fixing it later can take 20+ minutes. That gap adds up fast.
If I had to boil the whole article down to one rule, it would be this: verify first, scan second, post last.
That’s the process the rest of the article walks through.
Warehouse Receiving Checklist: Step-by-Step Process for 2026
Training Warehouse Management System (WMS): SOP Receiving Process Step-by-Step #warehouse
sbb-itb-19ed50f
1. Pre-Arrival Preparation Checklist
Before the truck pulls in, get the PO, dock, equipment, and putaway plan lined up. Start with the shipment details and check them against the PO.
Verify the PO, ASN, Carrier, and Delivery Window
Match the PO, ASN, carrier, and delivery window before arrival so the team can receive freight without hold-ups. Open the purchase order and confirm the vendor name, expected item quantities, and unit of measure. If the supplier sends an Advance Shipment Notice (ASN) through EDI or a supplier portal, compare it line by line with the PO. Then confirm the carrier and delivery window so the dock team knows what’s coming and when.
Good inbound visibility helps with inventory accuracy, labor planning, and financial control.
If there’s a quantity mismatch or a unit-of-measure issue, flag it now. Set tolerance rules in your receiving software before the truck arrives so the team can deal with problems on the spot instead of sorting them out later.
Once the paperwork checks out, assign the unloading location.
Assign Dock Space, Staging Area, and Putaway Zones
Choose the dock door, staging lane, and final putaway zone before the truck arrives. Assign the dock based on where the goods will end up in the warehouse. Mark the staging lane clearly so workers can move freight without second-guessing where it goes.
Plan the final putaway location ahead of time. If the goods are headed to a bin, rack, or cold room, map that out before unloading starts. That way, items don’t sit in staging any longer than they have to. Set the dock, staging lane, and final bin or rack location before the first pallet comes off the truck.
Then get the tools and labels ready at the dock.
Prepare Equipment, Labels, and Special Handling Notes
Have scanners, printers, and labels ready so item capture starts at the dock and flows cleanly into inventory. Test scanners, printers, scales, and mobile workstations before the truck arrives. Stage the mobile workstations at the dock so receipt entry and labeling move faster.
Check the PO for any special handling notes. Temperature-sensitive goods need a direct path to cold storage. Damaged goods need a marked quarantine area. Lot-tracked or serial-tracked items need label printers loaded with the right format. Load printers with labels for each SKU, UOM, lot, or serial-tracked item.
2. Dock Safety and Shipment Verification Checklist
Receiving starts at the dock. So this is the first checkpoint that matters. Run through these dock checks before item scanning and receipt posting.
Check the Dock, Trailer Condition, and Seal Condition
Before unloading, make sure the dock area is clear. Then confirm the trailer number and carrier before opening the doors.
Inspect the seal first. Match the seal number on the trailer to the number listed on the Bill of Lading (BOL). If the seal is broken, missing, or doesn't match, flag it as a receiving exception right away. No waiting, no guessing.
After the doors are open, check for moisture, strong odors, shifted loads, or crushed cartons before unloading starts.
If any goods are visibly damaged, quarantine them on the spot.
Match the BOL, Packing List, PO, and Delivered Quantities
Record the arrival time, carrier name, driver ID, and BOL number before counting anything. Then count everything: pallets, cases, cartons, or individual units. Compare those totals against the packing list and the open PO.
A mismatch can show up in small ways and still cause a mess later. A short pallet, an extra case, or a wrong SKU should all be noted on the BOL before the driver leaves.
Once counts and discrepancies are recorded, move to scan-level verification.
Record Required Item Data at Receipt
Capture item-level data at receipt, not after putaway.
For standard goods, recording SKU, quantity, and UOM is enough. For regulated, perishable, or lot-tracked inventory, record added traceability details at the point of receipt:
- Traceability: Lot/batch numbers, serial numbers, expiration dates (MM/DD/YYYY)
- Compliance: Temperature readings (°F) logged as soon as the doors open, hazmat handling notes
- Exceptions: Damage type, shortage/overage count, photos attached
Label items right after verification with part number, description, location code, and lot number.
The dock is where inventory becomes recordable. Once item data is captured, move straight into scanning and exception logging.
3. Barcode Scanning, Exception Handling, and Inventory Capture
After dock verification, scan each receipt before it goes to putaway.
Scan Each Item or Pallet and Verify SKU, Unit of Measure, and Quantity
Scan every pallet label, case label, or item barcode before anything moves to putaway. Each scan should check the SKU, unit of measure (UOM), and quantity against the open PO. If one of those fields doesn't match, stop right there and flag it before moving on.
That scan does two jobs at once: it updates inventory in real time and confirms the receipt against the PO.
If a barcode is missing or won't scan, print and apply a new label at the dock with a mobile workstation and barcode printer. Doing it on the spot cuts down on badly labeled products getting into the warehouse.
Log Shortages, Overages, Damage, and Wrong Items Before Posting
Don't post the receipt until every exception is logged. The moment a discrepancy shows up, it needs to go into the system then and there, not after putaway and not at the end of the shift.
Here’s how to handle the most common receiving issues:
| Exception Type | Immediate Action | System Requirement |
|---|---|---|
| Damage | Photograph and move to quarantine/hold area | Log as "Damaged" in QuickBooks Desktop before posting |
| Shortage | Note on BOL; log partial receipt | Real-time update to PO status to trigger backorder |
| Overage | Tag and separate; require supervisor review | Log as "Unplanned Receipt" for vendor reconciliation |
| Wrong Item | Flag SKU mismatch; move to staging | Hold the item and reconcile it against the PO before posting |
Damaged materials should be quarantined right away at the inbound dock instead of slipping into general inventory. That keeps inventory counts from getting overstated and helps stop customers from ordering goods that can't be shipped.
Use Receiving Software to Keep Records Accurate in Real Time
Use Rapid Inventory to sync mobile barcode scans, exceptions, and QuickBooks Desktop updates in real time.
Once the receipt is clean, move accepted goods to putaway.
4. Putaway, Final Posting, and Checklist Closeout
Once you've logged exceptions and separated accepted goods from problem items, the last step is simple in theory: get the right inventory into the right spot, then post the receipt only when the count, paperwork, and system all line up.
Move Accepted Goods to the Correct Bin, Rack, or Warehouse Location
After exceptions are logged, send only accepted goods to putaway. Stage accepted pallets near the zone where they belong, then use directed putaway and clear visual markers to move each pallet straight to the right bin or rack.
Use directed putaway so each pallet goes straight to its assigned bin or rack.
When goods reach that final location, do one more location scan with a mobile scanner. This confirms the system matches where the product actually landed. Skip that last scan, and you can end up with inventory that appears available in the system but can't be found on the shelf.
Once the final location scan matches the system, post the receipt.
Post the Receipt and Confirm Inventory Availability
Hold off on posting the receipt until the physical count, receiving documents, and system record all match. When they do, post accepted quantities right away so stock becomes available for picking, replenishment, or production without delay.
After posting, run a quick check:
- Verify the on-hand quantity matches what was received
- Check that any backorders caused by shortages are visible
- Confirm damaged or quarantined items are not included in available stock
Conclusion: The Core Receiving Steps to Standardize in 2026
Standardize the sequence: put away accepted goods, post the receipt only after counts and documents match, and confirm that available stock reflects what was received.
FAQs
What should I do if the PO and ASN do not match?
Review the purchase order and compare it with the receipt details. If anything doesn’t line up, delete the receipt and create it again from the purchase order so the items and quantities match.
Also clear any open items to prevent more mismatches.
If the problem still shows up, run Verify Data and Rebuild Data in QuickBooks to look for data errors and fix them.
When should damaged or wrong items be posted in inventory?
Damaged or incorrect items should not go into sellable inventory. Catch them during inbound receiving and move them to quarantine right away.
Document overages, shortages, and damages as soon as the shipment arrives. Include photo evidence and reason codes. Taking care of these issues at receipt helps stop inventory mistakes before they spread into picking, packing, and shipping.
Why is a final location scan so important?
A final location scan matters because it confirms that your digital inventory records match the stock that’s sitting in the warehouse.
When staff must scan the location barcode before they finish putaway, they follow the right steps in the right order. That simple check helps stop inventory from ending up in the wrong spot, cuts down on mistakes, and creates a clear audit trail for real-time tracking and later tasks like picking, counting, or transfers.



