
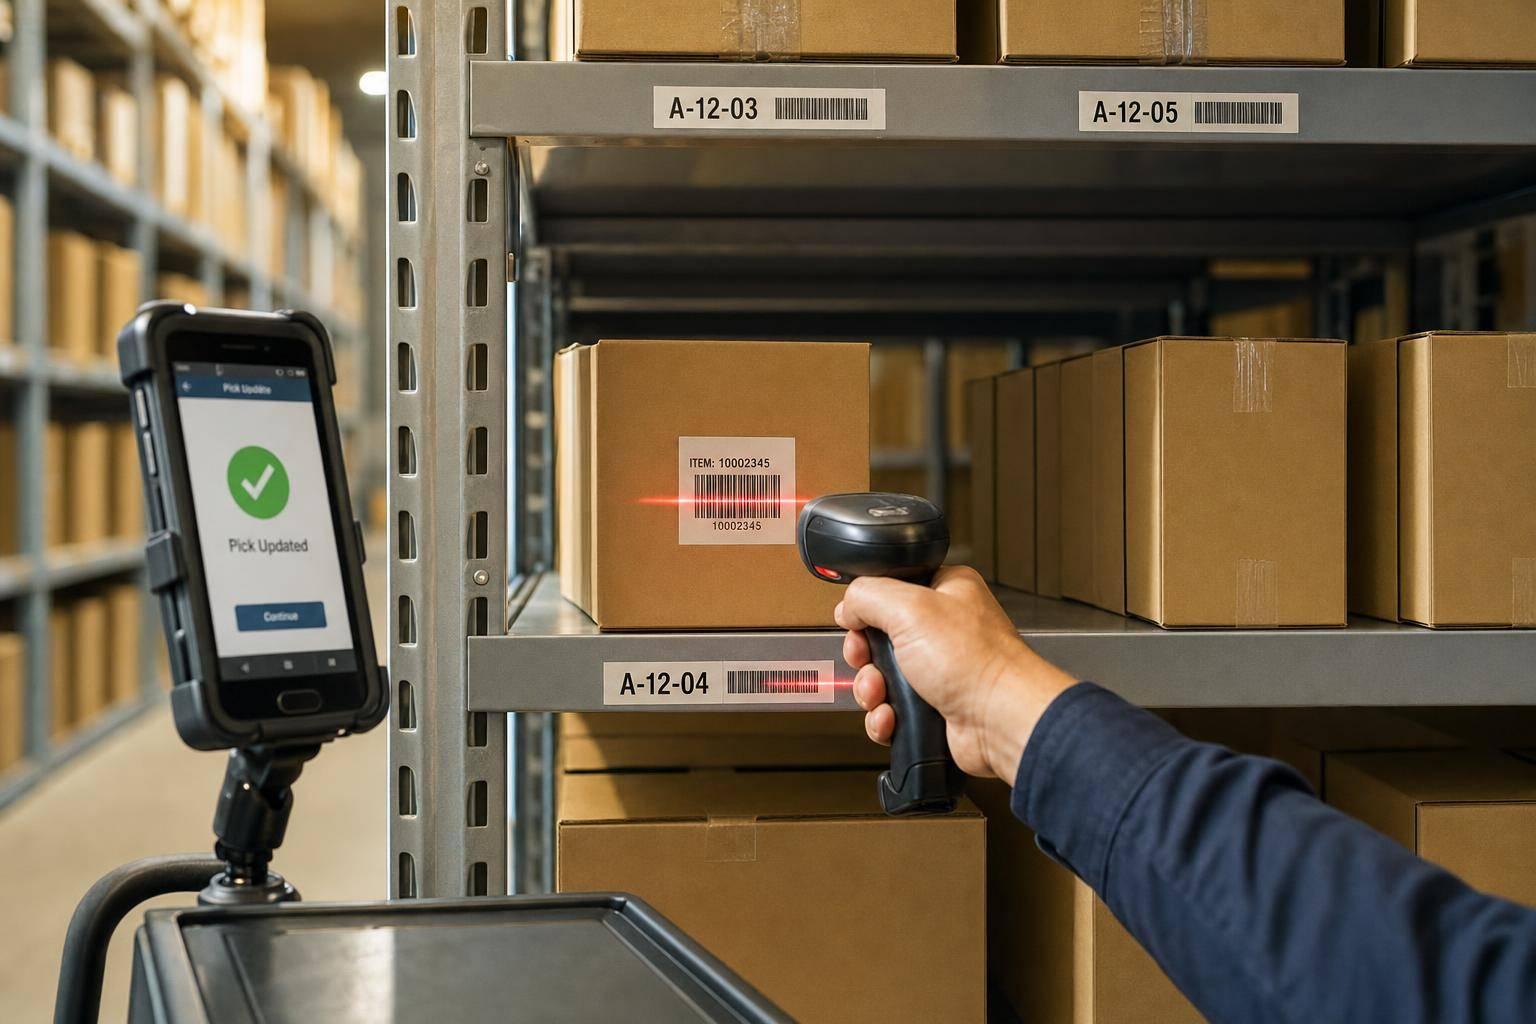
If I want fewer pick errors, I need to scan at the shelf, not fix mistakes later. In this workflow, I set up QuickBooks Desktop Enterprise with Advanced Inventory, connect Android scanners and mobile devices, scan the bin first, then the item, then any serial or lot number, and send each pick update back to QuickBooks Desktop through Rapid Inventory.
Here’s the short version:
-
QuickBooks Desktop setup comes first
- Turn on Advanced Inventory
- Use bins, serial numbers, and lot tracking where needed
- Make sure item units match how I pick, like each, case, or pallet
-
Devices must be ready for warehouse work
- Use Android handhelds or scanners
- Connect to stable warehouse Wi‑Fi
- Set scanners to record one barcode per input
-
The pick flow is simple
- Scan the location
- Scan the item
- Enter or confirm the quantity
- Scan serial or lot details when required
-
Status updates happen on the device
- Mark lines as Picked
- Mark shortages as Partially picked
- Mark misses as Unable to pick
- Add reason codes when stock is short or damaged
-
QuickBooks Desktop updates after posting
- Sales Order lines stay in sync
- Picked quantity comes off available stock
- Partial lines stay open
- Bin, lot, serial, item, quantity, and order reference move back with the sync
A barcode-based pick flow does two jobs at once: it checks the worker’s action at the bin and it updates records without paper notes or end-of-day typing. That matters even more for serial- and lot-tracked items, where one wrong number can cause traceability problems during audits, recalls, or FDA and FSMA reviews.
QuickBooks Enterprise Barcode Scanning Tutorial
You can try Rapid Inventory for free to see how these barcode scanning features work with your QuickBooks data.
sbb-itb-19ed50f
Quick comparison
| Area | Manual pick updates | Barcode scanning |
|---|---|---|
| Item check | Visual check only | Scan match against picklist |
| Bin check | Memory or label reading | Bin barcode must match |
| Serial/lot entry | Written down or typed later | Scanned during the pick |
| Error control | Errors found after the fact | Errors blocked during the task |
| Update timing | End of shift or later | Sent back after posting from mobile |
| Audit trail | Limited | User and timestamp on each action |
Bottom line: if I want cleaner picks, better stock records, and line-by-line traceability, barcode scanning is the tighter way to handle pick updates in QuickBooks Desktop.
Set Up QuickBooks Desktop, Barcodes, and Mobile Devices
Turn on barcode and item tracking settings in QuickBooks Desktop
Start in QuickBooks Desktop Enterprise with Advanced Inventory. That’s where the barcode-based picking setup begins. It gives you the inventory controls needed for warehouse picking, including bins, lot and serial tracking, and location-based workflows.
Turn it on in Edit → Preferences → Items & Inventory → Company Preferences. If the option is grayed out, sync the license data, restart QuickBooks, and try again.
Also check that item units match the way your warehouse team picks stock, like each, case, or pallet. If those units are off, picks can get messy fast. Once QuickBooks is set, you can move on to the devices your team will use on the floor.
Prepare scanners and mobile devices for warehouse use
Use Android handhelds or barcode scanners connected to stable warehouse Wi-Fi. Set each scanner to record one barcode per input, so one scan matches one pick action.
That sounds simple, but it matters. One scan should mean one task. No double entries, no extra steps. After the devices are connected, workers can start scanning each part of the pick process in the warehouse.
Connect Rapid Inventory for mobile scanning and two-way QuickBooks sync
Once the hardware is ready, connect the mobile workflow so each scan updates QuickBooks Desktop in real time. Rapid Inventory (https://rapidinventory.com) adds web-based mobile scanning, two-way QuickBooks sync, multi-location tracking, and lot or serial number capture.
To get started, connect Rapid Inventory to your QuickBooks Desktop company file. Then set up your warehouse locations so workers can begin scanning picks right away.
Scan Items, Locations, and Serial or Lot Numbers During Picking
Open the picklist and scan the storage location first
With the mobile device ready, the picker works through each line shown on the screen. After logging in, they open the assigned picklist. The app shows the next item and its bin code, so they can go straight to the right spot.
When they get there, they scan the location barcode label on the bin or rack. The app checks that location against the picklist. If it doesn’t match, the app blocks that line until the correct bin is scanned. That stops the picker from pulling stock from the wrong place in the first place.
Scan the item barcode and record the picked quantity
Once the location is confirmed, the app prompts the picker to scan the item barcode - a UPC, SKU barcode, or internal label. The system checks it against the current picklist line. If it matches, the screen shows the item name and moves to quantity entry. If it doesn’t, the app throws an alert and blocks the pick.
For a full pick, the picker enters or confirms the requested quantity and keeps moving. For a partial pick, they enter the amount they were able to pull, and the app marks the shortage. A reason code logs why, so office staff can handle a backorder or ship the rest later. After each line is confirmed, it’s ready to sync back to QuickBooks Desktop.
Capture serial or lot numbers for items that require traceability
For serialized items, the app requires a serial number for each unit picked. So if the picker pulls 3 units, the system expects 3 different serial numbers. Scanning the serial barcode from the product or packaging label is faster and cuts down on typing mistakes. If a label is damaged, the app can still allow manual entry, often with extra validation or a note.
Lot-controlled items work in much the same way. After the item scan, the app shows the lots available in that location, along with quantities and expiration dates, and prompts the picker to select or scan the right lot. That information attaches to the order and syncs back to QuickBooks Desktop for recalls and audits. Those scans also update inventory status in real time.
Send Pick Updates Back to QuickBooks Desktop in Real Time
Mark line status from the mobile device
On the mobile device, the picker marks each line as Picked, Partially picked, or Unable to pick. If they can’t pick an item, they add a reason, such as an empty location or damaged stock.
If someone scans too many units for a 10-unit line, they can adjust the quantity before posting. The app logs that fix next to the original scan, so supervisors can see what happened and who changed it. Every change also includes the user and timestamp.
How scanned data syncs to QuickBooks Desktop
After the picker finishes the last item, location, and lot or serial scan, they post the pick from the mobile device. With two-way sync, the app sends the confirmed pick back to QuickBooks Desktop and keeps the Sales Order and inventory records aligned.
That sync sends key data back to QuickBooks Desktop, including:
- Item IDs
- Quantities
- Status
- Lot or serial numbers
- Bin locations
- The order reference
What changes in inventory visibility after the sync
Once the sync goes through, available quantity drops for the items that were picked. Lines marked as partially picked stay open on the Sales Order, so the fulfillment team can see exactly what still needs to ship.
In multi-location setups, each warehouse site's on-hand balance updates on its own, which helps managers spot locations that are running low. They can check the sync by reviewing the Sales Order status, activity logs, or an on-hand inventory report. That live handoff is something manual updates just don’t give you.
Manual Pick Updates vs. Barcode Scanning
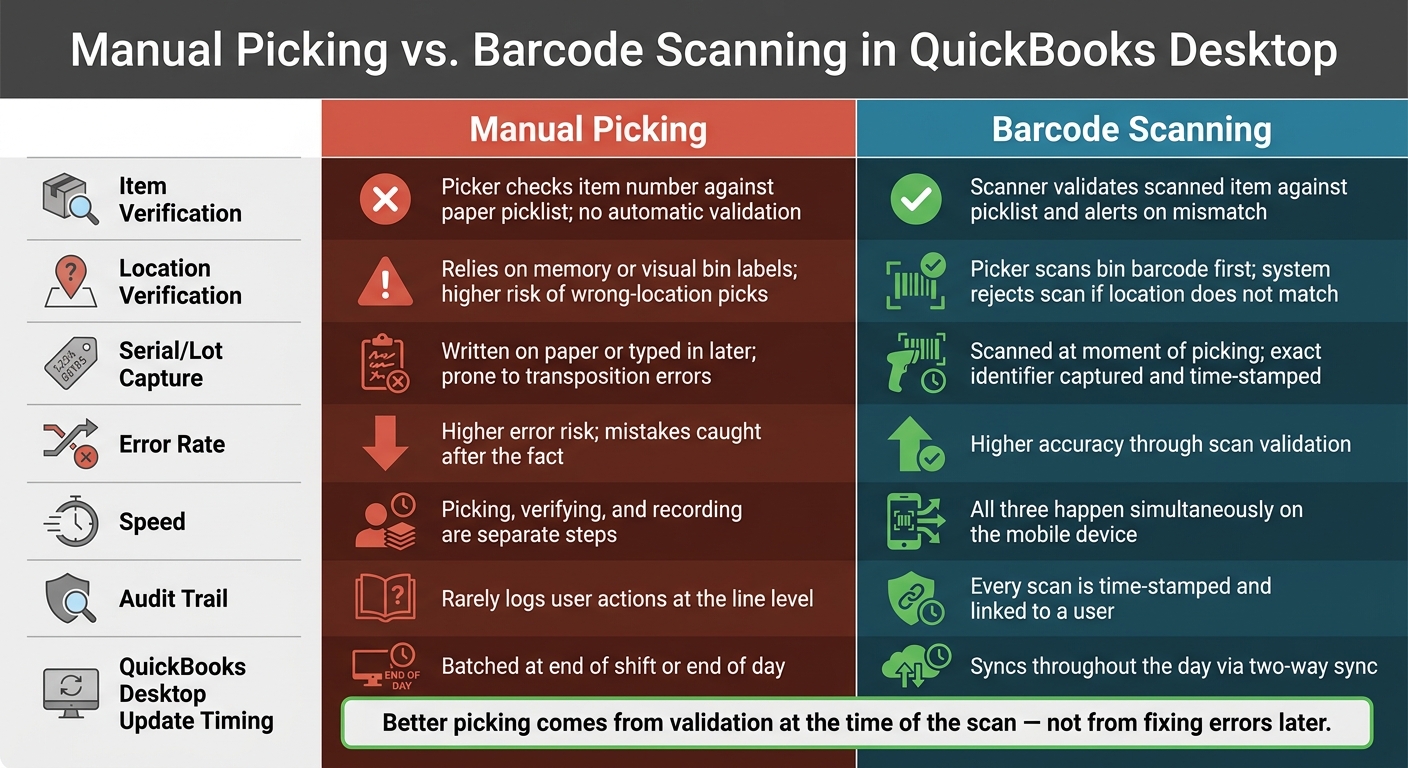
Manual Picking vs. Barcode Scanning: Side-by-Side Comparison
Side-by-side comparison: manual picking vs. barcode scanning
Once you look at the scan-and-sync workflow above, the gap between these two methods is pretty obvious.
| Dimension | Manual Picking | Barcode Scanning |
|---|---|---|
| Item verification | Picker checks item number against the paper picklist; no automatic validation | Scanner validates the scanned item against the picklist and alerts if there's a mismatch |
| Location verification | Relies on memory or visual bin labels, which increases the risk of wrong-location picks | Picker scans the bin barcode first; system rejects the scan if the location does not match |
| Serial/lot capture | Written on paper or typed in later; prone to transposition errors | Scanned at the moment of picking; exact identifier is captured and time-stamped |
| Error rate | Higher error risk; mistakes are often caught after the fact | Higher accuracy through scan validation |
| Speed | Picking, verifying, and recording are separate steps | All three happen simultaneously on the mobile device |
| Audit trail | Rarely logs user actions at the line level | Every scan is time-stamped and linked to a user |
| When QuickBooks Desktop is updated | Typically batched at end of shift or end of day | Syncs throughout the day via two-way sync with Rapid Inventory |
Paper picking leads to more mistakes and slows down inventory corrections.
Key takeaways for better pick accuracy and inventory updates
The table points to a simple pattern: better picking comes from validation at the time of the scan, not from fixing errors later.
Scan-based picking works best when the basics are set up first. That means using item barcodes that map to the right SKU, location labels that can be scanned, and serial or lot tracking when traceability matters. With that in place, the workflow is straightforward: scan the location, scan the item, confirm the quantity, and record serial or lot numbers if prompted.
Mobile line status updates also help keep the team on the same page. A picker can mark a line as Picked, Partially picked, or Unable to pick, so everyone can see the current status without chasing paper or asking around.
After the pick is posted, Rapid Inventory syncs the update back to QuickBooks Desktop. That keeps order status and on-hand balances current throughout the day.
FAQs
Do I need Advanced Inventory enabled first?
Yes - if you want to use QuickBooks Desktop Enterprise’s built-in barcode scanning and lot tracking, Advanced Inventory must be turned on.
You can check this in:
Edit > Preferences > Items & Inventory > Company Preferences
If the Advanced Inventory Settings button is missing or grayed out, you likely need the add-on or a qualifying edition.
If you’re using a different edition, Rapid Inventory can add mobile barcode scanning and more advanced inventory management across all QuickBooks Desktop editions.
What happens if a picker scans the wrong bin or item?
The mobile device alerts the picker the moment something’s off. It checks every scan against your database in real time, so there’s a digital check in place before the item moves any further.
That scan-to-confirm flow helps stop common picking mistakes, like scanning the wrong SKU, working from old counts, or selecting the wrong lot or serial number. The key point is simple: the error gets caught before packing, not after.
Can I scan serial and lot numbers during the pick?
Yes. If a workflow uses serial or lot numbers, the system prompts you to scan them during picking so you can confirm the right unit or batch.
Here’s how it works: you scan the item barcode first, then the lot or serial barcode. That extra step helps confirm the exact inventory needed and updates records in real time. The captured data then syncs back to QuickBooks Desktop, giving you accurate traceability.



