
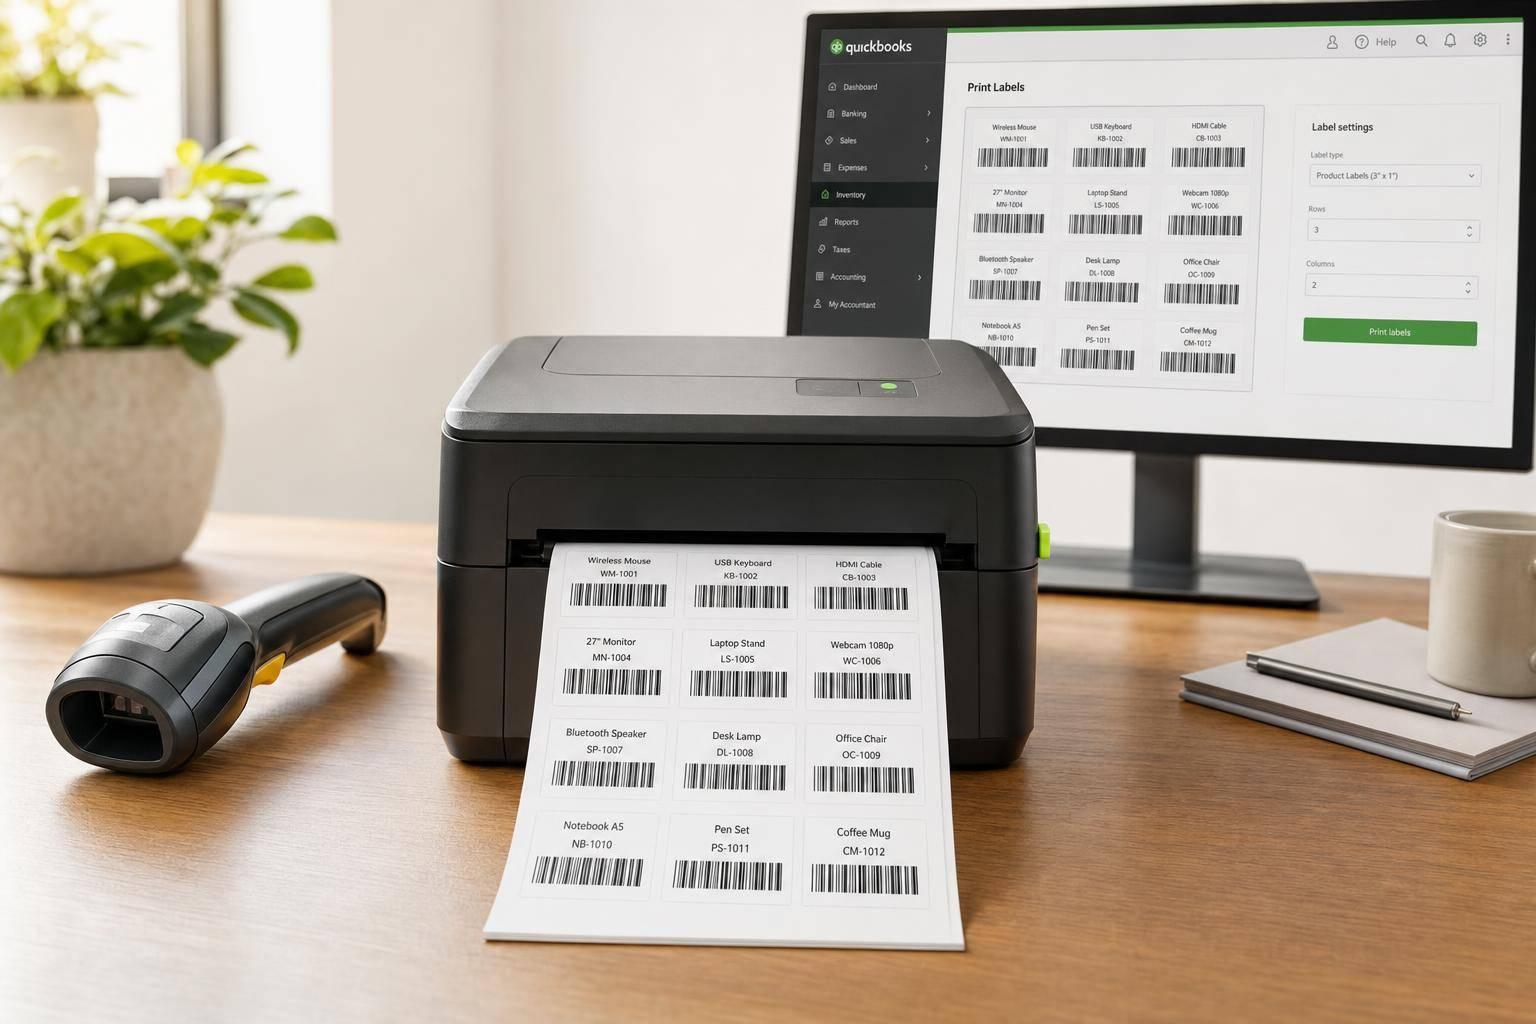
You can batch print barcode labels from QuickBooks Desktop, but the steps depend on your edition. If you use QuickBooks Enterprise with Advanced Inventory, barcode tools are built in. If you use Pro or Premier, you will often need a separate app.
Here’s the short version:
- Check your item data first so each item has one consistent barcode value
- Pick the right barcode type for the data you store, such as Code 128 for SKUs or UPC-A for 12-digit retail codes
- Match the label template to your label stock and print at 100% scale
- Run a small test batch before the full print job
- Scan the first and last labels to make sure they open the right item
- Back up your company file before you change barcode settings or print in bulk
One bad field, one margin issue, or one scanner mismatch can waste an entire stack of labels. That’s why I’d treat batch printing as a short checklist, not just a print command.
A few facts stand out:
- UPC-A works only with 12-digit numeric codes
- Data Matrix needs a 2D scanner
- Excel can alter barcode values unless the column is set to Text
- In many cases, the label only needs Item Name plus the barcode value
If you print labels for more than one warehouse, or you need lot, serial, expiration, or location data on the label, QuickBooks alone may not cover the full job. In that case, a connected tool can help fill those gaps.
This article walks through the full process: setup, item cleanup, barcode choice, template checks, test printing, scan testing, and a final pre-print checklist.
QuickBooks Enterprise: USB Barcode Scanning Support
sbb-itb-19ed50f
1. Confirm QuickBooks Barcode Setup and Item Data
Before you print anything, check your barcode settings and item data. A messy setup can burn through an entire stack of labels fast.
Enable Barcode Features and Choose the Tracking Field
Native barcode features are built into QuickBooks Desktop Enterprise Advanced Inventory. In Enterprise Advanced Inventory, go to Edit > Preferences > Items and Inventory > Company Preferences > Advanced Inventory Settings > Barcodes. In Barcodes, choose the tracking field that QuickBooks will encode, such as Item Name, SKU, Manufacturer's Part Number, or an existing UPC.
Pick one field that is already filled in the same way across your items. Manufacturer's Part Number is often a good choice because it tends to stay the same and is often one of a kind. Before you change barcode settings or edit item records, back up the company file.
Once the tracking field is set, move on to the items you plan to include in the print batch.
Clean Up Item Records Before Printing
Run an Inventory Item Listing report before you build the batch. Look for duplicate identifiers and leave out on-hold items. If your process relies on other tracked fields, make sure those fields are filled in before printing. One bad data point doesn't just hurt one label - it can throw off the whole batch.
After the item list is cleaned up, line up the barcode type and label layout with that data.
Barcode Value vs. Printed Label Text
The barcode holds the scan value. The printed text is there for people reading the label.
That means the barcode should use a stable, one-of-a-kind value, while the printed text should include only the fields your team needs to see. Both need to work the same way across the full batch, not just on one test label.
Once the item data is in good shape, choose the items, barcode type, and label format for the batch.
2. Select Items, Barcode Type, and Label Format
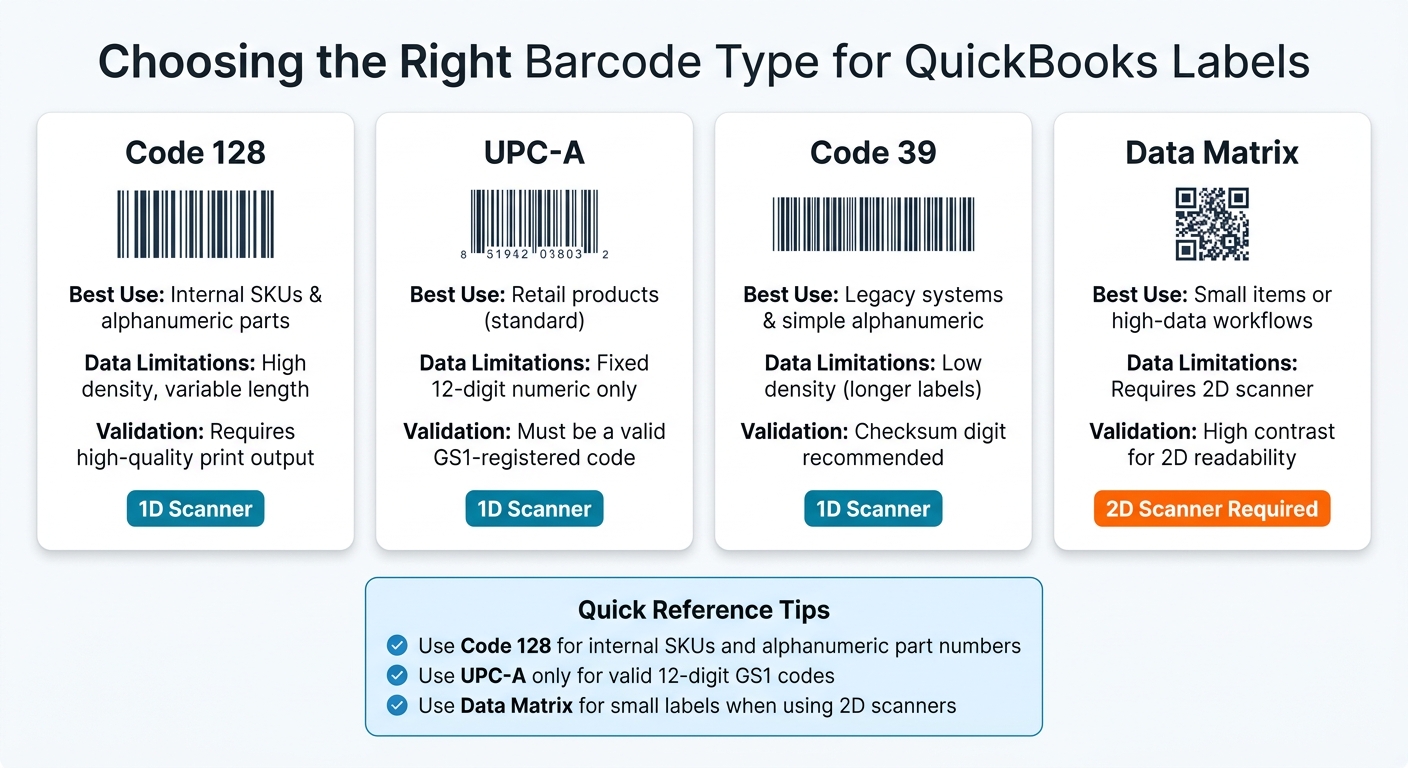
QuickBooks Barcode Label Types: Which One Should You Use?
Choose Which Items to Include in the Batch
Once your item data is clean, the next step is simple: choose the records you want to print.
QuickBooks Desktop gives you two paths for this. You can print right away through File > Print Forms > Labels > Item Barcodes. Or you can go to Lists > Item List first, then filter items by category, manufacturer, or recent updates before you print.
If you want to review the list outside QuickBooks, export it to Excel. Just be careful with the barcode column. Set that column format to Text so Excel doesn’t strip leading zeros or alter long UPC values.
Pick the Right Barcode Format for Your Data
The barcode format should match the data you already store in QuickBooks. That’s the whole game here. If the format and the data don’t line up, printing may work, but scanning can turn into a mess.
| Barcode Type | Best Use | Data Limitations | Validation Requirement |
|---|---|---|---|
| Code 128 | Internal SKUs & alphanumeric parts | High density, variable length | Requires high-quality print output |
| UPC-A | Retail products (standard) | Fixed 12-digit numeric only | Must be a valid GS1-registered code |
| Code 39 | Legacy systems & simple alphanumeric | Low density (longer labels) | Checksum digit recommended |
| Data Matrix | Small items or high-data workflows | Requires 2D scanner | High contrast for 2D readability |
A simple rule of thumb:
- Use Code 128 for internal SKUs and alphanumeric part numbers.
- Use UPC-A only for valid 12-digit GS1 codes.
- Use Data Matrix for small labels when you use 2D scanners.
Once the barcode type fits the data, move to the label layout.
Set the Label Template and Visible Fields
After you’ve picked the barcode format, match the label template to the label stock you have on hand. Set the page size, label dimensions, and margins so they fit that stock exactly. Close is not good enough here. Even a small mismatch can throw off alignment across the sheet.
In most cases, you only need Item Name and the barcode value on the label. You can add bin or warehouse fields if that data stays current in QuickBooks. If it doesn’t, the label can create more confusion than help.
Rapid Inventory adds warehouse, location, lot/serial, expiration, and hold-reason fields while syncing with QuickBooks.
3. Print a Test Batch and Scan-Test the Labels
Print a Test Batch
With your items selected and your label template set, print a small test batch before you run the full job. This step helps you catch layout problems early, when they're still easy to fix.
Check the label output against your label stock. Look at alignment, margins, and scaling. If anything looks off, adjust the template and print the sample again before moving on.
If you use QuickBooks Enterprise Advanced Inventory, print labels through the barcode workflow tied to your selected tracking field. Once the sample prints cleanly, scan-test it before the full run.
Scan-Test the First and Last Labels
After the test batch is printed, scan the first and last labels in the run. Use the same hardware your team will use on the floor, such as a dedicated barcode terminal or a mobile device camera.
Scan each label inside the same QuickBooks workflow your team uses every day. The goal is simple: make sure the barcode opens the correct item record. Then confirm the lot, serial, and expiration data as well.
Fix Common Problems Before the Full Run
If a label doesn't scan correctly, start with the basics. Check the scanner mode and make sure the barcode format matches the QuickBooks data, especially for SKUs with special characters.
Also confirm that the scanned value matches the field you selected earlier. A mismatch here can throw the whole batch off.
After you fix the issue, print another small sample and scan-test it again before you run the full batch. If the sample still fails, reprint a small batch before you move to the full production run.
4. Pre-Print Checklist and When Rapid Inventory Fits the Workflow
Key Points to Review Before Every Batch
Before you print a batch, take a minute to check the basics. It’s a small step, but it can save a lot of wasted labels and a lot of cleanup later.
- Back up the company file before printing.
- Confirm unique identifiers - every item in the batch needs its own value so you don’t end up with duplicate barcodes.
- Verify the barcode field - make sure you’re pulling from the right field, whether that’s Item Name, Manufacturer's Part Number, or a Custom Field.
- Check visible label text - the plain text on the label should match the actual item data.
- Match the template to your label stock - the dimensions need to line up exactly with the physical labels loaded in the printer.
- Set print scaling to 100% - never use Fit to Page.
- Run a live scanner test - scan the first and last labels from the test batch inside QuickBooks Desktop before you commit to the full run.
If your labels need warehouse, lot, or serial details beyond a basic QuickBooks batch, use a tool built for those fields.
Using Rapid Inventory for Multi-Location Labeling
For teams printing labels across more than one location, Rapid Inventory fills gaps that QuickBooks Desktop doesn’t handle as neatly. It adds multi-location tracking, lot and serial numbers, expiration dates, and mobile barcode scanning for QuickBooks Desktop workflows.
That mobile barcode scanning works on iOS and Android, which gives warehouse staff a simple way to check printed labels during receiving, picking, and cycle counts.
FAQs
Which QuickBooks editions support barcode label printing?
Barcode label printing is built into QuickBooks Desktop Enterprise, with the main support found in the Platinum and Diamond editions that include Advanced Inventory.
While Enterprise, Pro, and Premier can work with Rapid Inventory for broader inventory work, the built-in settings needed for native barcode features are only available in Enterprise. A simple way to check: look for the Advanced Inventory Settings button in your company preferences.
What barcode format should I use for my items?
Use EAN-13 or Code 128 for item barcodes. Both are common in U.S. retail and warehouse settings, and they work with QuickBooks Desktop plus standard USB or Bluetooth barcode scanners.
For smoother scanning, set your scanner to add a single carriage return after each scan. If you track lots, print separate linear barcodes, or use one 2D code if your mobile scanning app supports it.
Why won’t my printed labels scan correctly?
First, make sure your scanner supports EAN-13 and Code-128. It should also be set to add a single carriage return (Enter) after each scan. A simple way to check: scan a barcode into Notepad. You should see the barcode data, then an automatic line break.
Also check that the scanner is connected in keyboard (HID) mode, not serial port mode. And in QuickBooks, make sure the barcode value matches the printed label exactly - including spaces, leading zeros, and formatting.



